Loading ...
Loading ...
Loading ...
5
Stop Toasting
When the toasting cycle is finished, the oven will beep 5 times and turn
off. If you wish to stop the toasting cycle before it is finished, simply press
the Stop button. The toaster oven broiler will cancel your toast cycle.
Important Notes on Toasting
The oven rack must be in rack position B as indicated in the diagram
on this page.
CLEANING AND MAINTENANCE
Always allow the oven to cool completely before cleaning.
1. Always unplug the oven from the electrical outlet.
2. Do not use abrasive cleansers, as they will damage the finish. Simply
wipe the exterior with a clean damp cloth and dry thoroughly. Apply the
cleansing agent to a cloth, not to the toaster oven, before cleaning.
3. To clean interior walls, use a damp cloth and a mild liquid soap solution
or a spray solution on a sponge. Never use harsh abrasives or corro-
sive products. These could damage the oven surface. Never use Brillo
pads, etc. on interior of oven.
4. To remove crumbs, slide out the crumb tray and discard crumbs. Wipe
clean and replace. Crumb tray is dishwasher-safe. To remove baked-on
grease, soak the tray in hot sudsy water or use nonabrasive cleaners.
Never operate the oven without the crumb tray in place.
5. Wire rack, broiling pan and drip tray are dishwasher-safe. If heavily
soiled, soak in hot sudsy water or use a nylon scouring pad or
nylon brush.
6. Never wrap the cord around the outside of the oven. Use the cord
storage cleats on the back of the oven.
IMPORTANT
After cooking greasy foods and after your oven has cooled, always clean
top interior of oven. If this is done on a regular basis, your oven will per-
form like new. Removing the grease will help to keep toasting consistent,
cycle after cycle.
All of our recipes have been tested in our kitchen and specially developed
to work in the Cuisinart
®
Classic Toaster Oven Broiler. These mouth-watering
recipes are just a sampling of what the Cuisinart
®
Classic Toaster Oven Broiler
can do.
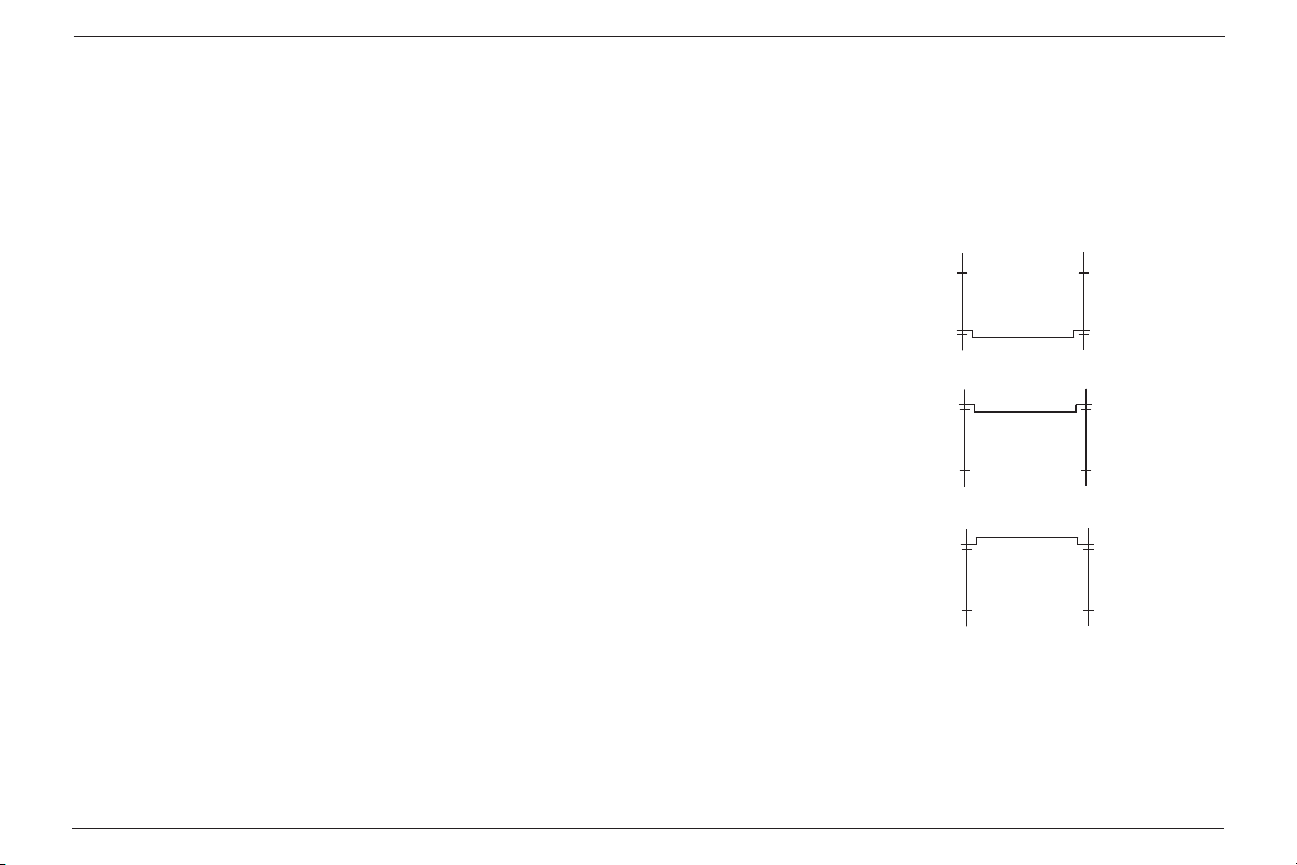
OVEN RACK POSITION DIAGRAMS
Each recipe gives you step-by-step
directions and will even tell you
where the oven rack should be
positioned for best results.
Please refer to the diagram
for oven rack positions.
Each position is described with
a letter that is referred to in
the recipe.
RACK
POSITION
A
RACK
POSITION
B
RACK
POSITION
C
Loading ...
Loading ...
Loading ...