Loading ...
Loading ...
Loading ...
filename[C:\My Documents\_upload job\3075896111\3075896111DSCP7UC\02GB-DSCP7UC\11ADV02.FM]
masterpage:Right
model name1[DSC-P7/P9]
[3-075-896-11(1)]
69
Still image editing
Choosing images to
print
– Print mark
Mode dial:
You can designate certain images to be
printed.
This is convenient when you want to have
images printed in shops that follow DPOF
(Digital Print Order Format) specifications.
• Print marks cannot be placed on movies
(MPEG movie) or images recorded in Clip
Motion mode.
• In E-MAIL mode, the Print mark will be placed
on the normal size image that was recorded at
the same time.
• You can place a print mark on images shot
using Multi Burst mode; all the images will be
printed on one sheet divided into 16 panels.
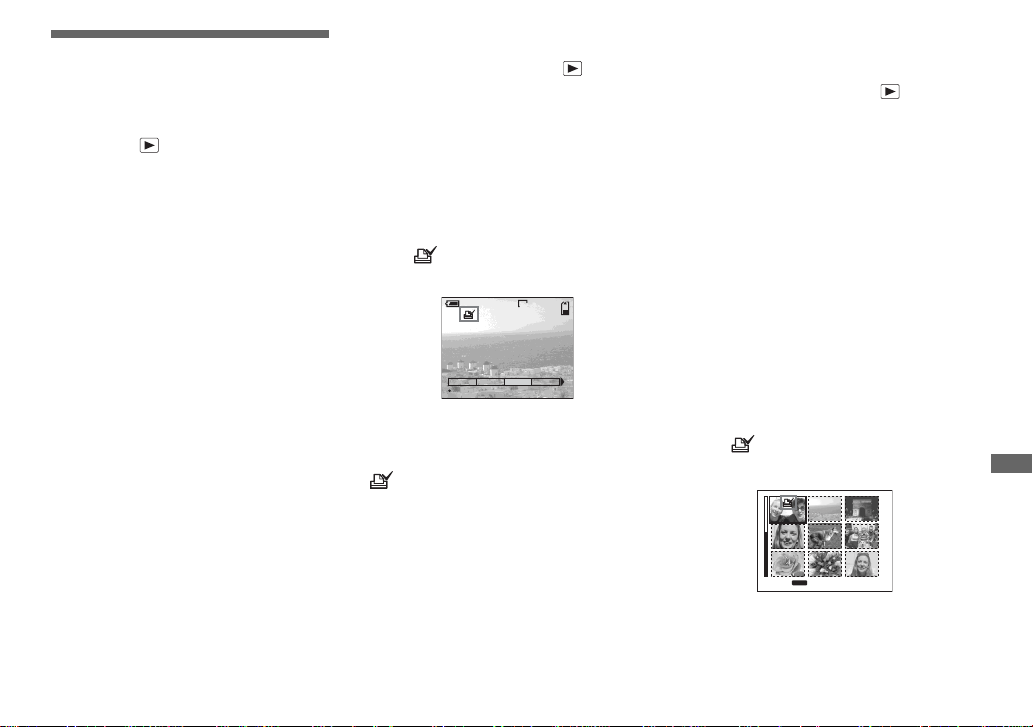
For the single screen
a Set the mode dial to .
b Display the image you want to
print using b/B.
c Press MENU.
The menu appears.
d Select [PRINT] using b/B, then
press the center z.
A (Print) mark is placed on this
image.
To delete the Print mark
In Step 4, press the center z again. The
mark disappears.
For the Index (nine images)
screen
a Set the mode dial to and
press the zoom W button once
to switch to the Index (nine
images) screen.
b Press MENU.
The menu appears.
c Select [PRINT] using b/B, then
press the center z.
d Select [SELECT] using b/B,
then press the center z.
• You cannot select [ALL].
e Select the images you want to
print using v/V/b/B, then
press the center z.
A (Print) mark is placed on the
selected image.
f To print other images, repeat
Step 5 for each of them.
5/5
SLIDE
OK
DELETE
PROTECT
2272
60min
PRINT
TO NEXT
MENU
•
SET
01cov.book Page 69 Thursday, May 23, 2002 3:57 PM
Loading ...
Loading ...
Loading ...