Loading ...
Loading ...
Loading ...
13
Note
If you are not going to use the remote control •
for a long time, remove the batteries.
Do not use old and new or different types of •
batteries in combination.
Batteries contain chemical substances, so they •
should be disposed of properly.
Set clock
1 In the standby mode, press and hold
CLOCK/DISPLAY to activate the clock
setting mode.
The 12 hour or 24 hour format is »
displayed.
2 Press PROG repeatedly to select 12 hour
or 24 hour format.
3 Press CLOCK/DISPLAY to confirm.
The hour digits are displayed and begin »
to blink.
4 Press / to set the hour.
5 Press CLOCK/DISPLAY to confirm.
The minute digits are displayed and »
begin to blink.
6 Press / to set the minute.
7 Press CLOCK/DISPLAY to confirm.
Turn on
1 Press POWER.
The product switches to the last »
selected source.
Switch to standby
1 Press POWER to switch the unit to
standby mode.
The clock (if set) appears on the »
display panel.
4 Get started
Caution
Use the controls only as stated in this user •
manual.
Always follow the instructions in this chapter •
in sequence.
If you contact Philips, you will be asked for the
model and serial number of your apparatus. The
model number and serial number are on the
back of the apparatus. Write the numbers here:
Model No. __________________________
Serial No. ___________________________
Prepare the remote control
Caution
Risk of explosion! Keep batteries away from •
heat, sunshine or fire. Never discard batteries
in fire.
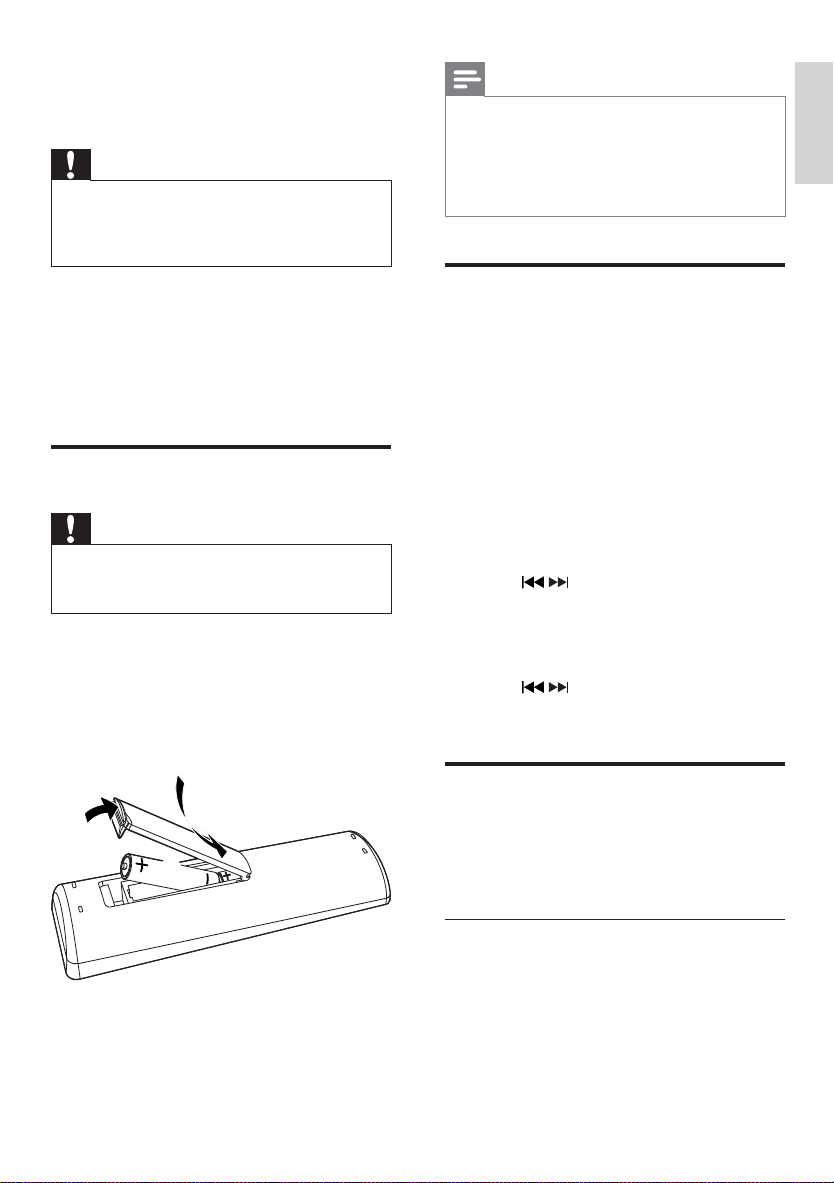
To insert the remote control battery:
1 Open the battery compartment.
2 Insert 2 AAA batteries (not supplied)
with correct polarity (+/-) as indicated.
3 Close the battery compartment.
3
1
2
English
EN
Loading ...
Loading ...
Loading ...