Loading ...
Loading ...
Loading ...
10
.;A@@41A:5/;A<81
Run the hot water faucet to purge cold water from
the hot water line. The hot water must be between
120°F and 150°F for best wash performance.
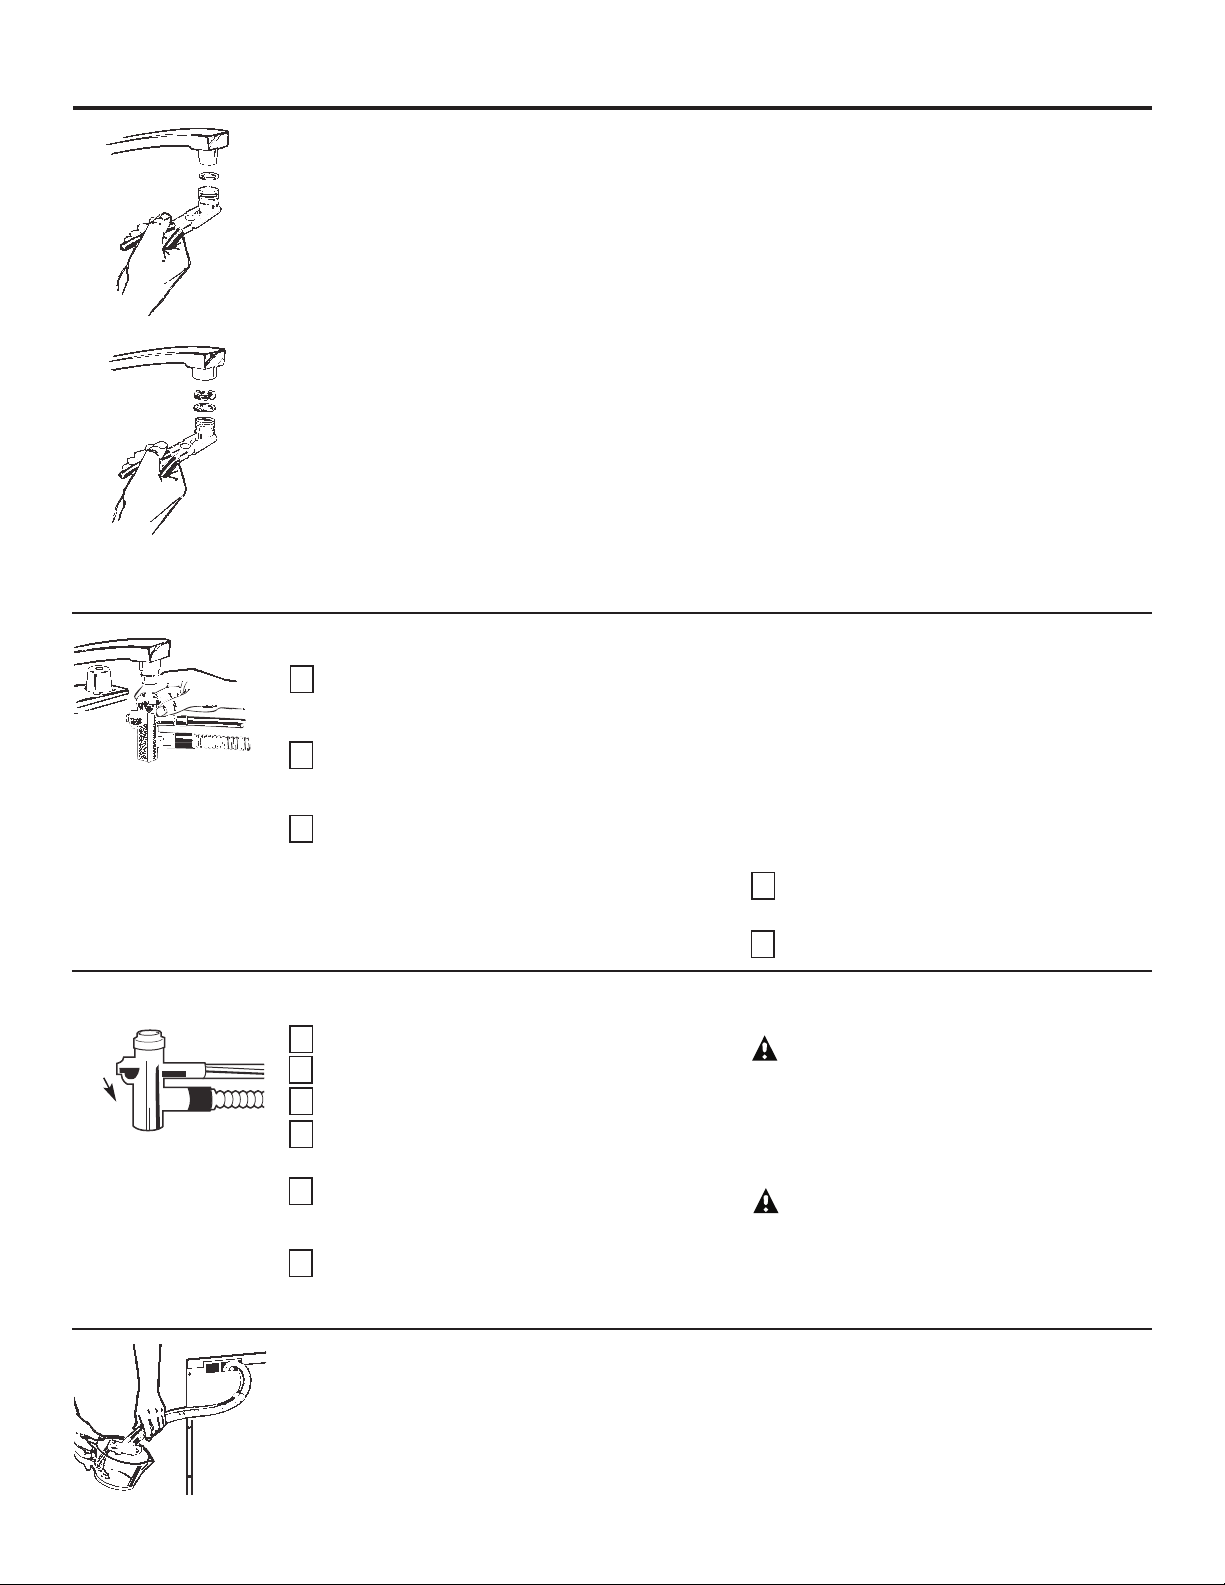
Pull Unicouple and its hoses completely out from
storage compartment located at rear of
dishwasher.
Attach the Unicouple connector to the faucet
adapter by depressing the collar at the top of the
connector. When Unicouple is all the way up onto
the adapter, release the collar. It will then snap into
position to lock the Unicouple in place.
The Unicouple’s small hose carries water from the
faucet to the dishwasher. Its large hose carries
drain water to the sink. Be sure Unicouple is
pointing toward the sink bowl drain opening and
the sink drain is open for water that will drain from
your dishwasher.
If your dishwasher drains into a disposer, operate
the disposer until it is completely empty before
starting the dishwasher.
Turn hot water fully on before starting the
dishwasher.
Plug the dishwasher power cord into the outlet.
;C@;;::1/@@41':5/;A<81
Unplug the dishwasher.
Push the cord back into its storage location.
Turn off the hot water.
Release the water pressure by depressing the
pressure release button.
Release the Unicouple from the faucet
by depressing the collar at the top of the
Unicouple connector.
Drain excess water from the unicouple hoses
(see below). Push the hoses back into their
storage location.
'&! To protect yourself and
the room from severe splashing, relieve water
pressure prior to disconnecting the unicouple.
"$'T Para protegerse
a usted y a la habitación de salpicaduras fuertes,
alivie la presión del agua antes de desconectar el
unicople.
;C@;5?/;::1/@@415?4C-?41>
;C@;>-5:D/1??)-@1>>;9':5/;A<81;?1?
If the sink is 34” or higher from the floor, the excess water in Unicouple hoses cannot be drained directly into
the sink. It will be necessary to drain excess water from hoses into a bowl or suitable container that is held
outside and lower than the sink.
12;>1!<1>-@5:3@415?4C-?41>@415>?@&591
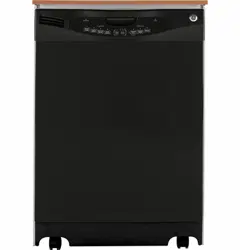
@@-/4@412-A/1@-0-<@1>The special faucet adapter supplied with your dishwasher must be assembled
to the sink faucet before you can use your dishwasher.
The faucet adapter is designed to fit standard spouts having internal or external threads. You will find the
adapter and two washers in the faucet adapter packet in your dishwasher.
&;5:?@-882-A/1@-0-<@1> first remove the old aerator or trim ring on your faucet spout.
22-A/1@4-?1D@1>:-8@4>1-0?Insert the thinner of the two washers into the faucet adapter and attach it to
the faucet spout.
Tighten with pliers.
22-A/1@4-?5:@1>:-8@4>1-0?Insert both of the washers into the faucet adapter and attach it to the faucet
spout.
Tighten with pliers.
If the faucet adapter threads do not match your faucet spout, your local hardware or plumbing supply
store normally has additional fittings to adapt your faucet spout to the special faucet adapter.
!& A sink spray attachment hose can burst if it is installed on the same sink with your dishwasher. We
suggest that you disconnect the sink spray attachment if your sink has one and plug the hole.
2
3
4
1
2
5
1
6
3
4
5
Pressure
release
button
Loading ...
Loading ...
Loading ...