Loading ...
Loading ...
Loading ...
7
ENGLISH
7. Auxiliary Connection
In addition to Bluetooth, your PX7 can also connect
to audio sources using the supplied 3.5mm audio or
USB cables.
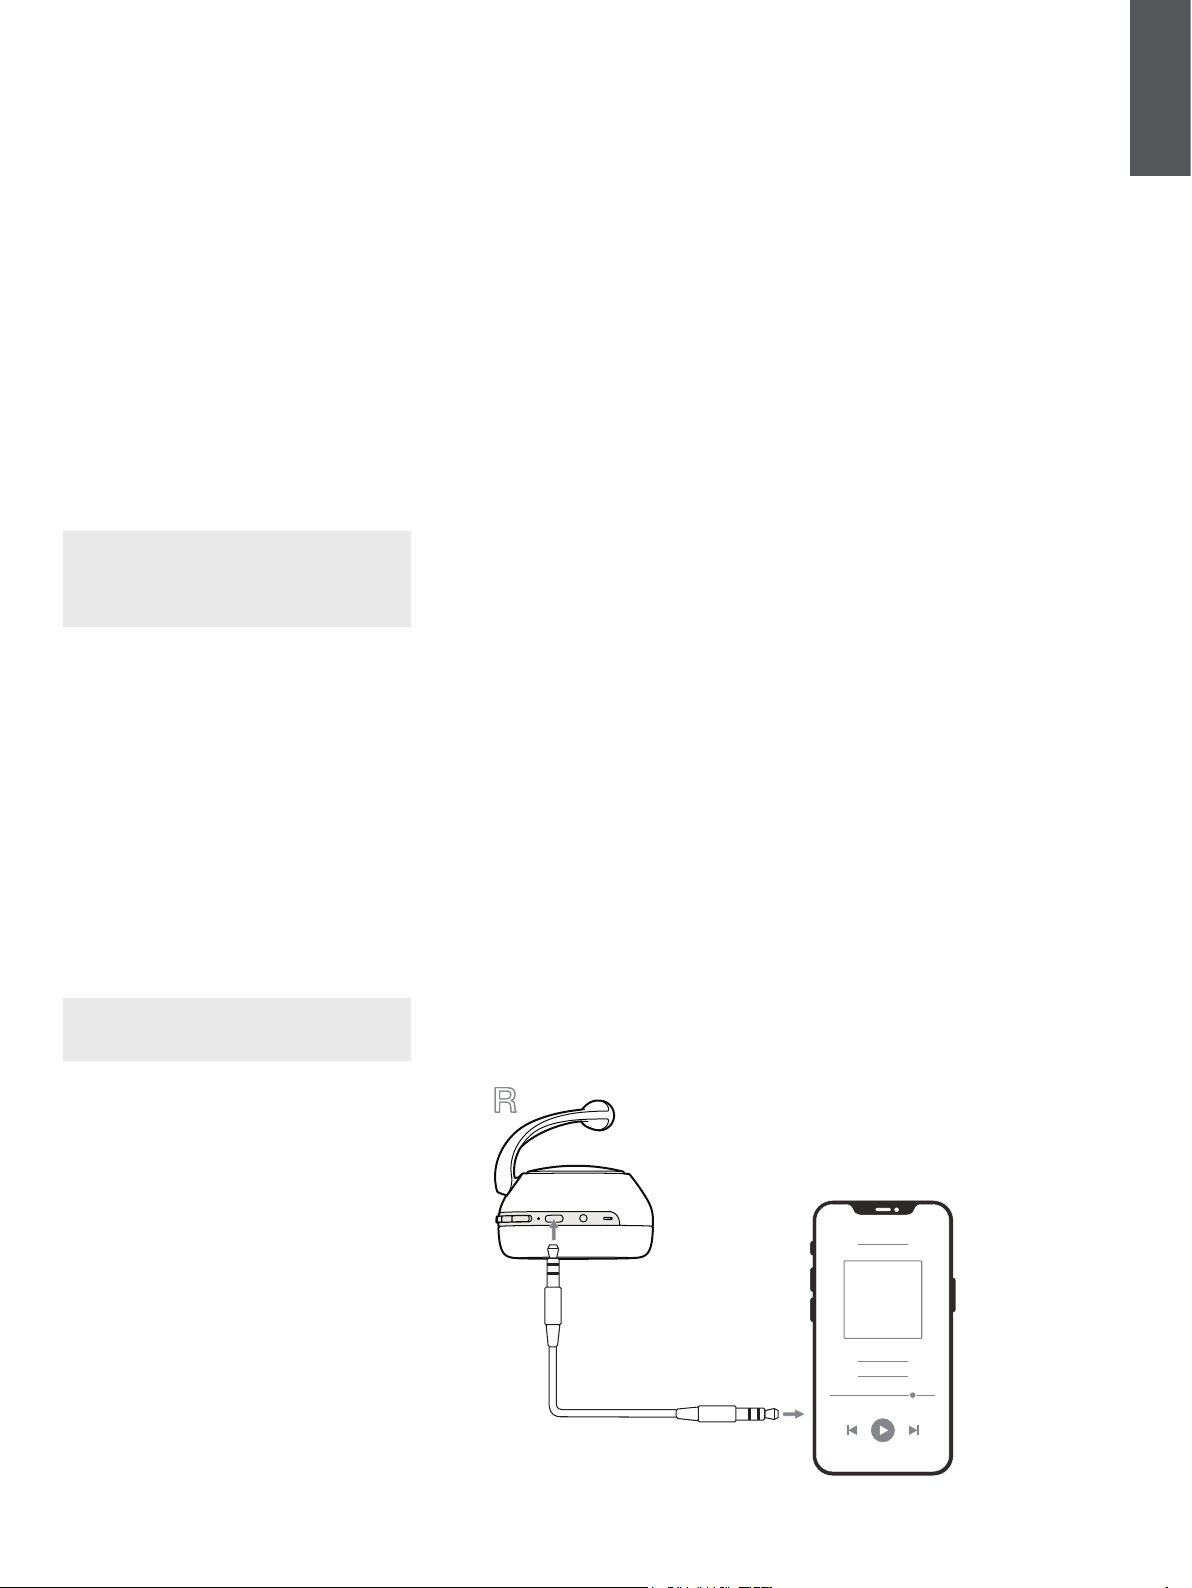
7.1 Connecting with the 3.5mm Audio Cable
The 3.5mm audio cable enables your PX7 to be
used with a device supporting an analogue output
such as a conventional headphone socket on
smartphones or tablets, or a traditional hi- system.
See Diagram 8.
1. Insert the 3.5mm audio cable into the
headphone 3.5mm socket on the right
ear piece.
2. Take the other end and insert into the
appropriate socket on your device.
3. Your PX7 will automatically disconnect
from any Bluetooth devices.
Note: Your headphones must have sufcient
charge and switched on to play audio from an
analogue source device. The volume and play/
pause buttons will not function when using the
3.5mm interface.
7.2 Connecting with the USB Cable
USB connection enables your PX7 to function as
a USB sound output device when connected to a
capable computer.
1. Insert the USB-C end into the PX7
USB-C socket on the right ear piece.
2. Take the USB Type A end and insert into the
appropriate socket on your computer.
3. PX7 will automatically disconnect from any
Bluetooth devices.
4. Find and select your headphones from the
computer’s audio output control panel.
Note: When connected to an capable computer
USB port, the headphone battery will also
charge.
8. Power Cycle and Reset
8.1 Power Cycle
You can power cycle your PX7, simultaneously
hold the Volume + and Volume – buttons for 10
seconds until the indicator LED extinguishes, let go
when the indicator lights up again. Rebooting your
headphones will not reset their internal settings or
clear the paired device history.
8.2 Reset to Default
You can clear the paired device history and restore
all settings to their defaults. With PX7 powered on,
simultaneously hold the Volume +, Volume - and
Noise Cancellation buttons for 10 seconds until the
indicator LED extinguishes, let go when the indicator
lights up again, the headphones will be ready to
pair to a device. Alternatively, you can reset from
the Bowers & Wilkins Headphones app, please see
Reset under Settings in the app.
Diagram 8
3.5mm audio cable connection
9. Care & Maintenance
9.1 Storing Your PX7
Taking care of your PX7 will ensure they continue to
deliver the best performance and experience.
When not used, stow your headphones using the
included storage pouch. It is recommended the
headphones are rst powered off:
1. Retract the headband on each side so they are
in the smallest position.
2. With the buttons facing you, rotate the
earpieces inwards so they lay at.
3. Place the headphones in to the storage case.
9.2 Cleaning Your PX7
Your PX7 can be cleaned by a soft, damp microber
cloth, gently wipe or dab clean.
The fabric on PX7 have been specially coated with
moisture and stain repellent. If dirt, stain or bre
residue accumulate on the fabric surface, please
clean as instructed above.
• Do NOT aggressively rub or use an abrasive
tool to clean, especially the fabric.
• Do NOT use paper towels, napkins or tissue
as they will leave residue.
• Do NOT use cleaning detergents, soapy water,
polish or chemical cleaners.
• Ensure that no moisture get inside the
earpieces, buttons and interface ports.
10. Support
Should you require further help or advice regarding
your PX7 please visit the Headphones support site
here www.bowerswilkins.com/support.
Environmental Information
This product complies with international directives,
including but not limited to the Restriction of
Hazardous Substances (RoHS) in electrical and
electronic equipment, the Registration, Evaluation,
Authorisation and restriction of Chemicals (REACH)
and the disposal of Waste Electrical and Electronic
Equipment (WEEE). Consult your local waste
disposal authority for guidance on how properly to
recycle or dispose of this product.
Loading ...