Loading ...
Loading ...
Loading ...
22
INSTALLATION
Leveling and Door Alignment
Leveling
After installing, plug the fridge’s power cord
into a 3-prong grounded outlet and push the
fridge into the final position being careful not
to crush the power cord under the unit or its
wheels.
Your fridge has two front leveling legs—one on
the right and one on the left. Adjust the legs to
alter the tilt from front-to-back or side-to-side.
If your fridge seems unsteady, or you want the
doors to close more easily, adjust the fridge’s
tilt using the instructions below:
1
Turn the leveling leg to the left to raise that
side of the fridge or to the right to lower it.
It may take several turns of the leveling leg
to adjust the tilt of the fridge.
2
Open both doors again and check to make
sure that they close easily. If the doors do
not close easily, tilt the fridge slightly more
to the rear by turning both leveling legs to
the left. It may take several more turns,
and you should turn both leveling legs the
same amount.
NOTE
A flare nut spanner works best, but an
open-end spanner will suffice.
Do not over-tighten.
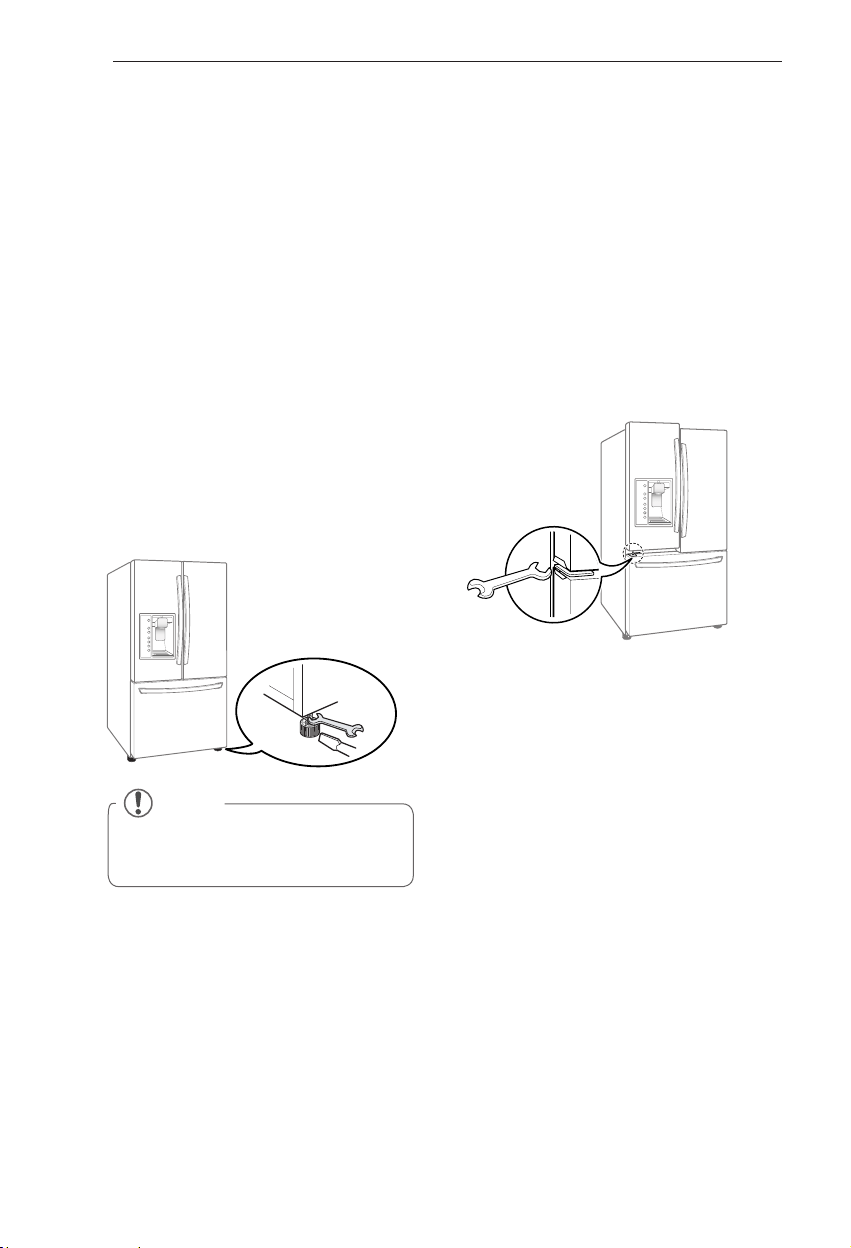
Door Alignment
Both the left and right fridge doors have an
adjustable nut, located on the bottom hinge, to
raise and lower them to align properly.
If the space between your doors is uneven,
follow the instructions below to align the doors
evenly:
Use the wrench (included with the Owner’s
Manual) to turn the nut in the door hinge to
adjust the height. Turn it to the right to raise or
to the left to lower the height.
Loading ...
Loading ...
Loading ...