Loading ...
Loading ...
Loading ...
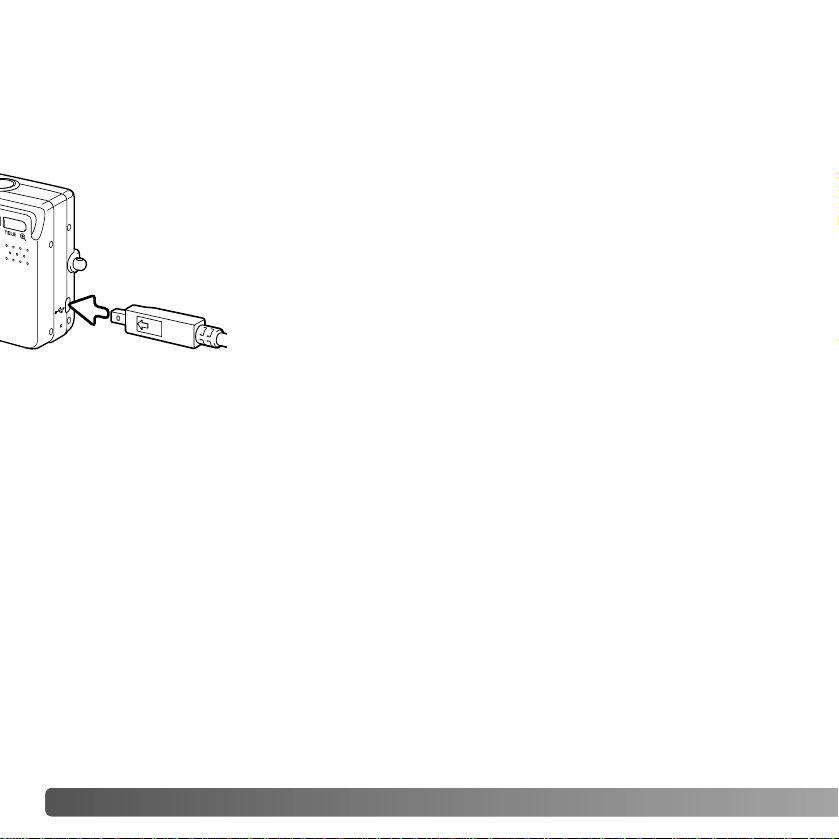
3.Insert the small plug of the USB cable into the camera. Make
sure the plug is firmly attached.
84
CONNECTING THE CAMERA TO A COMPUTER
Afully charged battery should be used when the camera is connected to a computer. The
use of the AC adapter (sold separately) is recommended over the use of the battery. For
users with Windows 98 or 98SE, read the section on page 85 on how to install the
necessary USB driver before connecting the camera to a computer.
4.Attach the other end of the USB cable to the computer’s USB port. Make sure the plug
is firmly attached. The camera should be connected directly to the computer’s USB
port. Attaching the camera to a USB hub may prevent the camera from operating
properly.
1.Insert the memory card into the camera. Confirm the memory-priority option in the
setup menu is set to the card type. To change the memory card while the camera
is connected to a computer, see page 95.
DATA-TRANSFER MODE
2.Turn off the camera.
The camera turns on automatically when it is connected to a computer; both viewfinder
lamps light to indicate the connection. When using two cards in the camera, if the card
to be accessed is full, the camera may automatically switch the memory priority to the
empty card. Remove the empty card and confirm memory priority before connecting the
camera to a computer.
When the camera is properly connected to the computer, a drive icon, or volume,
appears in My Computer or on the desktop. The drive icon can be identified by the
camera name and memory card or as a removable disk. When using Windows XP or Mac
OS X, a window opens requesting instructions on what to do with the image data; follow
the directions in the window. If the computer does not recognize the camera, disconnect
the camera and restart the computer. Repeat the connection procedure above.
Loading ...
Loading ...
Loading ...