Loading ...
Loading ...
Loading ...
6 EN
3 Get started
Caution
• Use of controls or adjustments or performance of
procedures other than herein may result in hazardous
radiation exposure or other unsafe operation.
Always follow the instructions in this chapter in
sequence.
If you contact Philips, you will be asked for the
model and serial number of this apparatus. The
model number and serial number are on the
back of the apparatus. Write the numbers here:
Model No. __________________________
Serial No. ___________________________
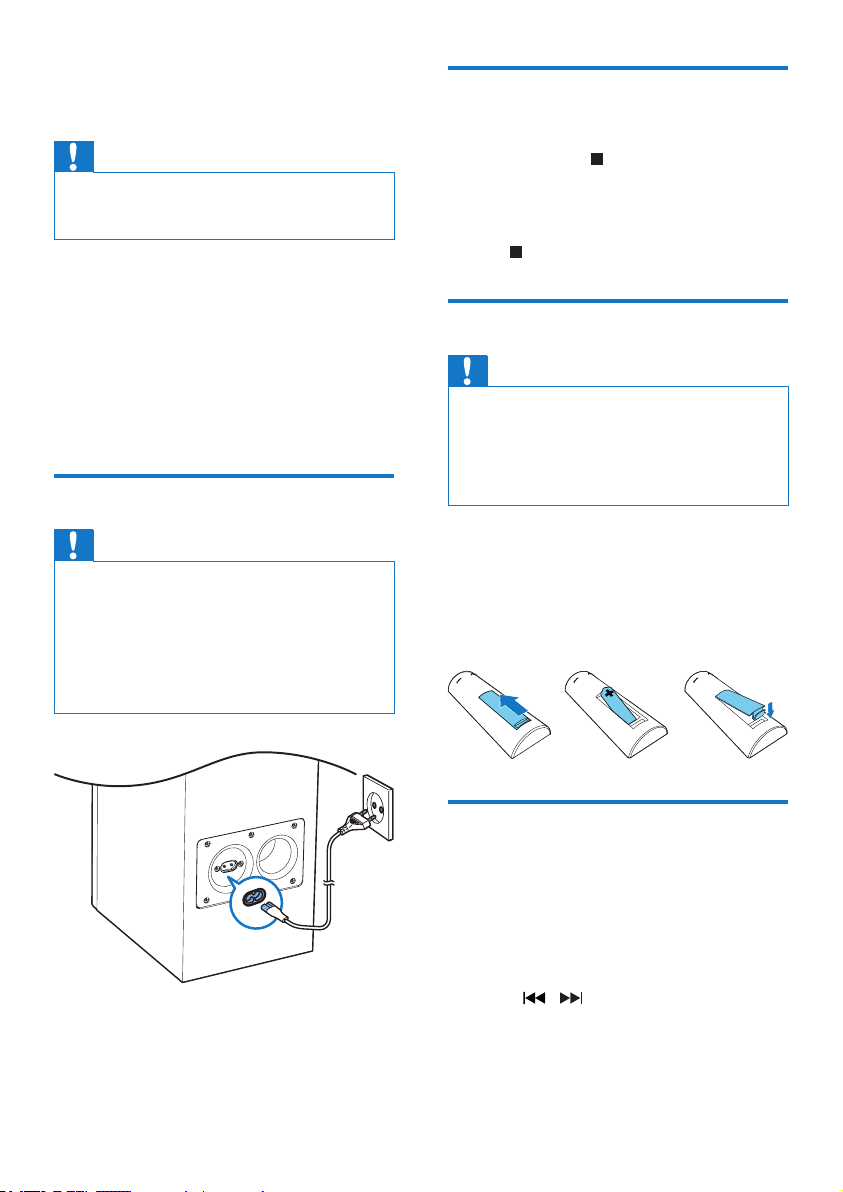
Connect power
Caution
• Risk of product damage! Ensure that the power supply
voltage corresponds to the voltage printed on the back
or the underside of the unit.
• Risk of electric shock! When you unplug the AC power
cord, always pull the plug from the socket. Never pull
the cord.
• Before you connect the AC power cord, ensure that
you have completed all other connections.
Demonstrate the features
In the standby mode, you can demonstrate
features by pressing .
» The features are displayed one by one
across the display panel.
• To turn off the demonstration, press
again.
Prepare the remote control
Caution
• Risk of explosion! Keep batteries away from heat,
sunshineorre.Neverdiscardbatteriesinre.
• Risk of decreased battery life! Never mix different
brands or types of batteries.
• Risk of product damage! When the remote control is
not used for long periods, remove the batteries.
To insert the remote control battery:
1 Open the battery compartment.
2 Insert the supplied AAA battery with
correctpolarity(+/-)asindicated.
3 Close the battery compartment.
Set clock
1 In standby mode, press and hold CLOCK
on the remote control for more than two
seconds.
» [24H] or [12H] hour format is
displayed.
2 Press / to select [24H] or [12H]
hour format.
3 press CLOCKtoconrm.
» The hour digits are displayed and begin
to blink.
Loading ...
Loading ...
Loading ...