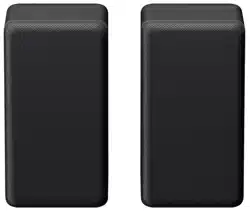
SA-Z9R
Rear Speaker
Operating Instructions
4-727-591-13(1)
©2018 Sony Corporation Printed in Malaysia
Troubleshooting
If you experience any of the following difficulties
while using the rear speakers, use this
troubleshooting guide to help remedy the problem
before requesting repairs. Should any problem
persist, consult your nearest Sony dealer.
Be sure to bring all of your rear speakers and Sound
Bar (HT-Z9F) (main unit and subwoofer) (not
supplied) even if it seems as though only one has a
problem, when you request to repair.
No sound is heard from the rear speakers.
Make sure the AC power cord (mains lead) of the
rear speaker is connected properly.
If the power indicator on the rear speaker does not
light, try the following.
– Make sure the AC power cord (mains lead) of the
rear speaker is connected properly.
– Press (power) of the rear speaker to turn on
the power.
If the power indicator on the rear speaker flashes
slowly in green or lights in red, try the following.
– Move the rear speaker to a location near the
main unit of the Sound Bar (HT-Z9F) so that the
power indicator on the rear speaker lights in
green.
– Connect the rear speaker to the Sound Bar
(HT-Z9F) manually. For details, refer to the
Operating Instructions supplied with the Sound
Bar (HT-Z9F).
– Check the wireless connection status. For details,
refer to the Operating Instructions supplied with
the Sound Bar (HT-Z9F).
Press REAR + on the remote control of the
Sound Bar (HT-Z9F) to increase the volume of the
rear speakers.
If you change the [RF Channel] setting of the
Sound Bar (HT-Z9F) from [Off] to [On], it may take 1
minute for the sound to be output. For details,
refer to the Operating Instructions supplied with
the Sound Bar (HT-Z9F).
Sound skips or has noise.
If there is a device nearby that generates
electromagnetic waves, such as a wireless LAN or
a microwave oven in use, locate the rear speakers
and the Sound Bar (HT-Z9F) apart from that device.
If there is an obstacle between the main unit of
the Sound Bar (HT-Z9F) and the rear speakers,
move or remove the obstacle.
Locate the main unit of the Sound Bar (HT-Z9F)
and the rear speakers as close as possible.
Switch the network connection of the TV or Blu-ray
Disc player from wireless to wired.
Specifications
Amplifier section
U.S. models:
POWER OUTPUT AND TOTAL HARMONIC DISTORTION:
(FTC)
With 4 ohms loads, both channels driven, from 200 -
20,000 Hz; rated 20 W per channel minimum RMS power,
with no more than 1% total harmonic distortion from
250mW to rated output.
POWER OUTPUT (reference)
50 W (per channel at 4 ohms, 1 kHz)
Canadian models:
POWER OUTPUT (rated)
30 W + 30 W (at 4 ohms, 1 kHz, 1% THD)
POWER OUTPUT (reference)
50 W (per channel at 4 ohms, 1 kHz)
Speaker system
Full range speaker system, Acoustic suspension
Speaker
46 mm (1 13/16 in) cone type, Full range speaker
Power requirements
120 V AC, 60 Hz
Power consumption
On: 11 W
Standby mode: 1 W or less
Turned off: 0.5 W or less
Dimensions (w/h/d) (approx.)
100 mm × 155 mm × 100 mm (4 in × 6 1/8 in × 4 in)
(projecting parts not included)
Mass (approx.)
1.0 kg (2lb 3 3/8 oz)
Wireless transmitter/receiver section
Communication system
Wireless Sound Specification Version 4.0
Frequency band
5 GHz
Modulation method
OFDM
Included items
• Rear speaker R (1), Rear speaker L (1)
• Operating Instructions (1)
On copyrights
This product contains software that is subject to the
GNU General Public License (“GPL”) or GNU Lesser
General Public License (“LGPL”). These establish that
customers have the right to acquire, modify, and
redistribute the source code of said software in
accordance with the terms of the GPL or the LGPL.
For details of the GPL, LGPL and other software
licenses, please refer to [Software License
Information] under
[Setup] - [Advanced Settings]
- [System Settings] on the product.
The source code for the software used in this product
is subject to the GPL and LGPL, and is available on
the Web. To download, please access the following:
URL:
http://oss.sony.net/Products/Linux
Please note that Sony cannot answer or respond to
any inquiries regarding the content of this source
code.
All other trademarks are trademarks of their
respective owners.
WARNING
To reduce the risk of fire or electric shock, do not
expose this apparatus to rain or moisture.
The unit is not disconnected from the mains as long
as it is connected to the AC outlet, even if the unit
itself has been turned off.
To reduce the risk of fire, do not cover the ventilation
opening of the appliance with newspapers,
tablecloths, curtains, etc.
Do not expose the appliance to naked flame sources
(for example, lighted candles).
To reduce the risk of fire or electric shock, do not
expose this appliance to dripping or splashing, and
do not place objects filled with liquids, such as vases,
on the appliance.
As the main plug is used to disconnect the unit from
the mains, connect the unit to an easily accessible AC
outlet.
Should you notice an abnormality in the unit,
disconnect the main plug from the AC outlet
immediately.
Do not install the appliance in a confined space, such
as a bookcase or built-in cabinet.
Indoor use only.
Compliance with FCC requirement 15.407(c) and IC
requirement RSS-247
Data transmission is always initiated by software,
which is the passed down through the MAC, through
the digital and analog baseband, and finally to the
RF chip. Several special packets are initiated by the
MAC. These are the only ways the digital baseband
portion will turn on the RF transmitter, which it then
turns off at the end of the packet.
Therefore, the transmitter will be on only while one
of the aforementioned packets is being transmitted.
In other words, this device automatically discontinue
transmission in case of either absence of information
to transmit or operational failure.
For the customers in the U.S.A.
This symbol is intended to alert the user to
the presence of uninsulated “dangerous
voltage” within the product’s enclosure that
may be of sufficient magnitude to
constitute a risk of electric shock to persons.
This symbol is intended to alert the user to
the presence of important operating and
maintenance (servicing) instructions in the
literature accompanying the appliance.
Important Safety Instructions
1) Read these instructions.
2) Keep these instructions.
3) Heed all warnings.
4) Follow all instructions.
5) Do not use this apparatus near water.
6) Clean only with dry cloth.
7) Do not block any ventilation openings. Install in
accordance with the manufacturer’s instructions.
8) Do not install near any heat sources such as
radiators, heat registers, stoves, or other
apparatus (including amplifiers) that produce
heat.
9) Do not defeat the safety purpose of the polarized
or grounding-type plug. A polarized plug has two
blades with one wider than the other. A
grounding type plug has two blades and a third
grounding prong. The wide blade or the third
prong are provided for your safety. If the provided
plug does not fit into your outlet, consult an
electrician for replacement of the obsolete outlet.
10) Protect the power cord from being walked on or
pinched particularly at plugs, convenience
receptacles, and the point where they exit from
the apparatus.
11) Only use attachments/accessories specified by
the manufacturer.
12) Use only with the cart, stand, tripod, bracket, or
table specified by the manufacturer, or sold with
the apparatus. When a cart is used, use caution
when moving the cart/apparatus combination to
avoid injury from tip-over.
13) Unplug this apparatus during lightning storms or
when unused for long periods of time.
14) Refer all servicing to qualified service personnel.
Servicing is required when the apparatus has
been damaged in any way, such as power-supply
cord or plug is damaged, liquid has been spilled
or objects have fallen into the apparatus, the
apparatus has been exposed to rain or moisture,
does not operate normally, or has been dropped.
NOTE:
This equipment has been tested and found to
comply with the limits for a Class B digital device,
pursuant to Part 15 of the FCC Rules. These limits are
designed to provide reasonable protection against
harmful interference in a residential installation. This
equipment generates, uses and can radiate radio
frequency energy and, if not installed and used in
accordance with the instructions, may cause harmful
interference to radio communications.
However, there is no guarantee that interference will
not occur in a particular installation. If this equipment
does cause harmful interference to radio or television
reception, which can be determined by turning the
equipment off and on, the user is encouraged to try
to correct the interference by one or more of the
following measures:
– Reorient or relocate the receiving antenna.
– Increase the separation between the equipment
and receiver.
– Connect the equipment into an outlet on a circuit
different from that to which the receiver is
connected.
– Consult the dealer or an experienced radio/TV
technician for help.
CAUTION
You are cautioned that any changes or modifications
not expressly approved in this manual could void
your authority to operate this equipment.
This equipment must not be co-located or operated
in conjunction with any other antenna or transmitter.
This equipment complies with FCC radiation
exposure limits set forth for an uncontrolled
environment and meets the FCC radio frequency (RF)
Exposure Guidelines. This equipment should be
installed and operated keeping the radiator at least
20cm or more away from person’s body.
Frequency Tolerance: ±20 ppm or less
For the customers in Canada
This device complies with Industry Canada’s
licence-exempt RSSs.
Operation is subject to the following two conditions:
(1) This device may not cause interference; and
(2) This device must accept any interference,
including interference that may cause undesired
operation of the device.
This equipment complies with IC radiation exposure
limits set forth for an uncontrolled environment and
meets RSS-102 of the IC radio frequency (RF)
Exposure rules. This equipment should be installed
and operated keeping the radiator at least 20cm or
more away from person’s body.
5.15 - 5.35 GHz band is restricted to indoor operations
only.
High-power radars are allocated as primary users (i.e.
priority users) of the bands 5250-5350 MHz and
5650-5850 MHz and that these radars could cause
interference and/or damage to LE-LAN devices.
CAN ICES-3 B/NMB-3 B
Owner’s Record
The model and serial numbers are located on the rear of the Rear Speaker.
Record the serial numbers in the space provided below. Refer to them whenever you call upon your Sony dealer
regarding this product.
Model No. SA-Z9R
Serial No.
What You Can Do with the Rear Speakers
The following are available when the
rear speakers are used with the Sound
Bar (HT-Z9F) (not supplied).
• You can enjoy the surround sound
that makes you feel as if you were
actually listening to a live
performance.
• You can update the software of the
rear speakers. For details, refer to the
Operating Instructions supplied with
the Sound Bar (HT-Z9F).
Note
• The rear speakers are designed
exclusively for use with the Sound Bar
(HT-Z9F) and cannot be used with
other devices.
• Install the rear speakers vertically.
Parts and Controls
Power indicator
Indicator status (color) Rear speaker status
Flashes slowly (green) The rear speaker is not connected to the
Sound Bar (HT-Z9F).
Lights up (green) The rear speaker is connected to the
Sound Bar (HT-Z9F).
Flashes twice repeatedly
(green)
The rear speaker is attempting to
connect to the Sound Bar (HT-Z9F).
Flashes/lights up (orange) The software is updating.
Lights up (red) The rear speaker is in standby mode.
Turns off The rear speaker is turned off.
Power indicator
(power) button
LINK button
Wall mount hole
Mounting hole for the general speaker stand
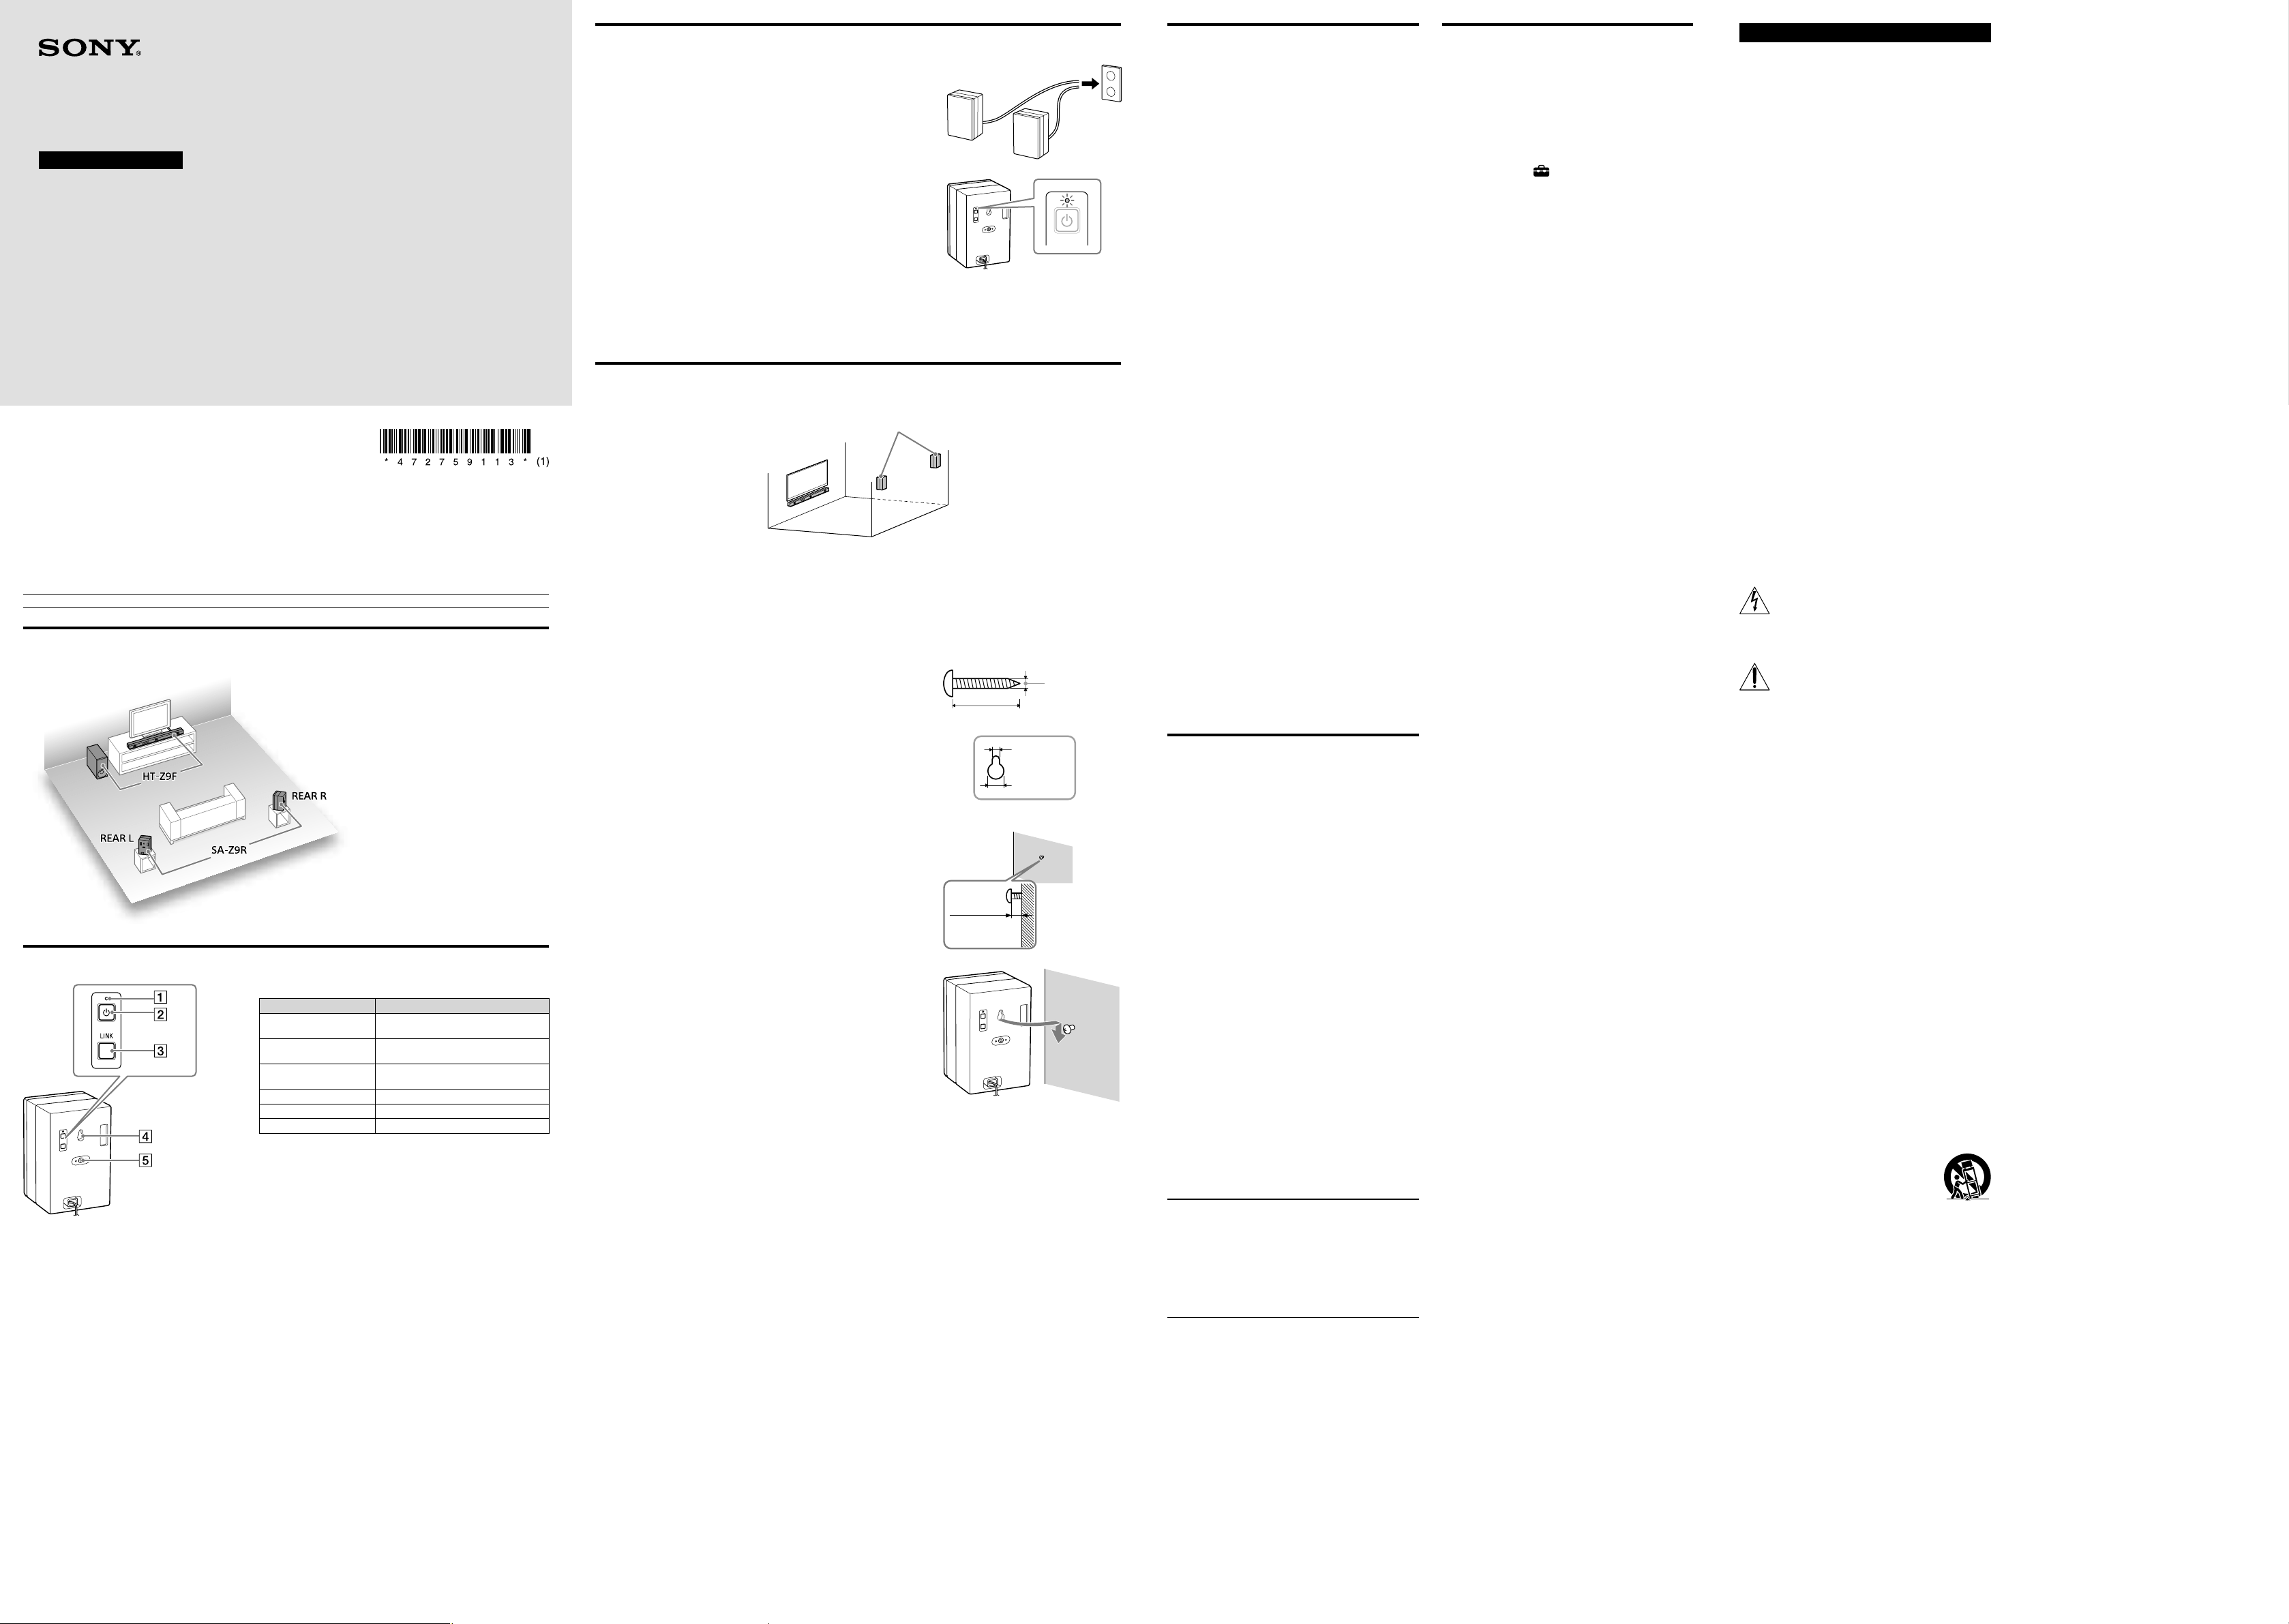
Connection
1 Connect the AC power cord (mains lead).
The rear speaker is turned on and connected to the Sound Bar
(HT-Z9F) wirelessly.
2 Make sure that the power indicator on the rear speaker lights in
green.
When the power indicator lights in green, the connection of the rear
speaker and the Sound Bar (HT-Z9F) is established.
If the connection is not established, connect the rear speaker to the
Sound Bar (HT-Z9F) manually. For details, refer to the Operating
Instructions supplied with the Sound Bar (HT-Z9F).
3 Install the rear speaker by considering the right/left of the rear speaker.
Check the label on the rear of the rear speaker. “REAR R” is for the right, “REAR L” is for the left.
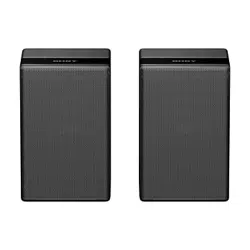
Mounting the Rear Speaker on a Wall
You can mount the rear speakers on a wall.
Rear speakers
Note
• Prepare screws (not supplied) that are suitable for the wall material and strength. As a plasterboard wall is
especially fragile, attach the screws securely in the wall beam. Install the speakers horizontally, hung by
screws in studs in a continuous flat section of the wall.
• Have the installation done by a Sony dealer or licensed contractor and pay special attention to safety during
the installation.
• Sony shall not be held responsible for accidents or damage caused by improper installation, insufficient wall
strength, improper screw installation or natural disaster, etc.
1 Prepare a screw (not supplied) that is suitable for the wall mount
hole on the rear of the rear speaker.
4 mm (3/16 in)
More than 30 mm (1 3/16 in)
Hole on the rear of the rear speaker
5.0 mm
(13/64 in)
10 mm
(13/32 in)
2 Fasten the screw in the wall.
Approx.
9.5 mm
(approx.
3/8 in)
3 Hang the rear speaker by confirming the right/left of the rear
speaker.
Check the label on the rear of the rear speaker. “REAR R” is for the
right, “REAR L” is for the left.