Loading ...
Loading ...
Loading ...
37
Projecting
You can convert normal 2D video images to 3D video images.
Tip
For details on how to operate the on-screen menu, see “Operation through the Menus” (1 page 45).
1 Display the Function menu and select “3D Settings.”
2 Set “2D-3D Display Sel.” to “3D,” then press , to display “3D Format.”
3 Set “3D Format” to “Simulated 3D” (1 page 59).
Tip
Use the supplied 3D glasses.
• “2D-3D Display Sel.” cannot be set to “3D” for some video sources. For available 3D signals, see
“Compatible 3D Signals” (1 page 85).
• The simulated 3D feature may have limited effect, depending on the video source.
• There are differences in perception of 3D video images converted by the simulated 3D function
among individuals.
The 3D glasses receive signals sent by the 3D Sync Transmitter built into the front of the
unit, which are reflected to the glasses from the screen. When watching 3D video images
using the 3D glasses, face squarely toward the screen.
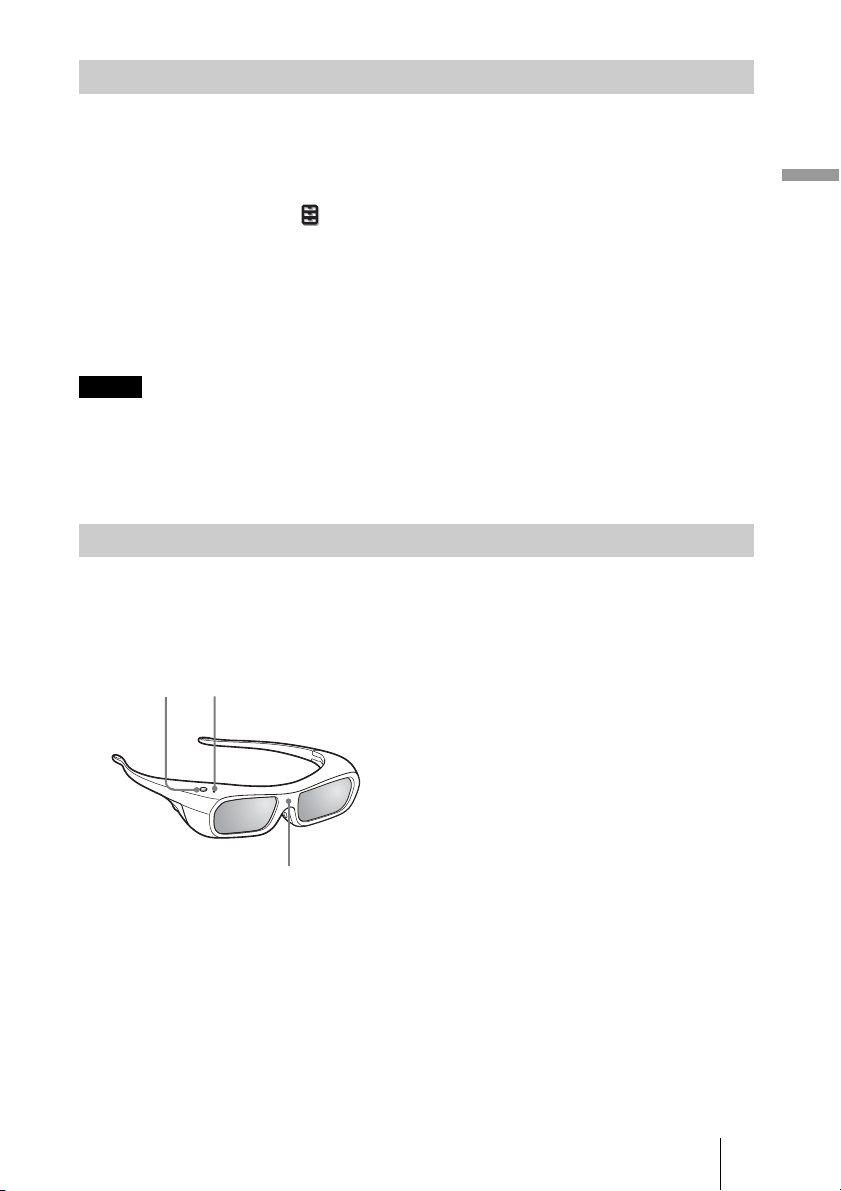
1 Press the power button on the
3D glasses.
The LED indicator lights up in green.
2 Put on the 3D glasses.
3 Turn toward the screen.
Precautions for use
The 3D glasses receive infrared signals sent by the 3D Sync Transmitter built into the front
of the unit, which are reflected to the glasses from the screen.
Misoperation may occur if:
• The 3D glasses do not face the screen
• There are objects blocking the path between the 3D glasses and the screen
• The viewing position is too far from the screen or the distance between the unit and
screen is too great
Using the Simulated 3D Function
Notes
Using the 3D Glasses
LED indicatorPower button
IR sensor
Loading ...
Loading ...
Loading ...