Loading ...
Loading ...
Loading ...
10
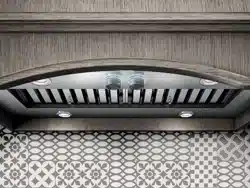
A B
A. Lamps knob
B. Blower knob
Operating the lamps
1. Turn the light switch to the “ON” position to turn the
range hood lights On.
2. Turn the light switch to the “OFF” position to turn the
range hood lights O.
Operating the blower
1. Turn the blower switch at “1” to turn the range hood on.
2. Turn the blower switch to the desired speed position.
3. Turn the blower switch to the “MAX” position to turn the
range hood on High.
4. Turn the blower switch to the “OFF” position to turn the
range hood blower O.
Auto On blower
The range hood is equipped with a sensor to automatically
turn on the blower when excessive heat is detected in the
control area. When the blower switch is in the “Off” position,
this sensor will turn the blower to high speed when necessary.
When the heat decreases, the blower will turn off. When the
blower switch is in the On position, the heat sensor is not
active and the range hood functions normally.
Maintenance
Cleaning
Exterior surfaces:
To avoid damage to the exterior surface, do not use steel wool
or soap-filled scouring pads. Rub in direction of the grain line
to avoid scratching the surface.
Always wipe dry to avoid water marks.
• Stainless Steel Cleaner and Polish.
• Mild liquid detergent and water.
• Wipe with damp soft cloth or non abrasive sponge, then
rinse with clean water and wipe dry.
• Do not use chlorine base cleaners.
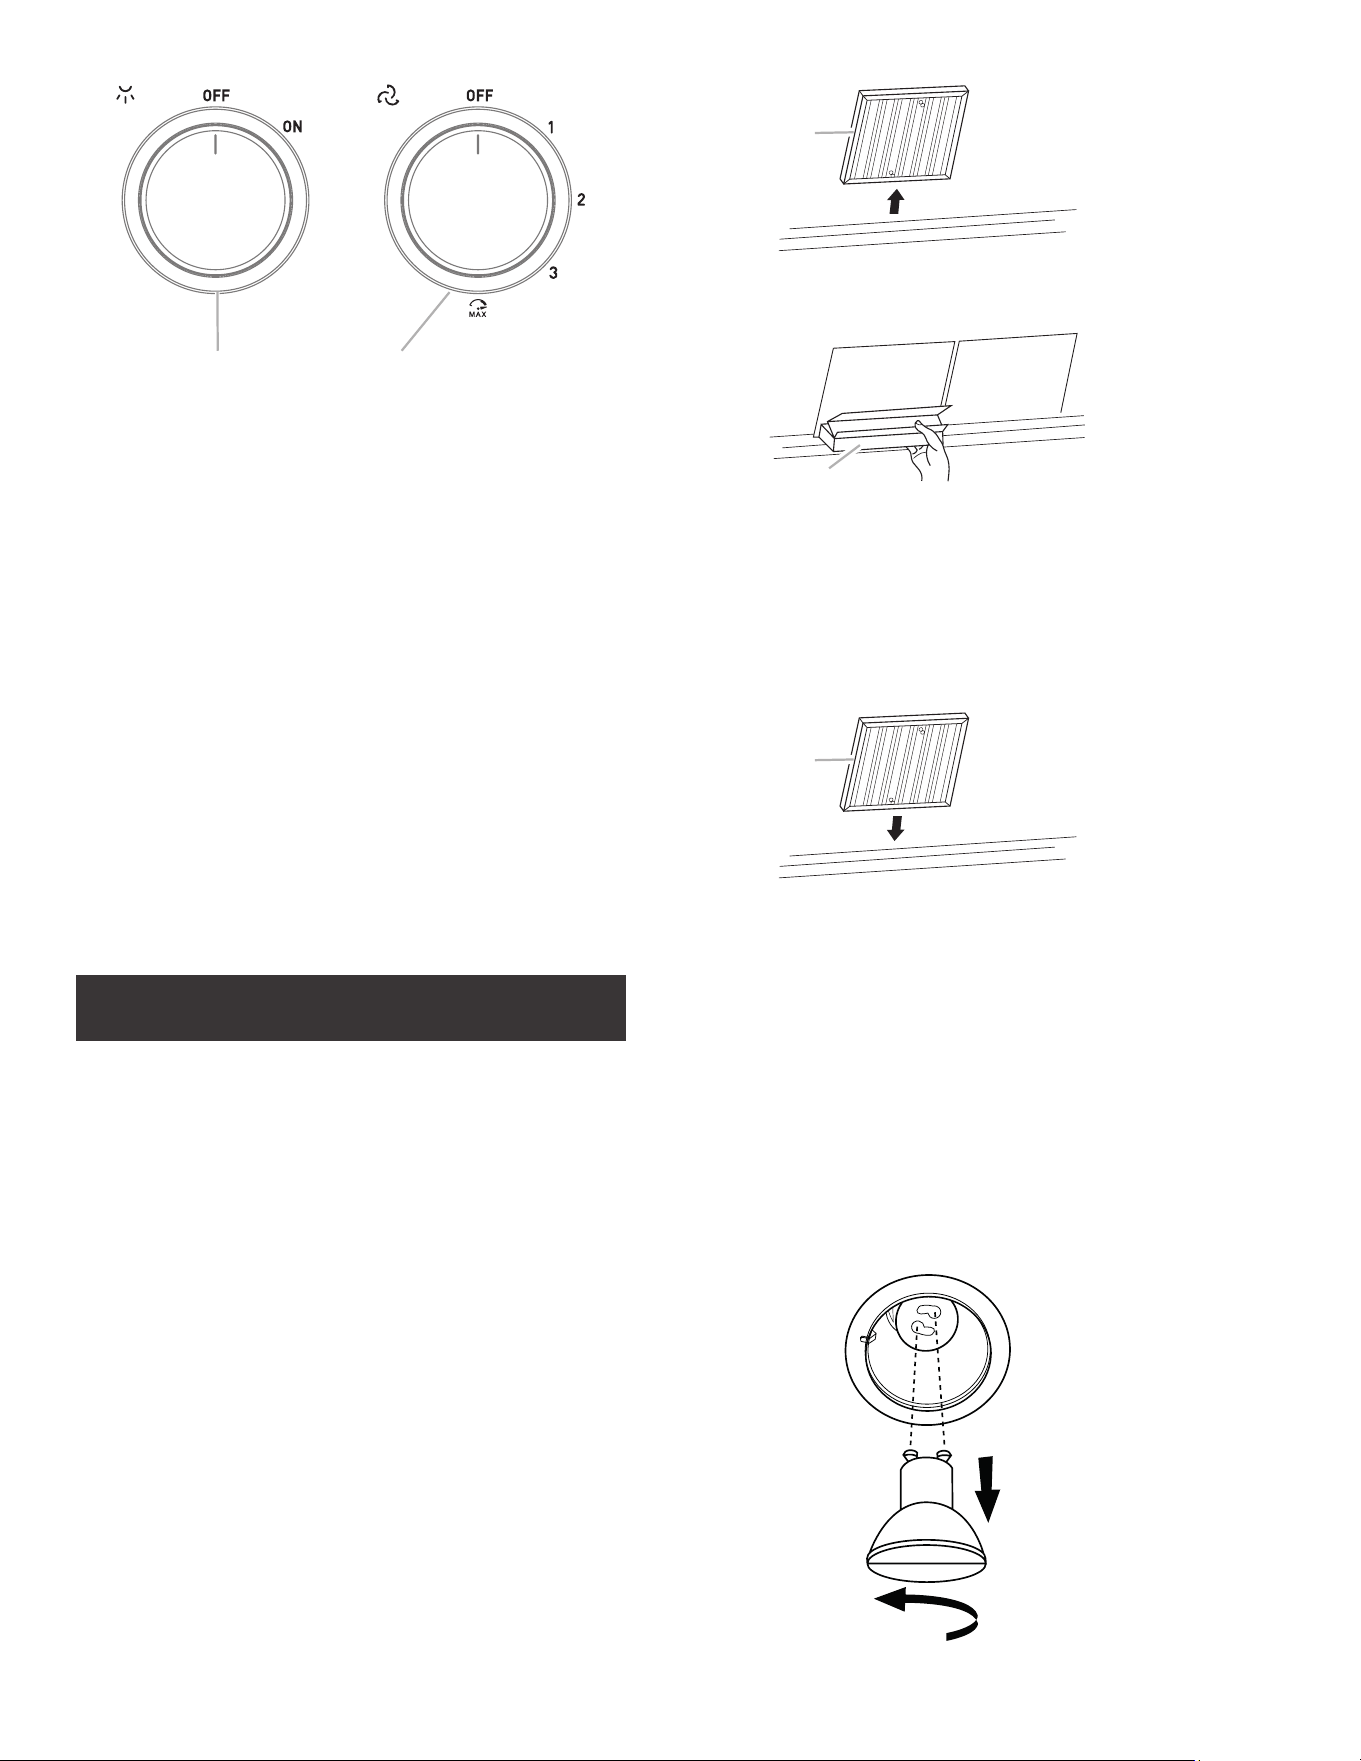
Metal Filters and Drip Trays:
1. Use 2 hands to remove filters.
2. Grasp filter handles, pull toward the front of range hood
and pull down on the rear handle to remove. Repeat for
each filter.
A
A. Grease filter
3. Remove grease drip tray.
A
A. Drip tray
4. Wash metal filters and grease trays as needed in
dishwasher or hot detergent solution to clean.
5. Replace grease drip tray.
6. Reinstall filters, grasp filter handles and place front edge
of filter into the hood.
7. Push up on the back handle and set rear of filter into the
drip tray to secure. Repeat for each filter.
A
A. Grease filter
Replacing a LED Lamp
Turn off the range hood and allow the LED lamp to cool.
To avoid damage or decreasing the life of the new lamp, do
not touch lamp with bare fingers. Replace lamp, using tissue
or wearing cotton gloves to handle lamp.
If new lamps do not operate, make sure the lamps are inserted
correctly before calling service.
1 Disconnect power.
2 Push up on the lens and turn it counterclockwise.
3 Remove the lamp and replace it with a 120-volt, 7.5 W watt
maximum halogen lamp with a GU10 base. Turn it clockwise
to lock it into place.
4 Repeat steps 2-3 for the other lamps if needed.
5 Reconnect power.
Loading ...
Loading ...
Loading ...