Loading ...
Loading ...
Loading ...
4
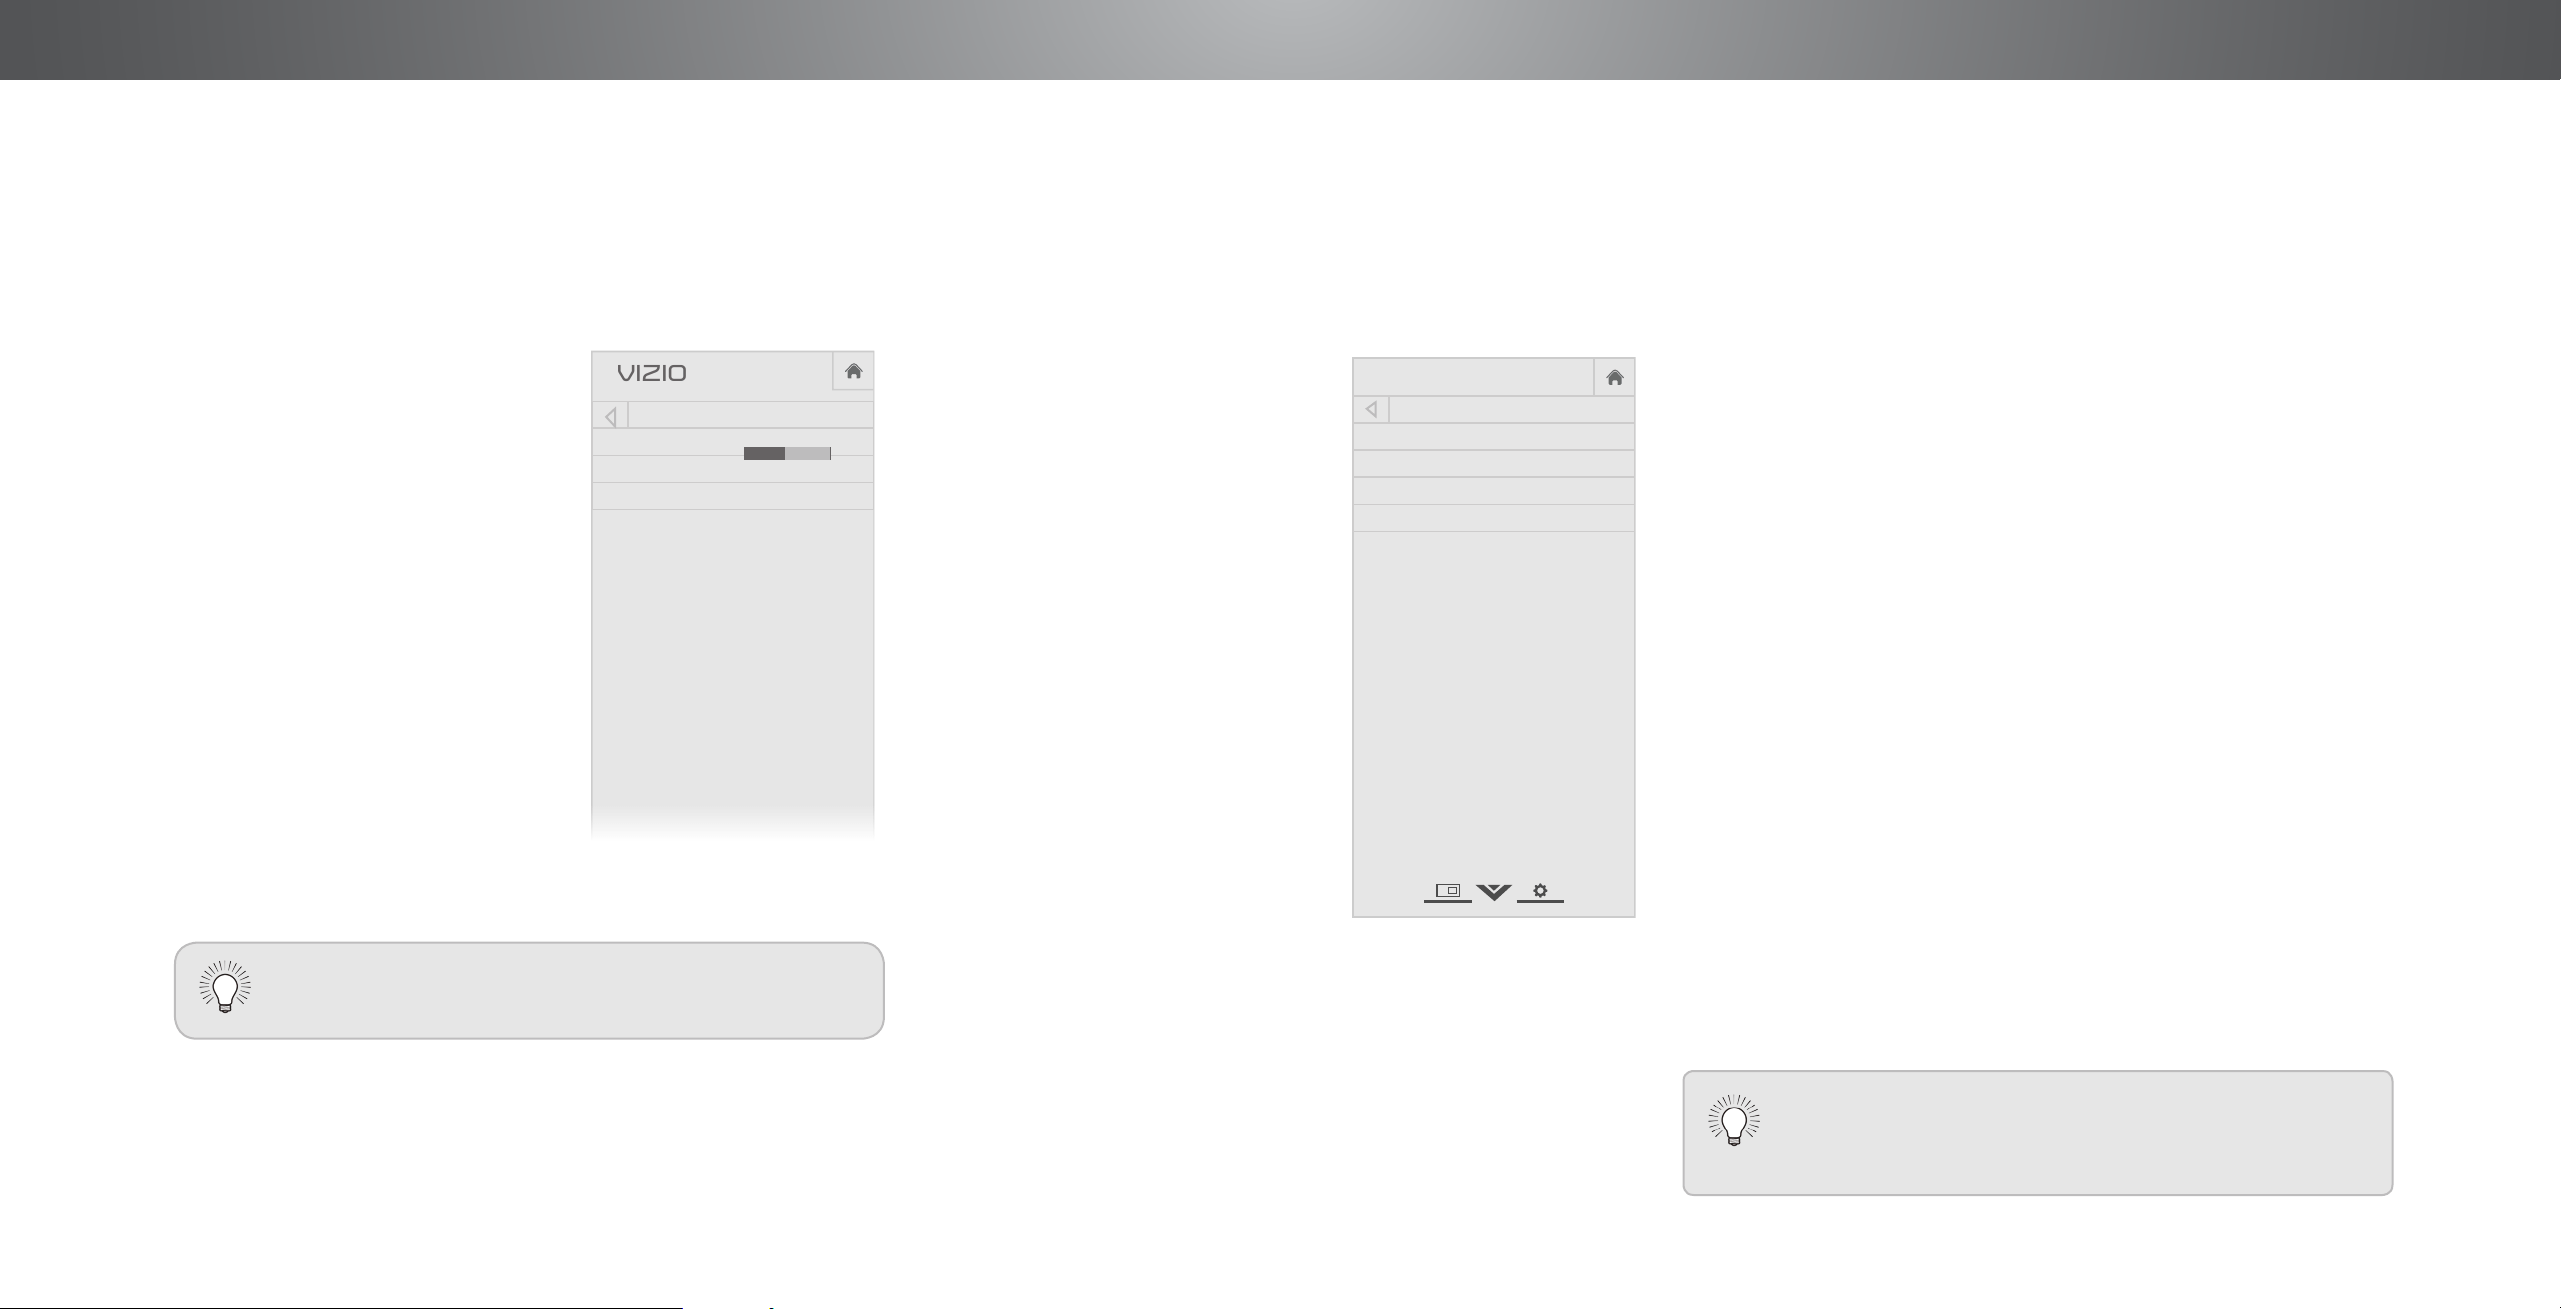
ADJUSTING THE AUDIO SETTINGS
To adjust the audio settings:
1. Press the MENU button on the
remote. The on-screen menu
is displayed.
2. Use the Arrow buttons on the
remote to highlight Audio and
press OK. The AUDIO menu
is displayed.
3. Use the Arrow buttons to
highlight the setting you wish
to adjust, then press Left/
Right Arrow buttons to change
the setting:.
• Lip Sync - Adjusts the
synchronization between
the display image and the
accompanying audio track.
• Digital Audio Out - Changes
the type of processing for
digital audio out and HDMI
ARC output when connected
to a home theater audio
system. Select PCM or
Bitstream.
• Analog Audio Out - Sets the volume control properties for
the RCA connector when connected to a home theater audio
system. Select Variable if you are controlling the volume with
the TV’s volume controls, or select Fixed if an external audio
device (sound bar or AV receiver) will control the volume.
4. When you have nished adjusting the audio settings, press the
EXIT button on the remote.
Help
VIZIO
Network
Sleep
Timer
Input CC
ABC
Audio
Wide
Normal
Picture
Settings
PanoramicWide Zoom
2D 3DExit
AUDIO
Lip Sync 0
Digital Audio Out Bitstream
Analog Audio Out Fixed
You must select Bitstream for audio with more than
two channels (3.0, 5.0, or 5.1, for example).
-
+
SETTING TIMERS
Setting the Sleep Timer
When activated, the TV’s sleep timer will turn the TV o after a set
period of time.
1. Press the MENU button on the
remote. The on-screen menu is
displayed.
2. Use the Arrow buttons on the
remote to highlight Timers and
press OK. The TIMERS menu is
displayed.
3. Use the Left/Right Arrow
buttons on the remote to
highlight the period of time after
which you want the TV to go to
sleep: 30, 60, 90, 120, or 180
minutes. If you don’t want the
sleep timer to activate, change
the setting to O.
4. When you have nished setting
the sleep timer, press the EXIT
button on the remote.
Help
VIZIO
Network
Sleep
Timer
Input CC
ABC
Audio
Wide
Normal
Picture
Settings
PanoramicWide Zoom
2D 3DExit
TIMERS
Sleep Timer Off
Auto Power Off 10 minutes
Screen Saver Off
Blank Screen
Setting the Auto Power O Feature
To help save energy, your TV is set by default to turn o after
10 minutes without a video or audio signal. This feature can be
deactivated.
To set the Auto Power O feature:
1. From the TIMERS menu, use the Up/Down Arrow buttons on
the remote to highlight Auto Power O.
2. Use the Left/Right Arrow buttons on the remote to change
whether the TV will turn o. If you don’t want the TV to turn o
when there is no signal, change the setting to O. Otherwise,
select 10 minutes.
3. When you have nished setting the auto power o time, press
the EXIT button on the remote.
Enabling the Screen Saver
If there is no on-screen content or static content when audio is
streaming, the backlight is turned o, saving energy. You can set
the time before the screen saver begins.
To set the Screen Saver:
1. From the TIMERS menu, use the Up/Down Arrow buttons on
the remote to highlight Screen Saver.
2. Use the Left/Right Arrow buttons on the remote to change
the time before the screen saver begins. If you don’t want the
screen saver to be active, change the setting to O. Otherwise,
select 2, 10, or 20 minutes.
3. When you have nished setting the screen saver time, press
the EXIT button on the remote.
To exit the Screen Saver
Press any button other than the Volume and Mute
buttons on the remote to exit the screen saver.
17
Loading ...
Loading ...
Loading ...