
Loading ...
Loading ...
Loading ...
13
ENERGY SAVING TIPS / DOOR ALIGNMENT
After the stainless surfaces have been thoroughly cleaned,
a good quality car wax may be applied to help maintain the
¿ nish.
Stainless steel products should never be installed, or stored
in close proximity to chlorine chemicals.
Whichever cleaning product you chose, it should be used
in strict accordance with the instructions of the cleaner
manufacturer.
The following suggestions will minimize the
cost of operating your refrigeration appliance.
1. Do not install your appliance next to a hot appliance
(cooker, dishwasher, etc.), heating air duct, or other
heat sources.
2. Install product out of direct sunlight.
3. Ensure the front grille vents at front of appliance
beneath door are not obstructed and kept clean to
allow ventilation for the refrigeration system to expel
heat.
4. Plug your appliance into a dedicated power circuit. (Not
shared with other appliances).
5. When initially loading your new product, or whenever
large quantities of warm contents are placed within
refrigerated storage compartment, minimize door
openings for the next 12 hours to allow contents to pull
down to compartment set temperature.
6. Maintaining a relatively full storage compartment
will require less appliance run time than an empty
compartment.
7. Ensure door closing is not obstructed by contents
stored in your appliance.
8. Allow hot items to reach room temperature before
placing in product.
9. Minimize door openings and duration of door openings.
10. Use the warmest temperature control set temperature
that meets your personal preference and provides the
proper storage for your stored contents.
11. When on vacation or away from home for extended pe-
riods, set the appliance to warmest acceptable tem-
perature for the stored contents.
12. Set the control to the “off” position if cleaning the
appliance requires the door to be open for an extended
period of time.
Energy saving tips:
NOTE
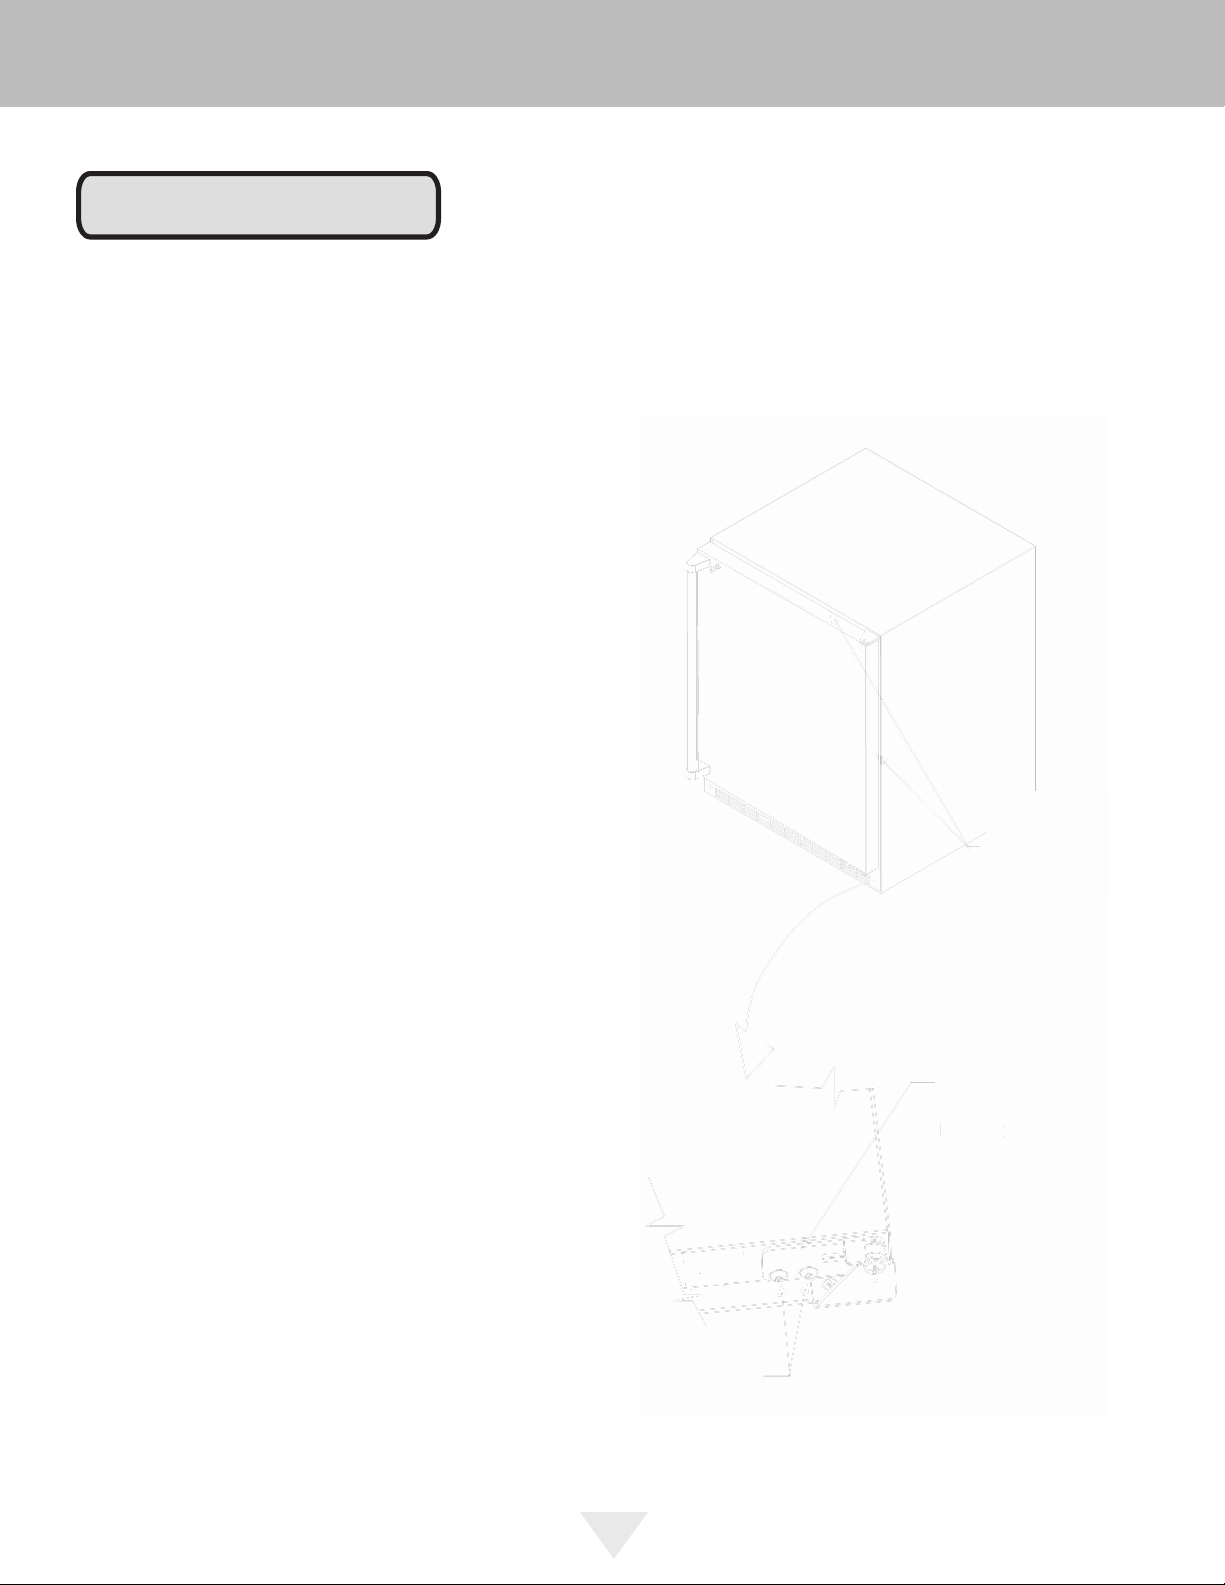
Bottom
of door
Figure 21a
Door
adjustment
bracket
Bottom
Bottom
of door
of
door
Fi
g
ure 2
1a
D
oo
r
ad
j
ustme
nt
b
r
ac
k
et
Loading ...
Loading ...
Loading ...