Loading ...
Loading ...
Loading ...
7
In compliance with local codes, install an electrical junction
box near the hood’s electrical access holes.
1. In the cabinet or wall, drill 7/8” holes through which to
pass the electrical wiring.
2. See the last pages of this guide for wiring diagrams.
Preparation and Setup
Installing the Electrical Source
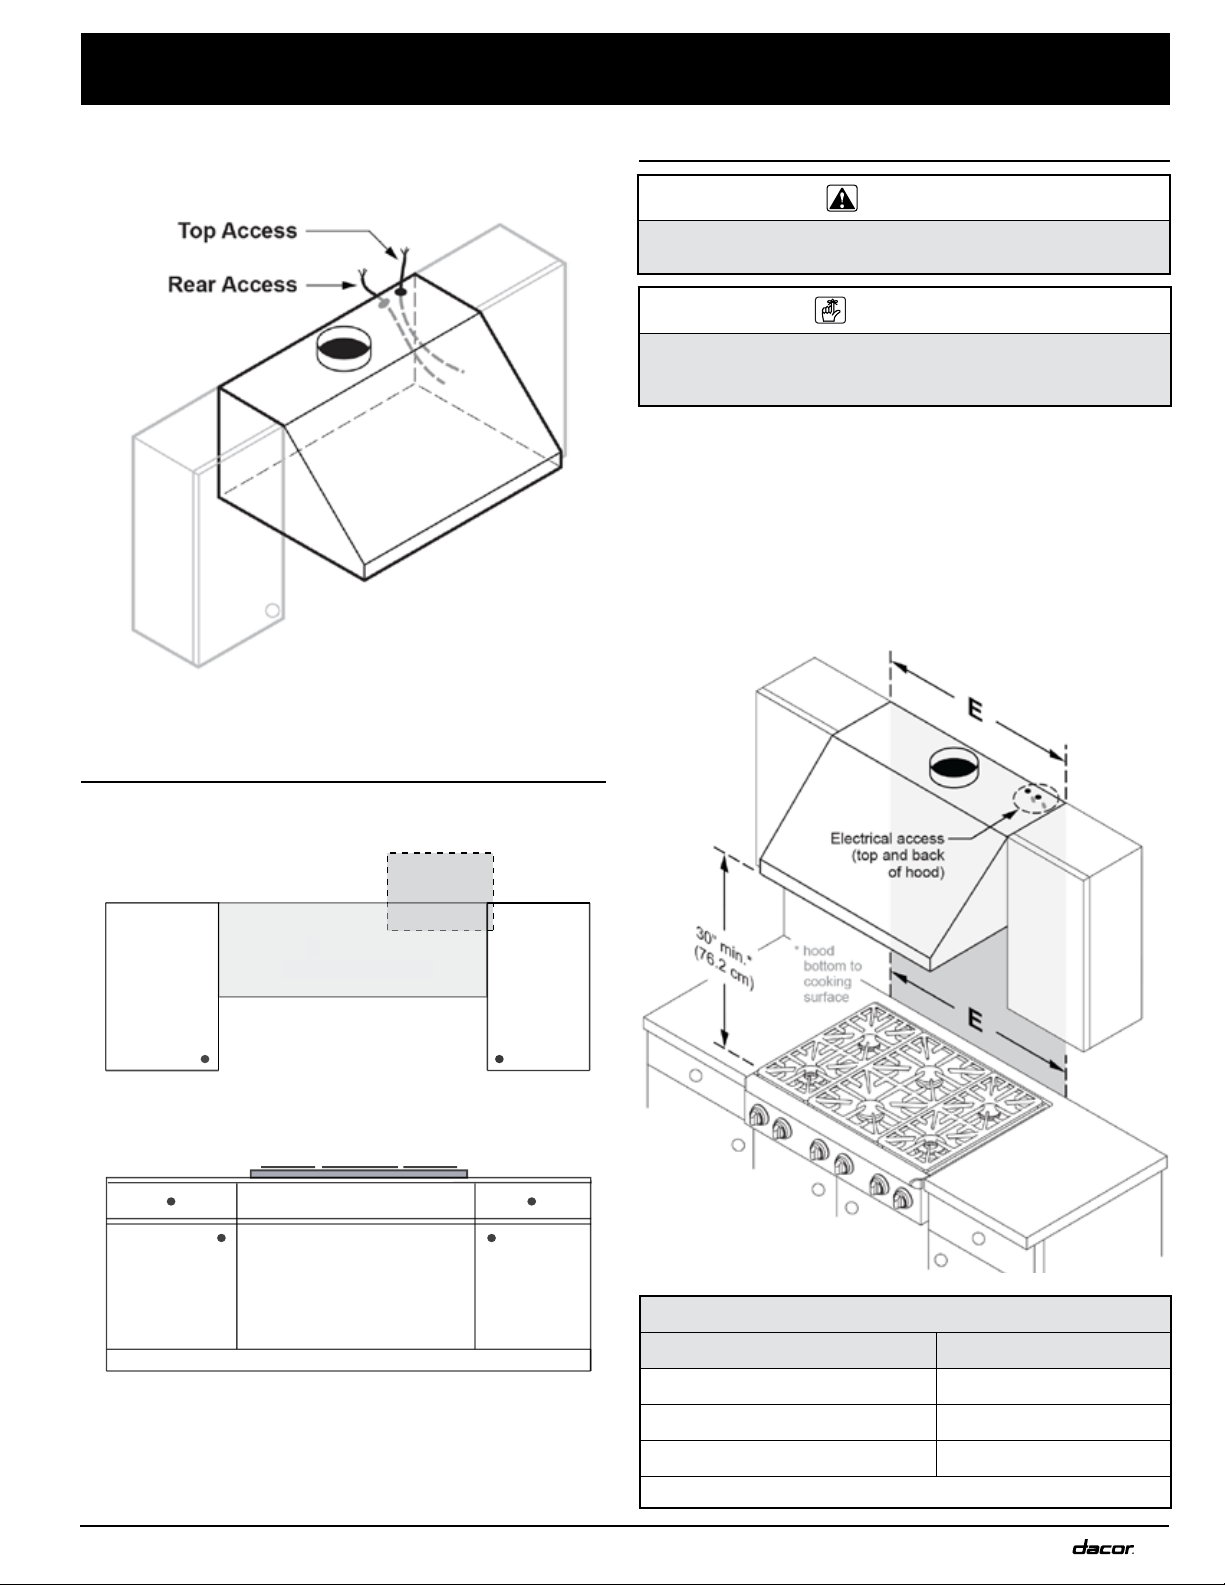
• See the diagram below: Top/Rear Electrical Access
Holes for wire hole locations inside the hood.
• See Wiring Diagrams at the end of this document.
Hood
Junction Box Area
Top/Rear Electrical Access Holes
• The hood must be at least as wide as the cooktop.
• Dimensions must meet or fall within the given minimums.
• Dimensions given are minimum clearances unless other-
wise noted.
• All contact surfaces between the hood and cabinetry/
walls must be sturdy, solid, and at right angles.
• Install the hood and cooking appliance(s) so they can be
removed for service.
IMPORTANT
See the diagram for minimum installed distance from hood bottom to cooking
surface. The minimum distance may be higher for the cooking unit used.
Check the cooking unit manufacturer specifications.
Meeting Installation Requirements
Min. Width of E: Upper-Cabinet Cutout, Appliance Width
HWHP, HWHE E
3012, 3018 30 in. (76.2 cm)
3612, 3618 36 in. (91.5 cm)
4812, 4818 48 in. (121.9 cm)
All tolerances: ±1/16”, unless otherwise stated.
WARNING
Observe local ordinances regarding all facets of the project during planning
and installation. Contact the local building department for details.
Loading ...
Loading ...
Loading ...