Loading ...
Loading ...
Loading ...
4
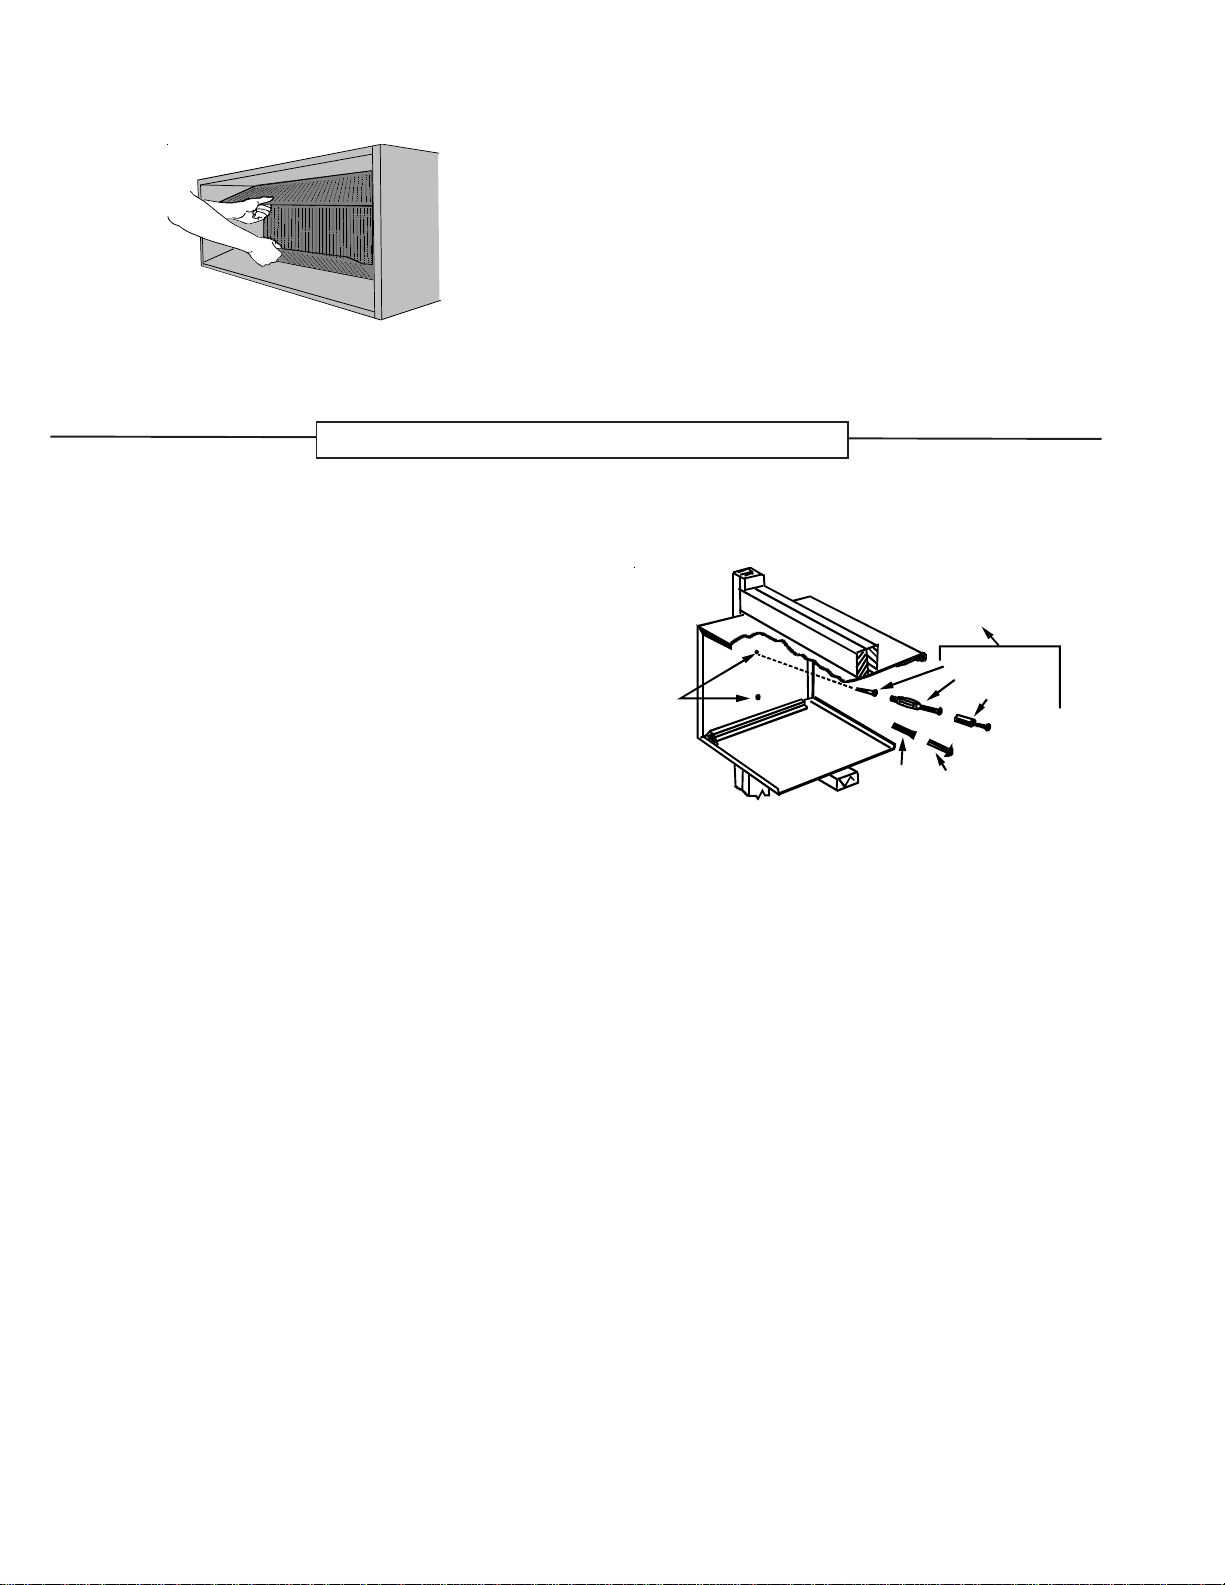
Figure 9 - Panel Removal
WALL SLEEVE INSTALLATION
After the wall opening is checked and approved for location, size, and clearances, complete the following to install the
wall sleeve.
1. Install Indoor Drain Kit.
2. Remove the outside enclosure panel from the wall
sleeve.
3. Slide the wall sleeve into the wall opening. Do not dis-
tort the cabinet shape to fit the wall opening; the unit
chassis must fit snugly and uniformly into the wall
sleeve.
4. Locate the sleeve within the range of minimum pro-
jections, as shown in Figures 3 and 4, so both sides
are at least the minimum projection from the wall.
5. Check the level of the wall sleeve. For proper drain-
age, the sleeve should be level from side to side and
one-quarter bubble in the sight glass sloping to the
outside.
6. Two holes will need to be drilled in both sides of the
wall sleeve for mounting into the wall. Drill holes of
proper size and in the proper location so the screws
will engage into strong supporting members of the
wall. DO NOT DRILL THROUGH BOTTOM OF
SLEEVE. Figure 10 shows possible fastening meth-
ods.
Mounting
Holes
(Drilled by
Installer)
Plastic
Anchor
Screws
Expansion
Anchor Bolt
Toggle Bolt
Wood Screw
Alternative
Fastening Method
(Field Supplied)
Figure 10 - Wall Sleeve Attachment to Opening
7. Check the level of the wall sleeve and adjust if neces-
sary.
8. Caulk or seal around the outside of the entire sleeve.
9. If the unit chassis will not be installed immediately, re-
place the enclosure panel on the outside opening of
the sleeve. This will prevent weather damage to the
building interior.
10. Recycle or dispose of packaging materials per local
codes.