Loading ...
Loading ...
Loading ...
l
This appliance shall not be used by children. Keep the
appliance and its cord out of reach of children.
l
Only use the appliance for its intended domestic use.
Kenwood will not accept any liability if the appliance is subject
to improper use, or failure to comply with these instructions.
3
before plugging in
•
Make sure your electricity supply is
the same as the one shown on the
underside of the appliance.
Important - UK only
•
The wires in the cord are coloured as
follows:
Blue = Neutral
Brown = Live.
•
The appliance must be protected by a
3A approved (BS1362) fuse.
Note:
•
For non-rewireable plugs the fuse
cover MUST be refitted when replacing
the fuse. If the fuse cover is lost then
the plug must not be used until a
replacement can be obtained. The
correct fuse cover is identified by colour
and a replacement may be obtained
from your Kenwood Authorised Repairer
(see Service).
•
If a non-rewireable plug is cut off it
must be DESTROYED IMMEDIATELY.
An electric shock hazard may arise if
an unwanted non-rewireable plug is
inadvertently inserted into a 13A socket
outlet.
•
This appliance conforms to EC
Regulation 1935/2004 on materials and
articles intended to come into contact
with food.
before using for the first time
Wash the parts: see ‘care and cleaning’.
key
1
pusher with support blade
2
lid with feed tube
3
cutting cone
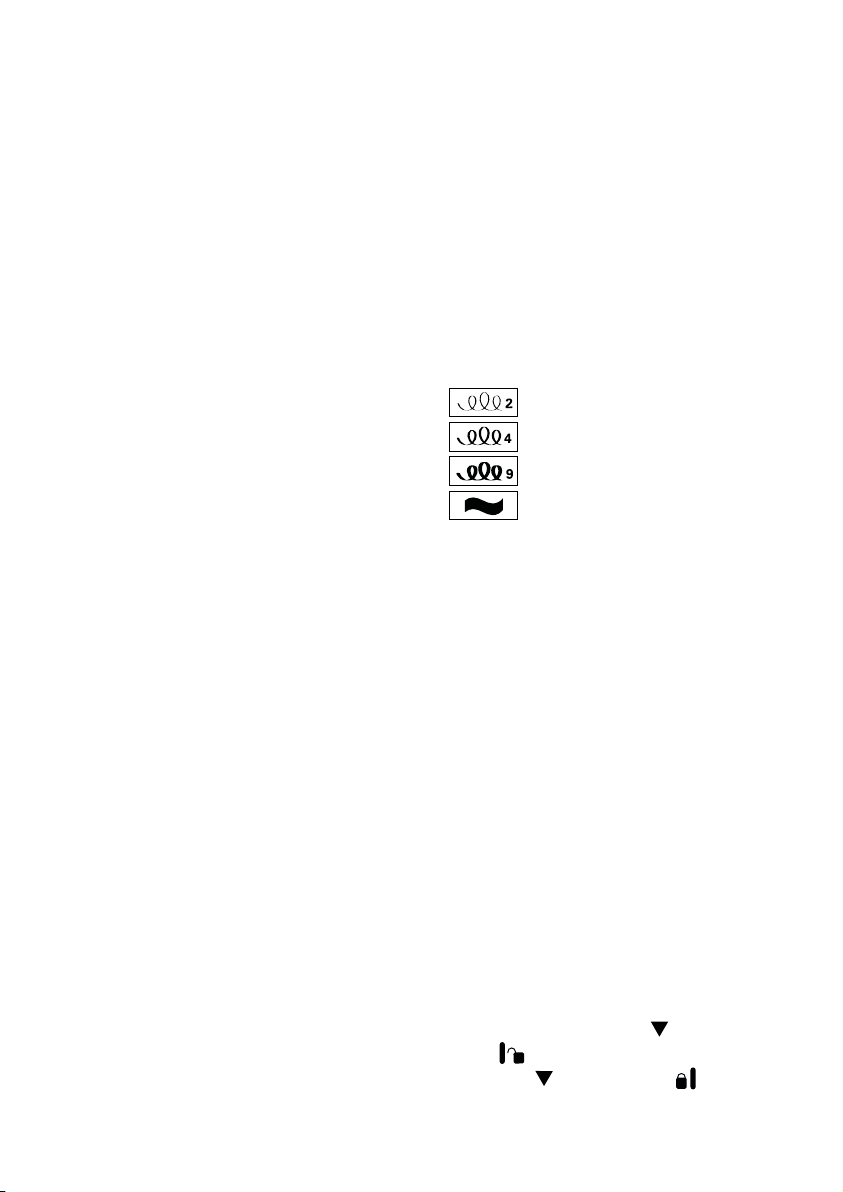
Actual cones in pack may vary. Optional
cones available include:
Spaghetti (2 X 2mm)
Linguine (2 X 4mm)
Tagliatelle (2 X 9mm)
Flat blade (Pappardelle) - width
of ribbon determined by width of
food
4
cone holder
5
power unit
6
On/Off switch
7
container
8
container platform
9
cord storage
•
Refer to the “service and customer
care” section to obtain additional cutting
cones.
to assemble your
spiralizer
1 Insert the cone holder
4
.
2 Fit the desired cutting cone
3
. The lid
cannot be fitted if the cone holder or
cone are not located correctly. Ensure
that the cone sits flush with the holder.
3 Fit the lid and align the
on the lid with
the
on the body. Turn clockwise
until the
aligns with the
1
.
4 Place the container under the cutting
cone.
Loading ...
Loading ...
Loading ...