Loading ...
Loading ...
Loading ...
8 INSTALLATION
8.1 UNPACK THE MACHINE
W
ARNING
Make sure that you correctly assemble the machine before
use.
W
ARNING
• If parts of the machine are damaged, do not use the
machine.
•
If you do not have all the parts, do not operate the
machine.
• If the parts are damaged or missing, contact the service
center.
1. Open the package.
2.
Read the documentation in the box.
3. Remove all the unassembled parts from the box.
4. Remove the machine from the box.
5. Discard the box and package in compliance with local
regulations.
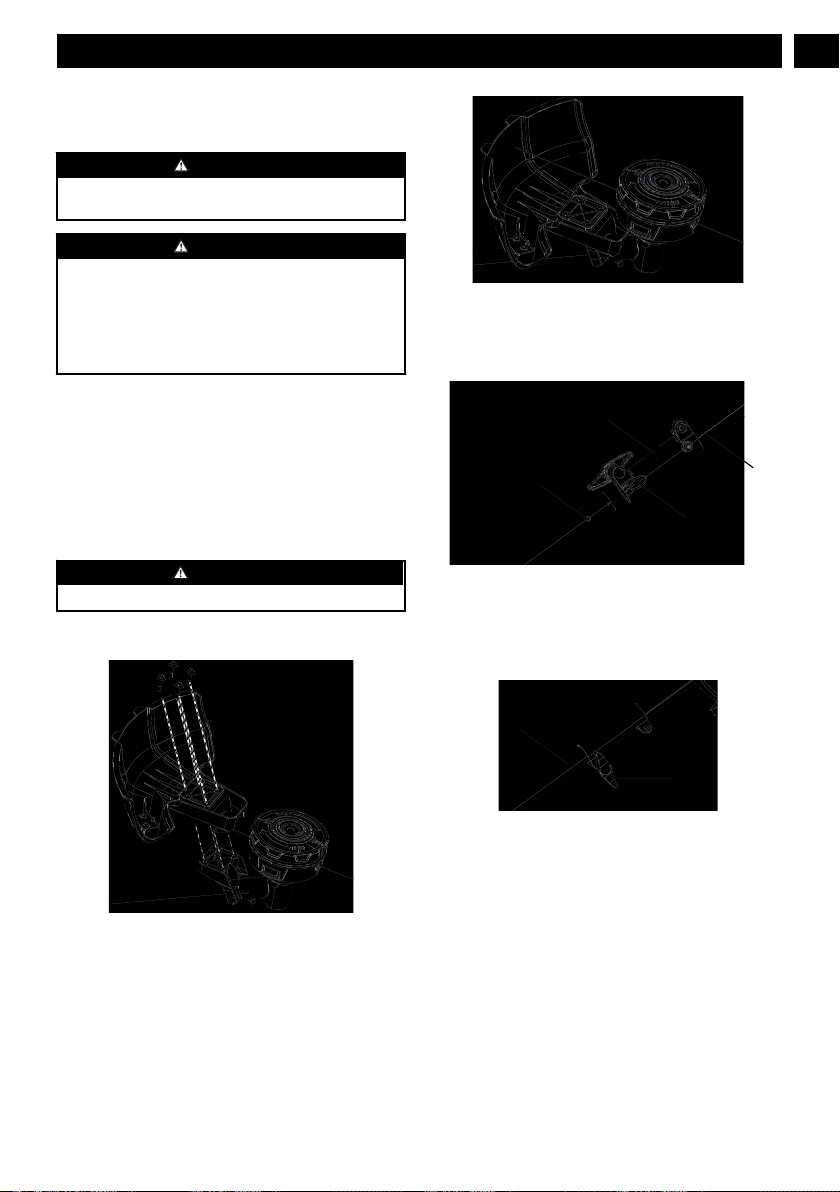
8.2 ATTACH THE GUARD
W
ARNING
Do not touch the cut-off blade.
1. Remove the screws from the trimmer head with a Phillips
head screwdriver (not included).
2. Put the guard onto the trimmer head.
3.
Align the screw holes on the guard with the screw holes
on the trimmer head.
4. Tighten the screws.
8.3 ASSEMBLE THE SHAFT
1. Loosen the knob (13) on the coupler (8).
2.
Push in the release button on the lower shaft (9).
6
8
Positioning hole
R
elease button
3. Align the release button with the positioning hole and
move the two shafts.
4.
Turn the lower shaft until the button locks into the
positioning hole.
5. Tighten the knob.
9
1
3
8.4 ATTACH THE AUXILIARY
HANDLE
1. Remove the knob (16) from the handle.
2.
Attach the auxiliary handle and lower clamp (15) on the
shaft.
3. Set the auxiliary handle in the comfortable position.
4. Put the bolt (14) through the holes.
5. Tighten the auxiliary handle with the knob.
7
English
EN
Loading ...
Loading ...
Loading ...