Loading ...
Page 2 of 4 P/N 11864.00 Rev A
1. Provide square hole through the roof or wall as shown by dash lines for conduit as shown in Fig-2. For reference,
location of 10" duct connection and wiring connection is shown with solid lines.
2. Remove shipping bracket per separate instruction. SEE PAGE - 2
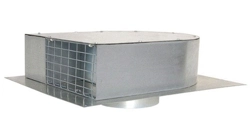
3. Install ventilator on roof or wall, with discharge (screened end) pointing down, according to STANDARD ROOFING
PROCEDURES. Note: Front discharge edge should be on top of shingles and rear and side edges under shingles. Note:
Unit must be sealed between roof or wall and underside of flange with roofing mastic to prevent leaks. For installation
on a flat roof, or roofs with pitch of less than 1-1/2" in 12", install ventilator on curb as shown in Fig-3. Position
curb on sloping roof with 2" dimension facing down slope. Position curb on flat roofs so that discharge (screened
end) points away from prevailing wind.
4. Connect the ventilator to exhaust system with a 10" diameter metal duct only. Use 10" adjustable elbow to adjust to roof
angle. Tape and screw all joints to prevent air leaks. See Fig-4.
5. Remove top cover of ventilator to access wiring connections. Retain mounting screws.
6. Run electrical conduit per local code to conduit outlet in bottom plate of ventilator (use liquid tight connection). Other
end of conduit will connect to electrical box in your LYNX hood. See hood installation instructions for hood wiring
location. See Fig – 6.
7. Run four (4) 16 ga wires in conduit (1-black, 1-white, 1-blue and 1-red) between the ventilator and hood. Check for
local code compliance. The ground wire should be 16 ga wire. See Fig-6 for wiring details. Check for local code
compliance.
8. Dimensions of ventilator are shown in Fig-5.
9. When connecting the hood to power supply, replace the black-#12 wire and white-#13 wire on hood with the wires
supplied with the remote blower.
Power supply for the LOHE plus hood requires a 120v, 20 amp, 60 Hz circuit, connected per local codes.
10. Rotate ventilator blower wheel to be sure it turns freely and does not rub on motor brackets. Check damper door to be
sure it moves freely and spring returns door to closed position.
11. Check screen guard to be sure it is in position and secure. Check for removal of shipping bracket.
12. Replace cover removed in Step-4 and secure with screws provided. All screws must be in place on cover.
13. See Fig-1 for typical hood installations.
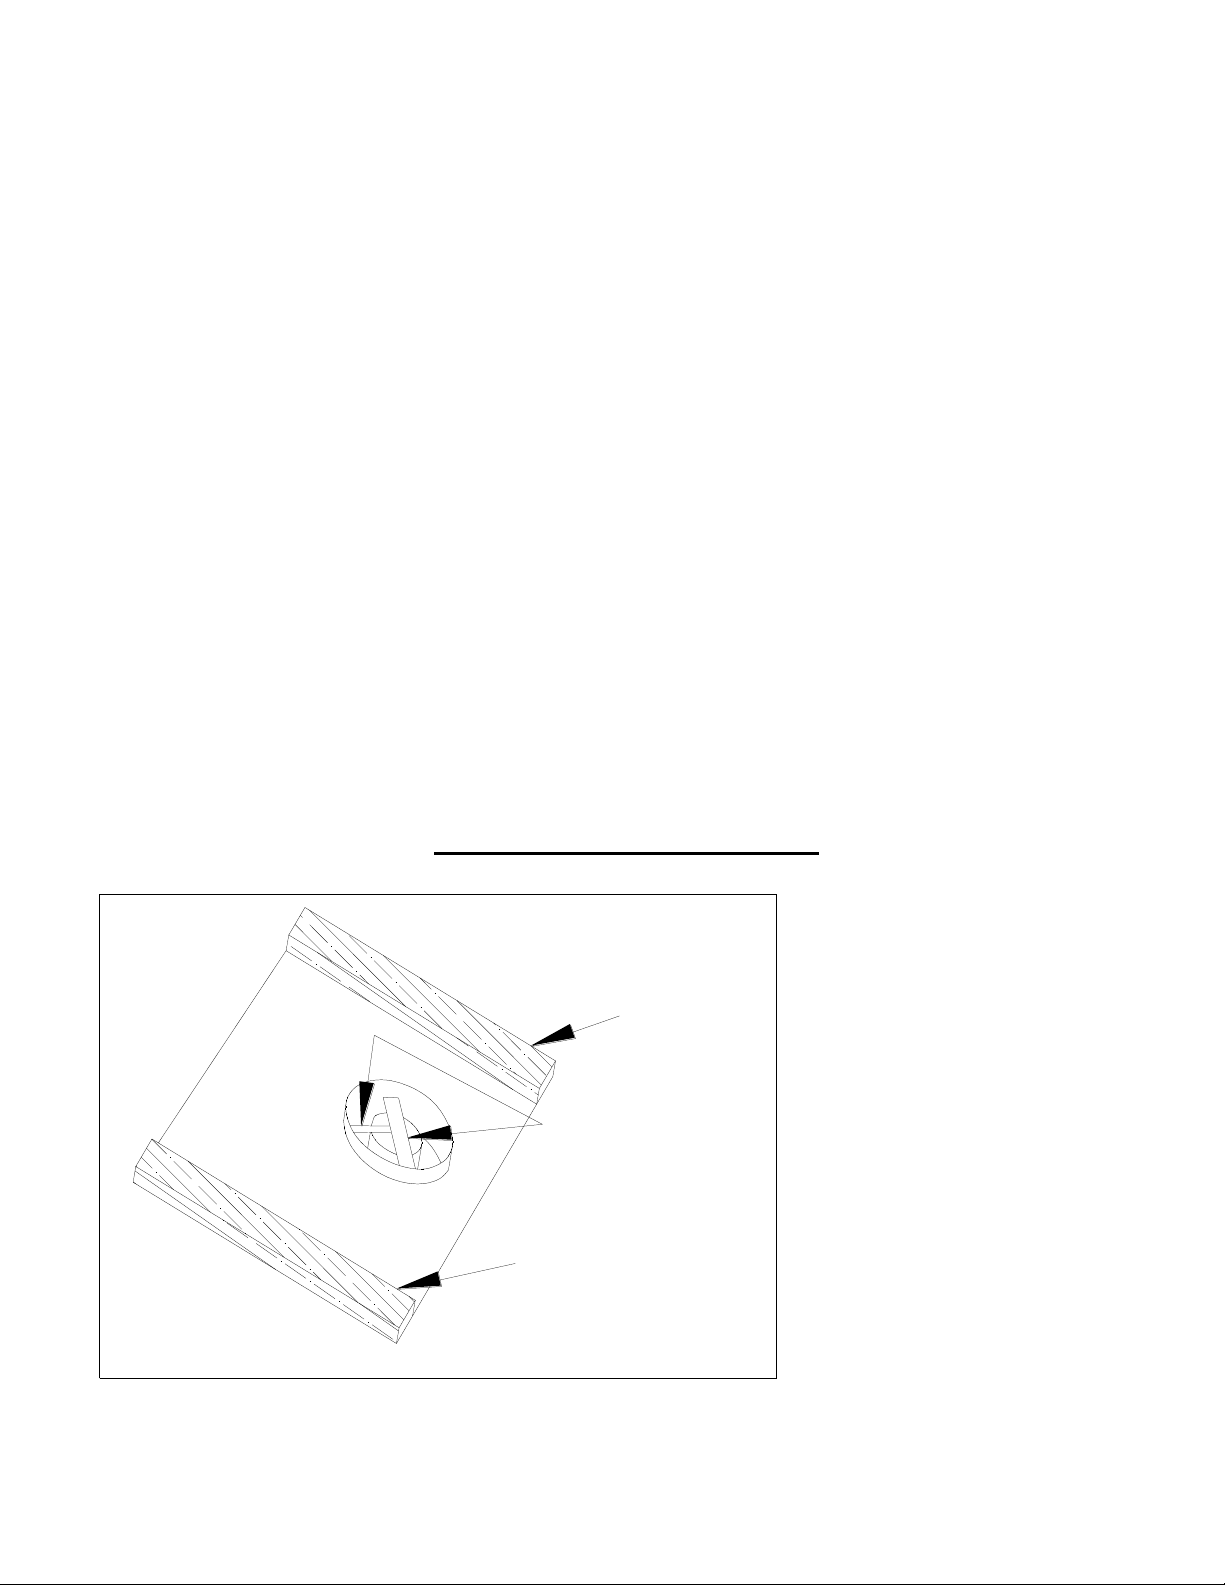
ATTENTION INSTALLER
Remove
Remove
Remove
Before Installing
And Wood Supports
Remove Shipping Bracket
Attention Installer
*************************
*************************
Loading ...
Loading ...