Loading ...
Loading ...
Loading ...
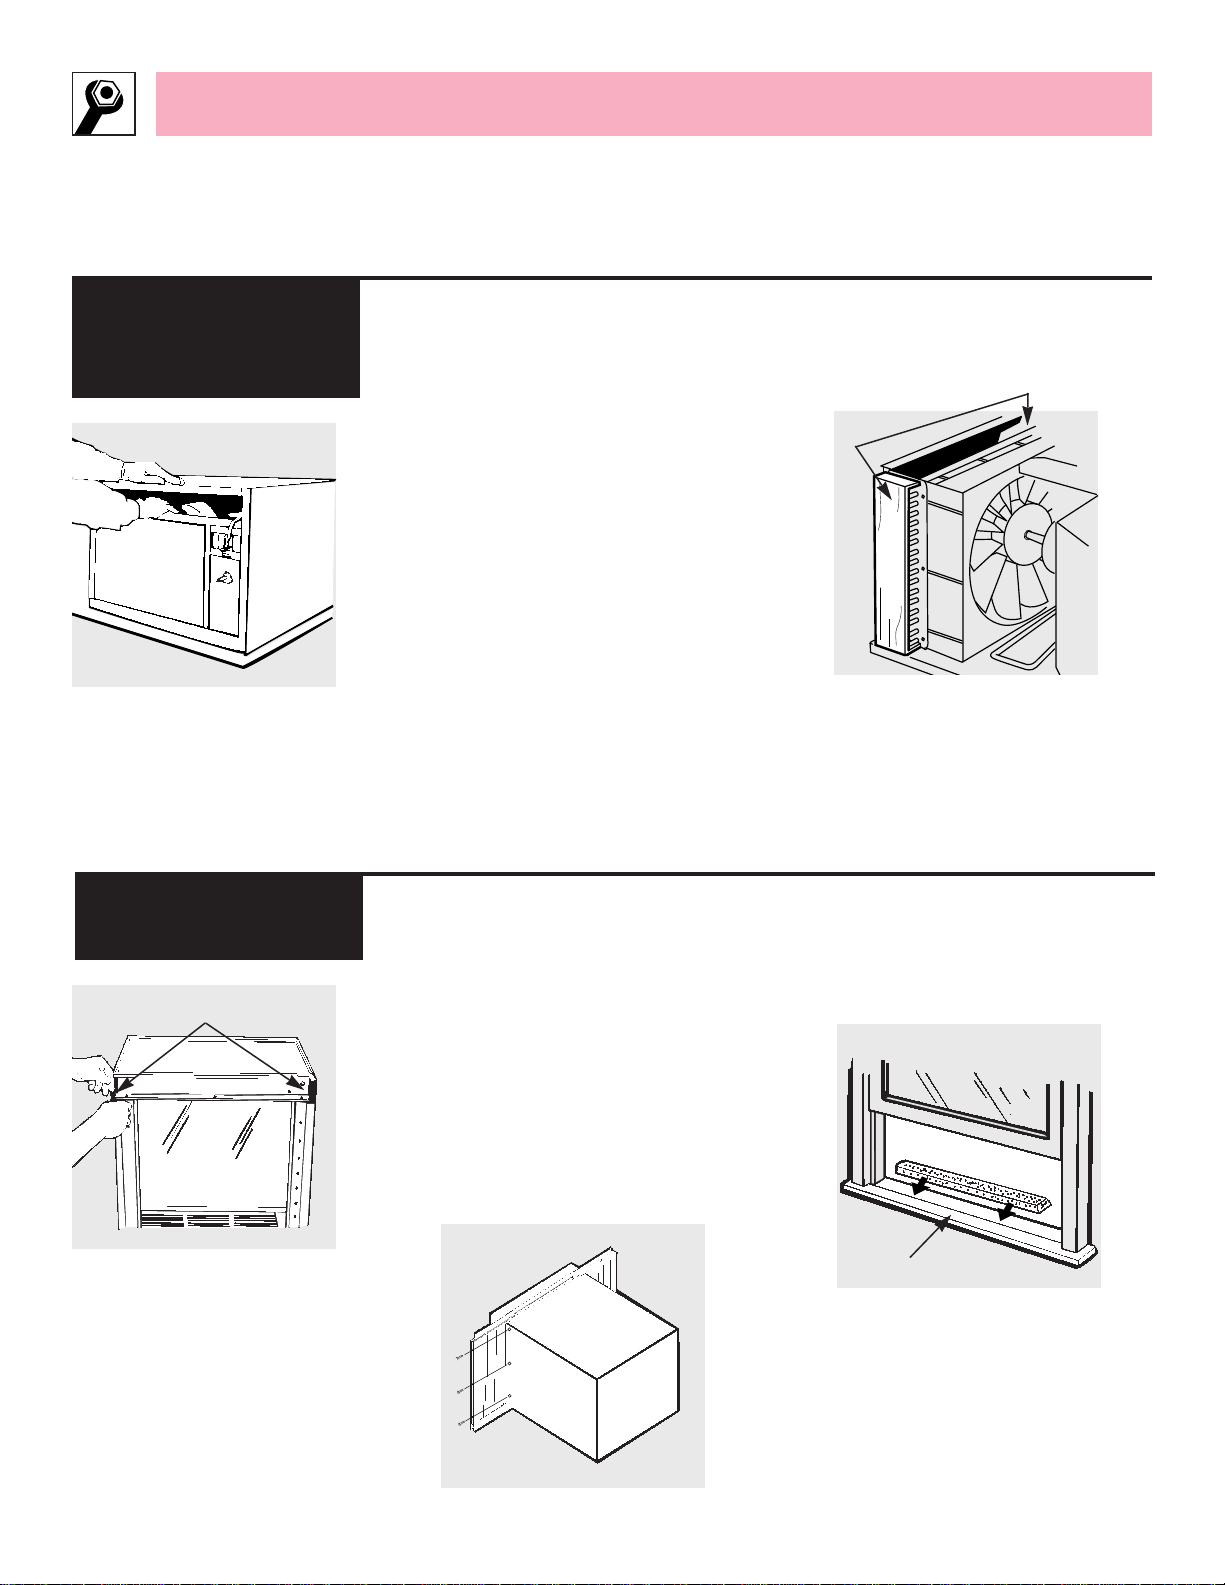
1
Turn the case so that its open
end is up. Apply one sill pad to
each side of the bottom front
corner of the case.
2
Insert the right and left hand
filler panels into the top and
bottom rails. Secure them
with six 1/4
″screws, three on
each side.
3
Peel the backing off the bottom
window gasket and place onto
the backside of the window stool.
Installation Instructions
Read completely then follow step-by-step
10
Prepare the Case and
the Window
1
Remove the front grille insert
and the air filter.
2
Remove the control knobs by
pulling straight off.
3
Remove the 4 screws behind the
air filter area that hold the front
grille to the case. Remove the
lower front screw at the bottom
of the control panel. Save these
screws. You will need them at the
end of the installation.
4
Remove the 2 screws on the out-
side of the case that hold the case
to the unit. Remove the air con-
ditioner by grasping inside of the
unit and pulling forward.
5
Remove the cardboard that
protects the coils on the sides
of the unit.
REMOVE BEFORE
OPERATION
Remove the Air
Conditioner From
the Case
Sill pads
Stool
Remove
Loading ...
Loading ...
Loading ...