Loading ...
Loading ...
Loading ...
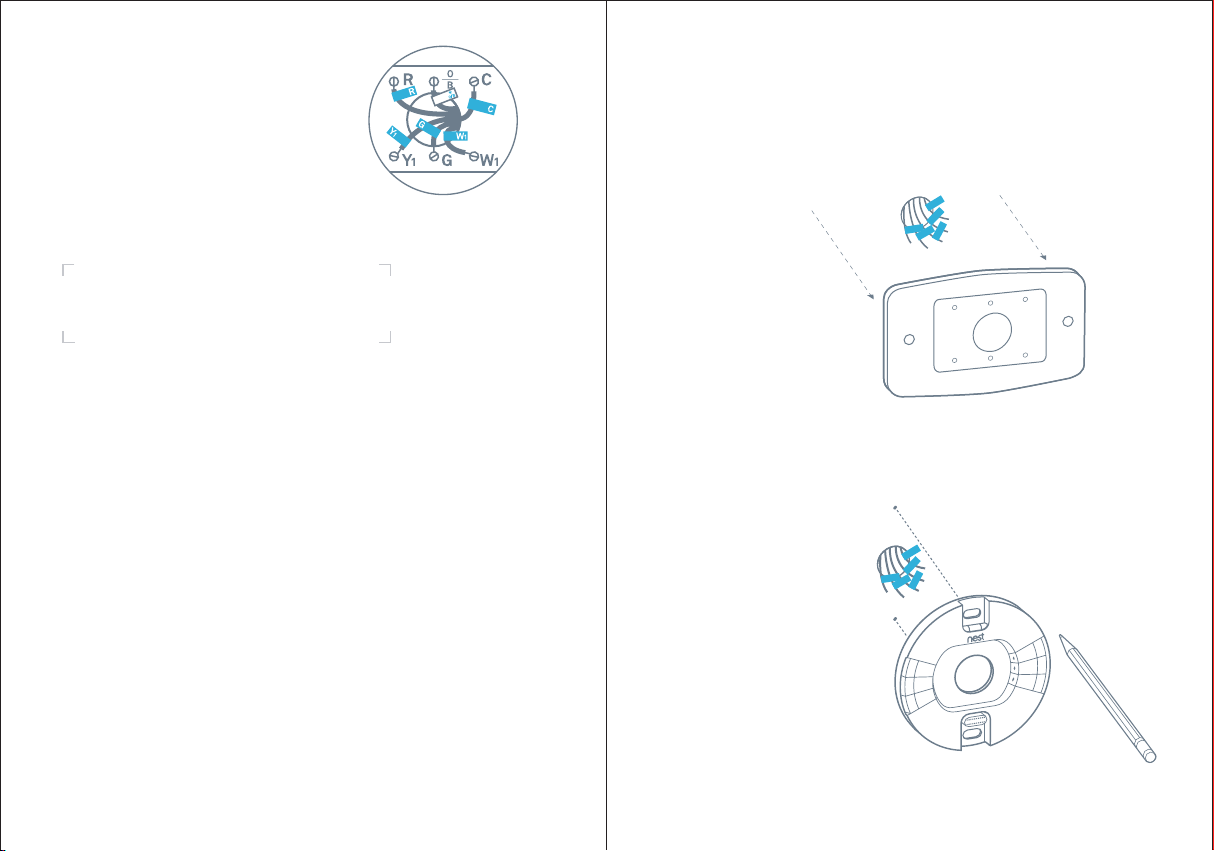
After removing the thermostat base, gently wrap
the wires around a pen or pencil so they don’t fall
back into the hole in the wall.
Remember, the power to your HVAC system must
be off to avoid blowing a fuse in your equipment.
8. Mark where screws will go
Use the built-in bubble level to make
sure the base is level.
7. Disconnect wires and remove base6. Label the wires
Peel off the labels below and attach them
to the thermostat’s matching wires.
Note: If you have an Rc or Rh wire, put the
R label on it.
IMPORTANT: If you’re unsure about wiring your
thermostat, go to nest.com/install to contact
a Nest Pro in your area.
Wiring tips
Wire colors can vary, but:
• Common or C wires are generally blue.
• If there’s an orange wire in the connector labeled both W and O/B,
then you likely have a heat pump. Put this wire in the Nest Thermostat’s
*O/B connector.
• If there’s a white wire in the connector labeled both W and O/B,
then you probably don’t have a heat pump. Put this wire in the Nest
Thermostat’s W connector.
Loading ...
Loading ...
Loading ...