Let Us Know
What You Think
We sincerely thank you for your business and are committed to ensuring
your full satisfaction. If you are not entirely satisfied for whatever reason,
please reach out to us and we will do all within our power to make it right.
As a young and growing company, it would mean the world to us if
you could leave an honest online review about our product and
services.
facebook.com/amcrest
twitter.com/amcrestsecurity
Instagram.com/amcresttechnologies
www.instagram.com/amcresttechnologies
www.twitter.com/amcrestsecurity
www.facebook.com/amcrest
© 2019 Amcrest Industries. All rights reserved.
For the most recent version of this
Quick Setup Guide visit:
amcrest.com/deterrentsetup
Quick Setup Guide
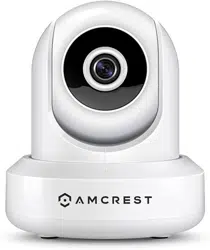
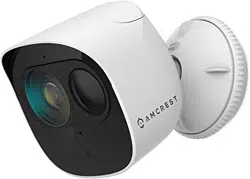
Deterrent Camera
If your experience has
been something less
than amazing, please
drop us an email at
or give us a ring at
1-888-212-7538
amcrest.com/videos
amcrest.com/support
www.amcrest.com/videos
www.amcrest.com/support
www.amcrest.codeterrentsetup

Thank you for purchasing an
Amcrest Deterrent Camera!
This camera is designed to
provide added security as well
as peace of mind to your life
and connect you with what
matters most from anywhere
using your smartphone, tablet
or computer.
This guide is designed as a refer-
ence tool for the installation and
operation of your camera. Here
you can find information about
installation, features and functions,
as well as information to aid in
troubleshooting.
Setting up the Camera
Physical Installation
How to Use the Camera
Troubleshooting
01
02
03
04
Contents
01
Set Up the
Camera
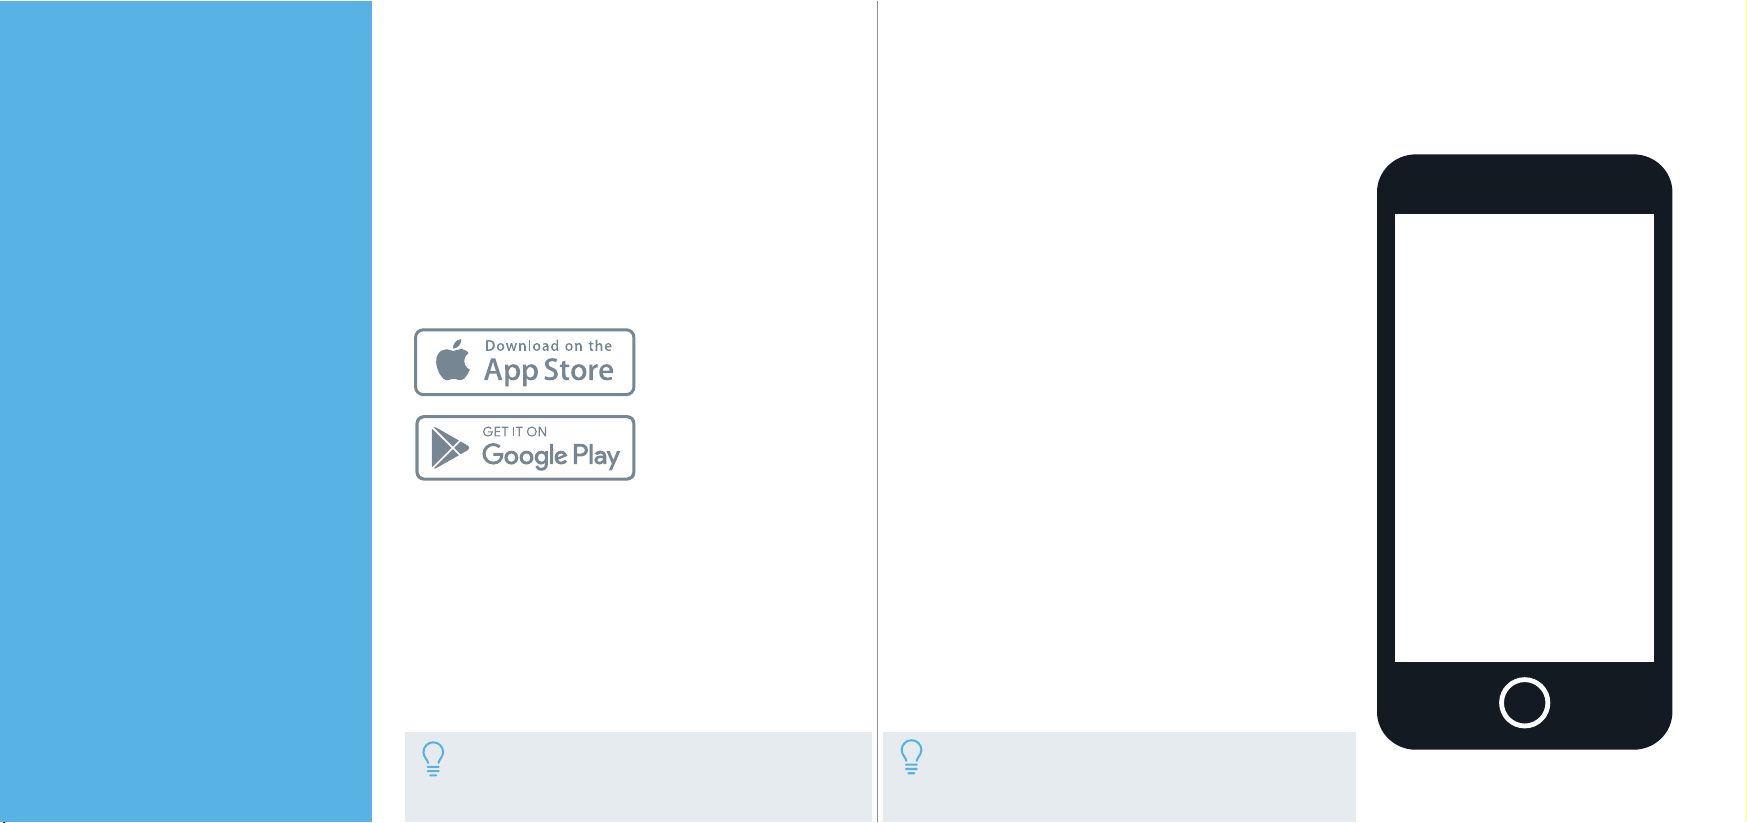
The Amcrest Smart Home app
connects your Amcrest camera
to your Android or iOS mobile
device ensuring you are
always connected to what
matters most.
To get the app, search for “Amcrest
Smart Home” in the Google Play or
App Store and download.
Connecting to the
Smart Home App
Plug the camera into a power source
and allow it to boot. When it is ready
to connect, a blinking green LED can
be seen on the front of the camera.
Open the Amcrest Smart Home app
and tap on “Register” to register an
account. After registering an account,
log into the app and tap on “Add
Device”.
Note: To optimize your experience, Android
users please tap “OK” to allow required
permissions.
Note: Android users, tap “Allow” to allow the
app to take pictures and record video.
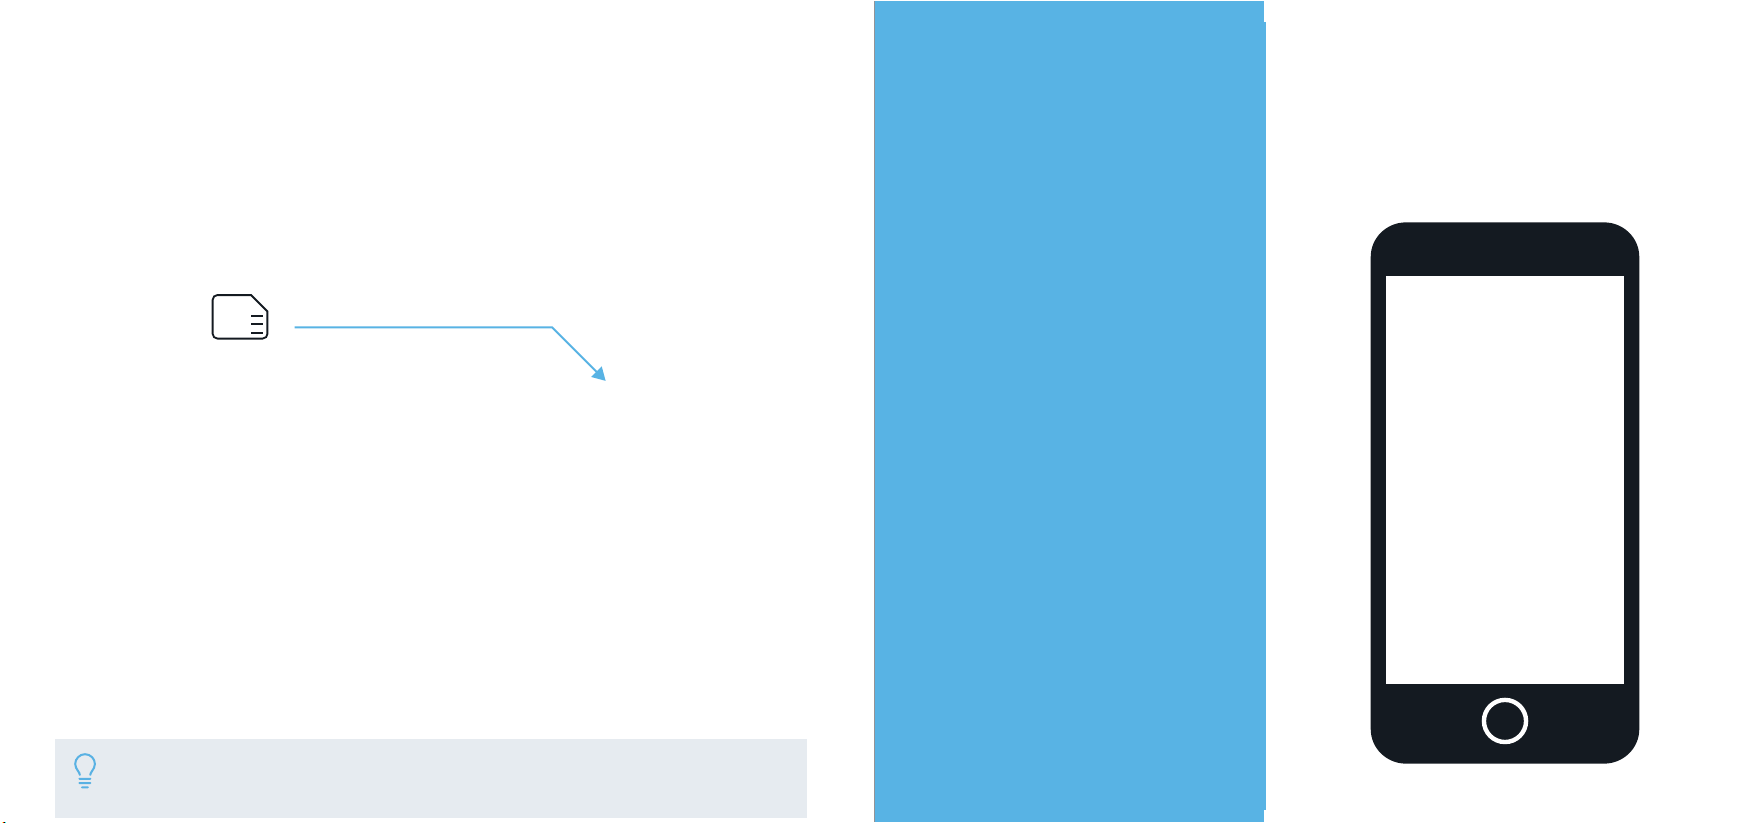
Scan the QR code located on the serial
tag found on the power cable of the
camera. If you are unable to scan the QR
code you can manually enter the serial
number by tapping “Manually enter SN”.
The serial number can also be found on
the serial tag.
Scan QR Code
Locate the indicator light on the front of
the camera and ensure the LED is still
flashing green. This indicates the camera is
ready to connect to the app.
Tap “Next” to allow the device to connect
to its hotspot.
Before You Start
Create a Password
The app will automatically connect to
the hotspot for your camera and you
will be taken to a password setup
screen. The password set in this screen
will be the password for your camera.
Enter a password with a minimum of 8
characters, using a combination of
lowercase/uppercase letters and
numbers and confirm. A recovery email
can also be entered in case you forget
the password for your camera.
Tap “OK” to continue.
Select your Wi-Fi network from the Wi-Fi
network list and enter the password for
the Wi-Fi network.
If you would like to save this password to
the app, tap on “Save Password”. Tap
“Connect”, to connect the camera to
your Wi-Fi network.
If you have chosen the wrong Wi-Fi
network and would like to select
another Wi-Fi network, tap on
“Select other network”.
Choose Your Wi-Fi Network
Connecting To Your
Wi-Fi Network
The camera will now begin connecting
to the Wi-Fi network. Once connected,
the LED indicator on the front of the
camera will turn solid green and a
audible prompt will sound letting you
know the device has successfully
connected to your network.
This may take a few moments. If the
LED indicator continues to blink or the
device is reporting “Wi-Fi password is
incorrect”, tap on “Start Over” to repeat
the process.
Once the camera has been successfully
connected to your Wi-Fi network and
the indicator LED is solid green, tap on
“Next” to continue.
Note: By default, the camera’s spotlight will be activated and will
illuminate when a motion is detected causing intense light to admit
from the front of the camera.
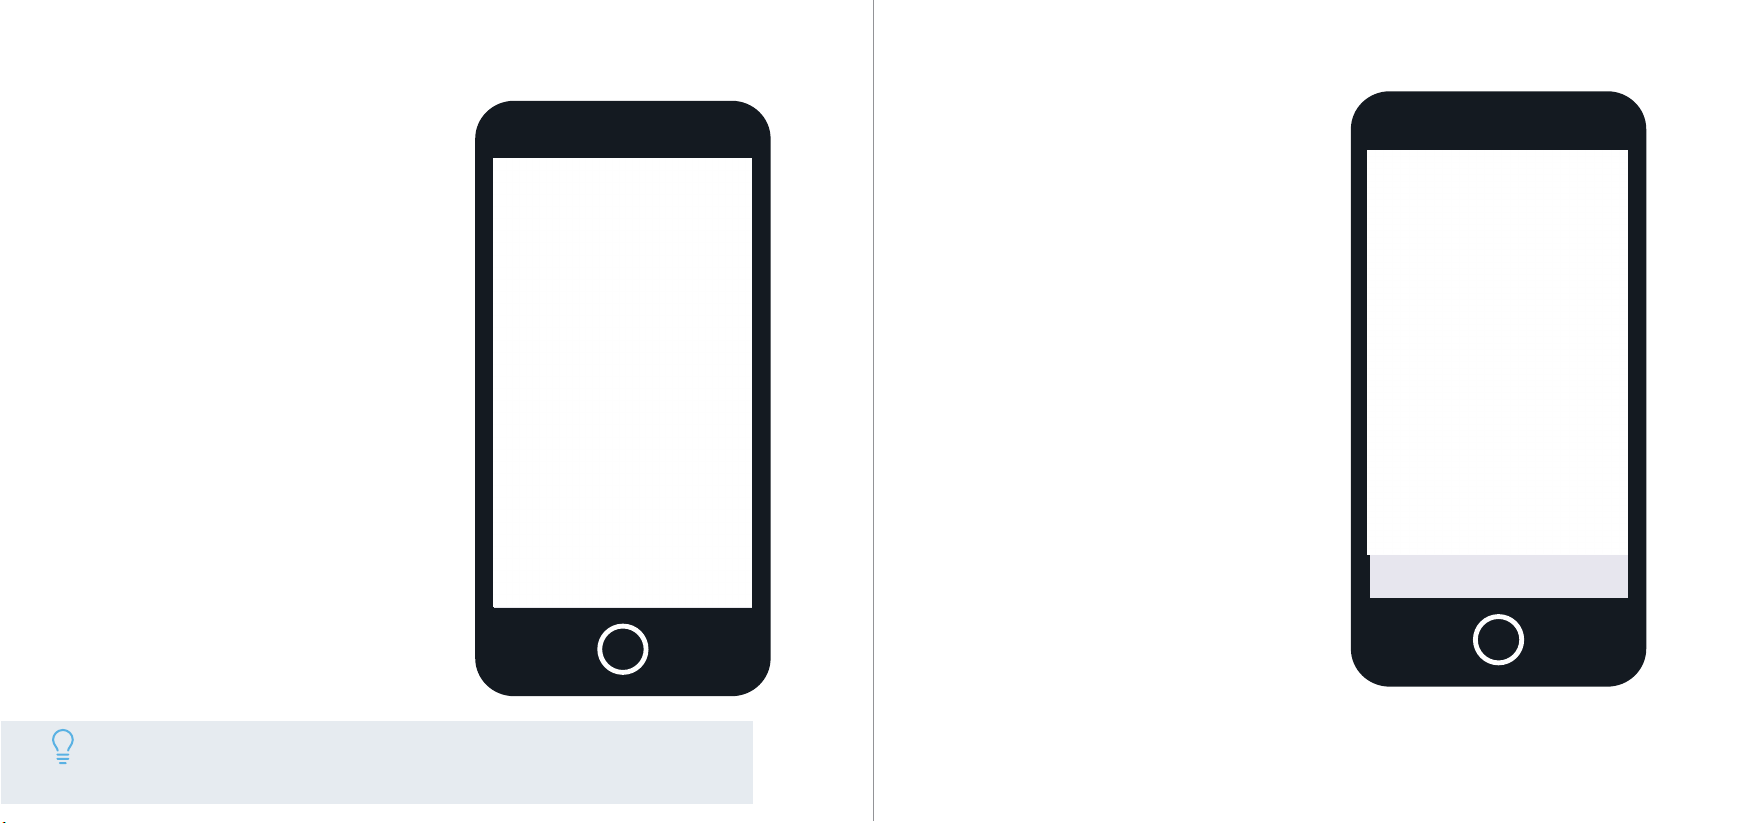
Set the “Time Zone” to your current time
zone and set “DST” (Daylight Savings
Time) settings if applicable. If you would
like to have these settings saved as
default to be added to future devices,
you can toggle the “Save as Default”
switch to the on position.
Tap “Next” to continue.
Set the Time and Date
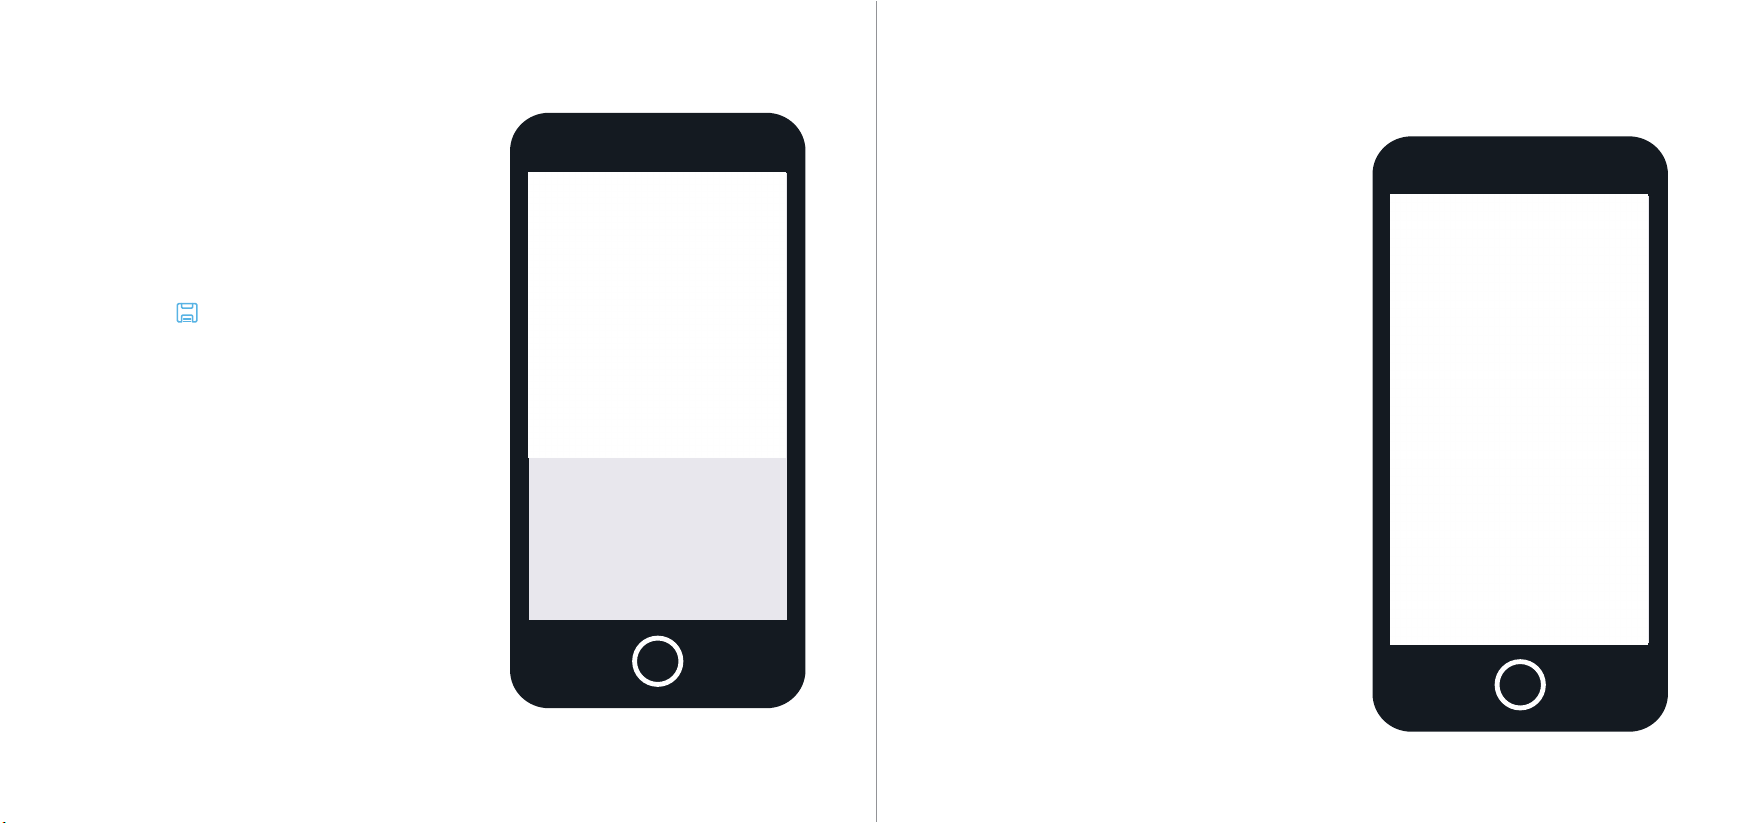
Rename your camera. A few examples
are provided such as; Front Door, Back
Door, Office, and can be selected if
needed.
After you have named your device, tap
on the save ( ) icon to continue.
Give Your Camera a Name
The camera has now been successfully
connected! Tap on “Start Live View” to
begin using your device.
Start Using Your Camera

02
Physical
Installation
The physical installation of
your camera will involve the
following items.
SCREWDRIVER - A Phillips head screwdriver
will be needed to mount your camera.
DRILL - A drill may be required if installing
the camera on concrete, stucco, or a brick
mounting surface.
INSTALLATION POSITION MAP - This will be
included in the box and will provide a
template for the physical installation of your
camera.
PRY BAR - This is a small plastic bar that is
included with your camera. This will be used
to open the top of your camera to access
the microSD card slot and reset button.
WALL ANCHORS - Used to secure the
mounting screws into the mounting surface.
MOUNTING SCREWS - Used to mount the
camera to the mounting surface.
WIRE CLIPS- Used to secure excess wire to
the installation surface.
Note: A 7/32” drill bit may be required
to drill the holes for the wall anchors.
Installing the Camera
Adhere the installation position map onto the mounting surface and using a drill, drill
the marked holes. Place the wall anchors into the holes. If needed, a hammer may
be used to tap the wall anchors into place. Next, turn the mounting bracket in a
counterclockwise motion to remove it from the camera. Remove the bottom bracket
from the top bracket by twisting the bottom bracket in a counterclockwise motion.
Place the bottom bracket onto the position map aligning the installation holes to the
wall anchors and run the power cable through the gap on the bottom backet.
Secure the bracket using a Phillips head screw driver and mounting screws. Place
the camera back onto the security screw of the top mounting bracket and turn in a
clockwise motion to secure it to the camera. Place the top bracket back onto the
bottom bracket and turn in a clockwise motion to tighten and secure the camera to
the mounting surface.
Note: Use the included wire clips to secure any excess wire to the
installation surface.
Inserting a MicroSD Card
A microSD card is required to store events outside of the Amcrest Smart Home
Cloud. The camera is compatible for up to 128GB and requires a Class 10 or
higher microSD card to function. To insert a microSD card, use the included pry
bar to open the top of the camera. Locate the microSD card slot and insert a
microSD card, gold pins up, and press in to secure.
MicroSD
Card Slot
128
GB
Note: Recordings that are stored on the microSD card can be accessed
from the live view menu of the Amcrest Smart Home app.
03
Using the
Camera in the
App
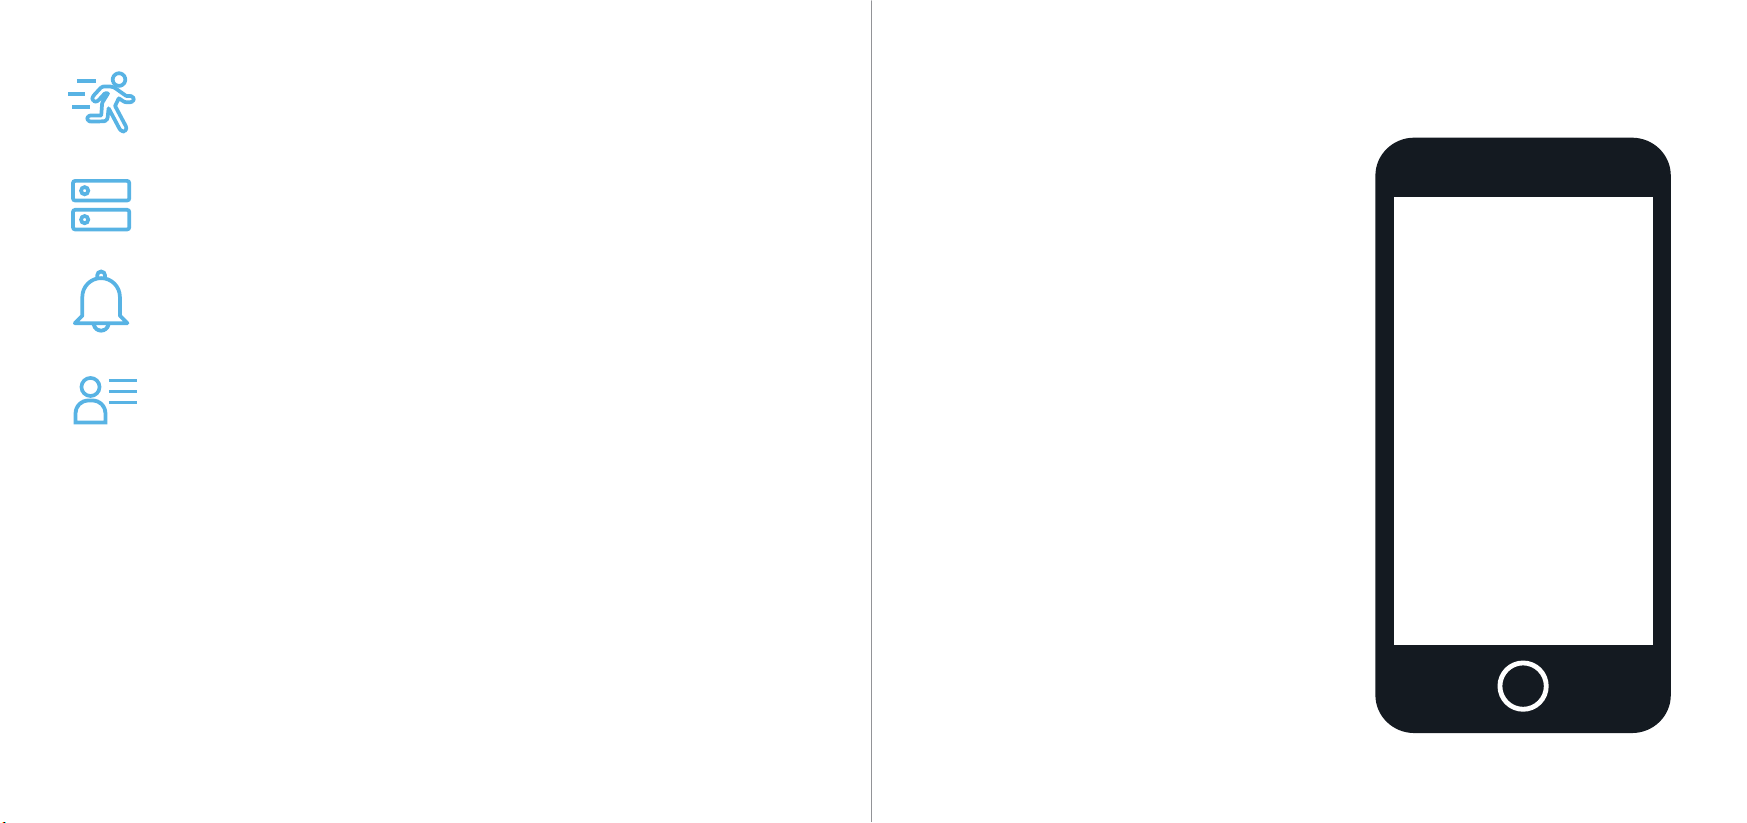
The main screen will be your devices
menu. This is a menu that will display all
connected devices as well as provide
quick access to the settings for your
camera.
Tap on the device you would like to access to
view the live view screen.
MOTION ALERTS
Enable to recieve notifications when a movement is detected.
DEVICES
Displays connected devices in the app.
EVENTS
Provides quick access to motion events and alerts.
ACCOUNT
Access to manage account settings and information.
Getting To Know
the App
The live view screen allows you to
actively view your camera as well as
access specific features such as
two-way audio and to access cloud
or microSD card recordings.
Included with your camera are active
deterrents. These features can be
accessed manually or set to activate by
motion.
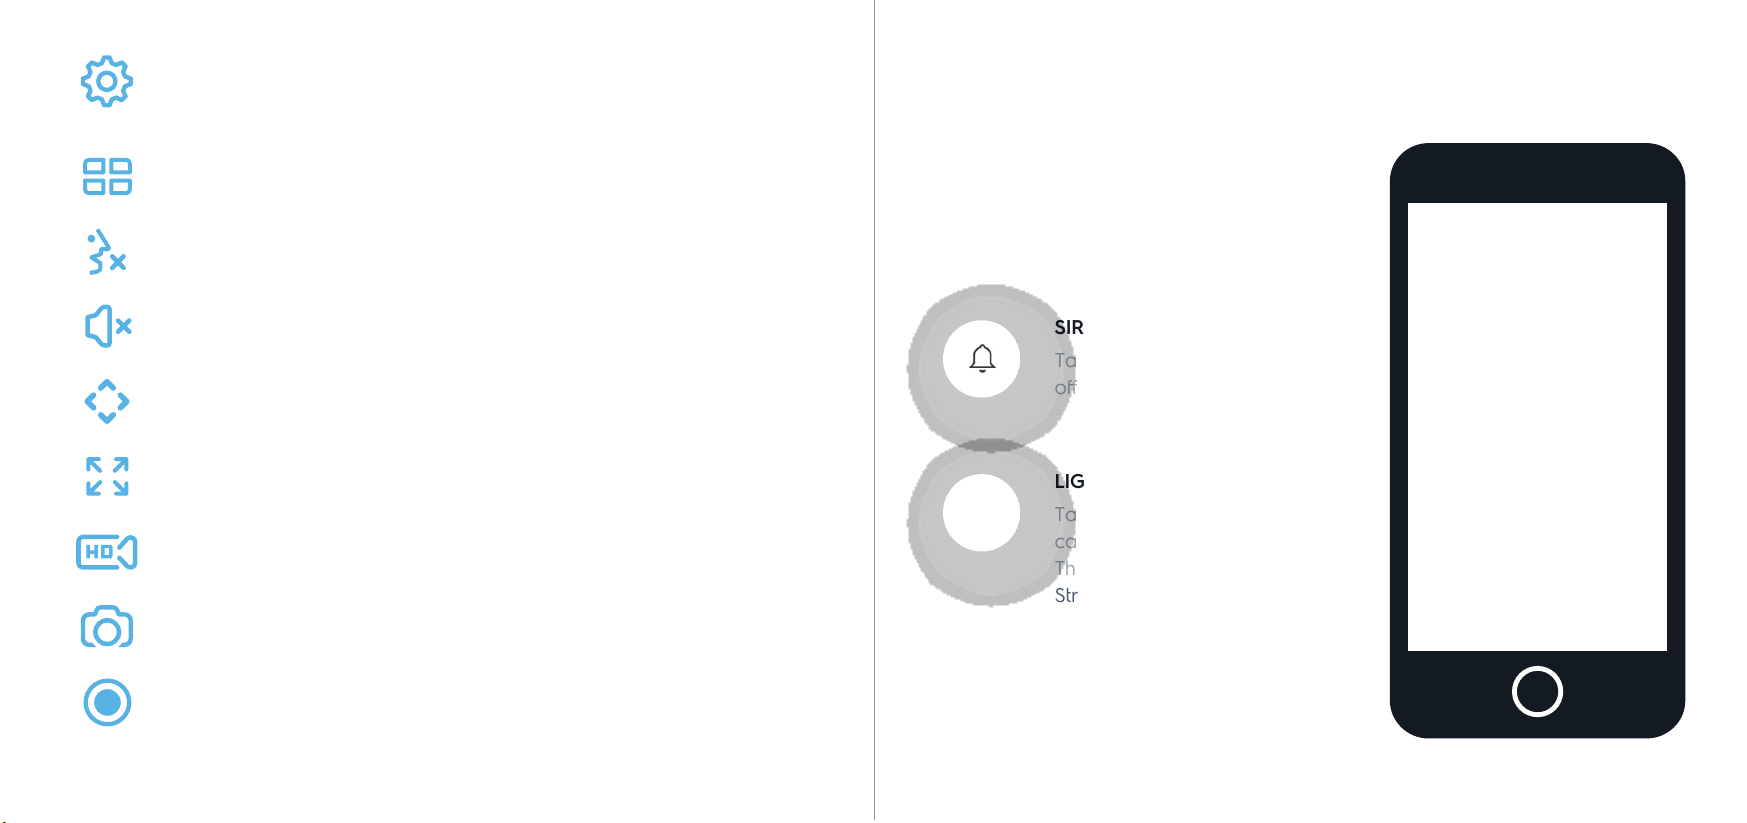
Using Deterrents
SIREN
Tap this button to manually set
off the camera’s built in siren.
LIGHT
Tap this button to set off the
camera’s built in light deterrent.
There are 3 functions; Light,
Strobe, and Off.
SETTINGS
Provides access to settings such as motion detection, deterrent options,
firmware updates, etc.
MULTIVIEW
View multiple devices on one screen.
TALK
Enables the microphone for two way communication
LISTEN
Enables the speaker for two way communication.
PAN/TILT
Not applicable on your deterrent camera.
FULL SCREEN
View your feed in full screen mode.
SD/HD
Set the device to standard or high definition resolution.
SNAPSHOT
Manually take a photo.
RECORD
Manually record a video.
Amcrest Smart Home Cloud Recording
This is an optional feature that saves recordings of
each event the camera captures.
You can access the events from the cloud by registering for a
Amcrest Smart Home cloud plan.
Learn more at:
amcrest.com/smarthomecloud
www.amcrest.com/smarthomecloud
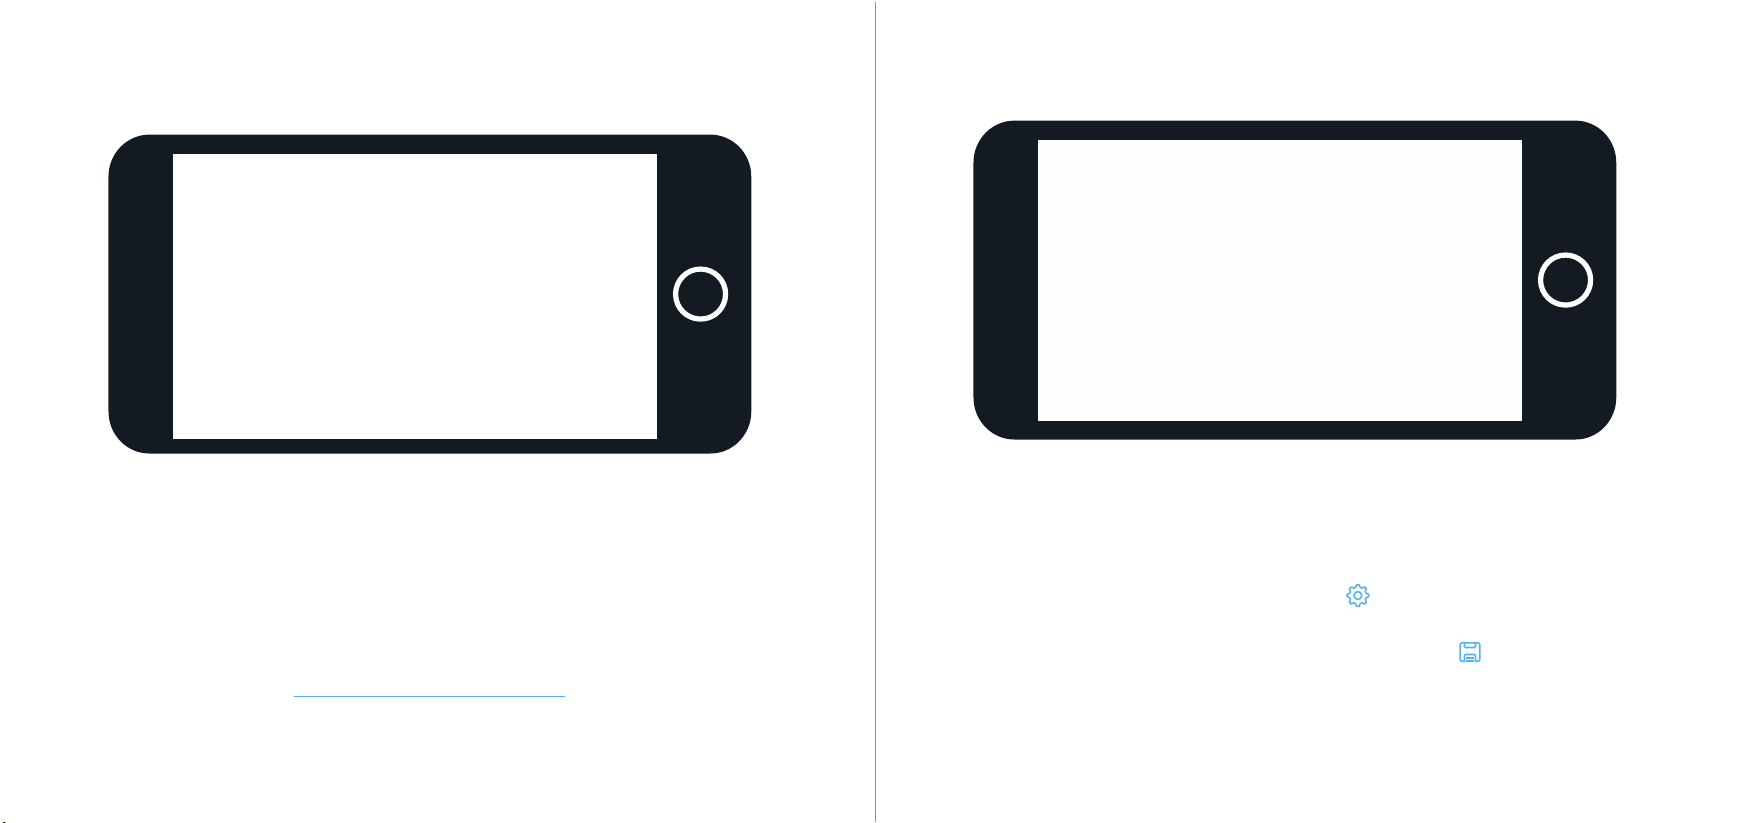
Motion Detection Zones
To setup motion alerts you must set up motion zones. These are areas or
“zones” that the camera uses to determine when a motion detection is detected
and can range from 0 to 100%.
To setup motion detection, tap on the settings ( ) icon and tap “Motion
Detection”. Select applicable zones, one through three, or use the slider to
adjust the motion detect percentage. Tap on the save icon ( ) to save the
motion settings.
You will need at least one active motion zone to receive event notifications.

Event Notifications
If your phone is off when the camera
captures a motion event you will receive
a push notification on your phone.
If your phone has a passcode, you will
need to enter it to access and view the
event.
I Can’t Find the Camera’s
Hotspot on my Device.
If the app is unable to connect to the hotspot
for your device, there are a few steps you
can take to resolve the issue. Go to the
settings in your mobile device and turn off
your Wi-Fi connection. Wait about 30
seconds and turn it back on. If the app is still
unable to locate the hotspot, unplug the
camera from its power source, wait 30
seconds and plug it back in.
Allow the camera to boot and for the green
LED on the front of the camera to blink. Try
reconnecting in the app.
If none of the above has helped, try
one of the following:
Turn off the cellular data and
Bluetooth on your mobile device
and try again. You can turn them
back on after the setup process is
complete.
04
Troubleshooting
1

2
3
I’m Not Receiving Motion Alerts When Motion Is Detected.
Verify that the motion alerts toggle switch is enabled in the devices menu for your
camera. Additionally, make sure that you have created at least one motion zone and
have enabled motion alerts in the app.
If the problem persists, make sure that you have created a percentage higher than one
percent when setting motion zones. It is advised to keep motion zone percentage
between fifty and one hundred percent.
Reset the modem on your Wi-Fi network. Unplug it and wait for about 40
seconds, then plug it back in and continue the setup process.
Perform a hard factory reset by holding down the reset button on the top of
the camera for 15 seconds. Wait 30 seconds, then repeat the setup process.
I’m Receiving Too Many False Positive Motion Alerts.
This could be the result of objects such as trees or bushes in the field of view of the
camera. To reduce the number of false alerts, go to the app and access your camera.
Tap on the settings ( ) icon in the upper right corner of the live view screen and tap on
Motion Detection.
In the motion detection menu, use the Set Regions option to adjust or remove areas
where the unwanted motion is present. Be sure to tap Save Zone to save the settings to
the app. Additionally, in the motion detection menu, you can tap Motion Sensitivity to
adjust the sensitivity of your camera. It is set to three by default but can be adjust
between one and six. Make sure to tap on the ( ) icon to save the sensitivity settings
to the app.
I’m Unable to Access My Camera. How Do I Perform a Factory
Reset?
A factory reset of the camera will revert the camera back its original factory settings. If
you are unable to access your device and need to perform a factory reset. You will
need to access the reset button located in the security hatch on top of the camera.
To open the security hatch, use the included pry bar on the indentation on either sied of
the camera. The camera will come with a clearcoat sticker on the side of the device
demonstrating how to open the security hatch. Once you have opened the security
hatch, locate the reset button. The reset button can be found right next to the MicroSD
card slot.
To reset the camera, press and hold the reset button for 15 seconds and release. The
camera may take up to 30 seconds to fully reset. To verify the reset has been completed
successfully, look at the front of the camera. If the LED on the front of the camera is
blinking green then the factory reset is complete.
I’m Having Trouble Installing the Wire Clips. How Do I Install
Them?
The wire clips included with the camera will be used to secure any excess wire,
such as the power cable wire, to the mounting surface during installation. To
install the wire clips, use a 7/32 drill bit and insert the extra wall anchors included
with the camera. Apply the wire clip to the wall anchor and insert the exess wire
into the clip. Lastly, using a Phillips head screwdriver, secure the clip to the
mounting surface using the additional mounting screws included with your
camera. Repeat the process if additional wire clips are needed.

I’m Having Trouble Receiving Email Alerts
The Amcrest Smart Home app allows email alerts to be sent to your email address if an
event is detected by yout camera. If you are havng trouble recieving email alerts, tap on
the settings ( ) icon in the upper right corner of the live view screen and tap on Motion
Detection. In the motion detection menu, make sure the Email Notification and Email
Snapshot toggle switches are enabled.
Navigate back to the settings menu and scroll down to locate the Email Alerts tab. Tap
on Email Alerts tab to access the Email Alerts menu. In the Email Alerts menu, select your
email provider from the provided provider list. In this example, we will be using Gmail. The
SMTP and authentication port will be set to TLS by default, however, you can adjust the
authentication to SSL in the authentication dropbox. Please verify you have the correct
email address entered and that the password for your email is entered correctly. In the
sender field, please enter the sender’s email address. Enter a recipient’s email address in
the Recipients Email field and tap on the (
+
) icon to add it.
Once you have entered in all necessary email information, it is important to tap Save to
save the settings to the app. If you do not tap save and leave the menu, the app will not
save the email alert settings. When you have saved the settings, tap on Email Test to test
the email connection. The email test should be successful.
If you have any other issues related to email and require further assistance please reach
us at 888-212-7538 or by email at amcrest.com/support.
www.amcrest.com/support
I Can’t Turn Off the Deterrents After an Event is Detected
The deterrents can be turned off manually using the app. To turn off activated
deterrents, open the app and go to the live view screen. In the live view screen you
will see options to enable and disable both the siren and the light. Tap on the Siren
icon to stop the siren. If the light is activated, tap on the Light icon. There are three
light settings, make sure to tap the light icon until the light is turned off.
Additionally, you can disable the deterrents completely in the settings menu if
needed. To turn off deterrents completely, tap on the settings ( ) icon and tap
on Motion Detection. Toggle the Spotlight Activation and/or Siren Activation to the
off position to turn off deterrent options.
I’m Setting Up My Camera In a New Location.
Setting up your camera in a new location is simple with the Amcrest deterrent
camera. New location setup can be performed directly through the app. To setup the
camera, go to the live view screen and tap on the settings ( ) icon in the upper
right corner, tap on New Location Setup. A brief description will be provided on how
to perform the procedure. In the New Location Setup menu, tap on Delete Device to
delete the device from the app. Once the device has been deleted, open the security
hatch on top of the camera to locate the factory reset button. A factory reset will be
required during this process. Press and hold the reset button for roughly 30 seconds
and release to allow the device to reset.
Once the reset has been completed, the LED on the front of the camera will blink
green indicating the device is ready to be configured at the new location.
Note: If the paired camera does not show in the paired cameras menu,
swipe down in the camera menu to refresh.
Note: If the paired camera does not show in the paired cameras menu,
swipe down in the camera menu to refresh.
This device complies with Part 15 of the FCC Rules. Operation is subject to the
following two conditions:
(1) this device may not cause harmful interference, and
(2) this device must accept any interference received, including interference that
may cause undesired operation.
Toll Free : 1-888-212-7538
USA : 713-893-8956
Canada : +1-437-888-0177
Worldwide : +1-713-893-8956
Or give us a call
For additional help or
assistance please visit:
amcrest.com/support
For a list of all our
customer support
numbers visit:
amcrest.com/contacts
www.amcrest.com/contacts
www.amcrest.com/support