Loading ...
Loading ...
Loading ...
©2019 Hestan Commercial Corporation
22
EN
LIGHTING INSTRUCTIONS
Hestan Grills feature hot-surface igniters for all Trellis Burners
™
, and infrared Rotisserie and Sear
Burners. The hot-surface igniters feature a “time-extender” function which maintain the hot glow
of the igniter for a longer period of time to ensure successful lighting of the burners.
Note: The time extender feature applies to the main burners only, not the rotisserie.
The Side Burner features a spark-ignition system with flame-sensing technology which will relight
the flame should it go out.
All burners can be manually lit should that become necessary.
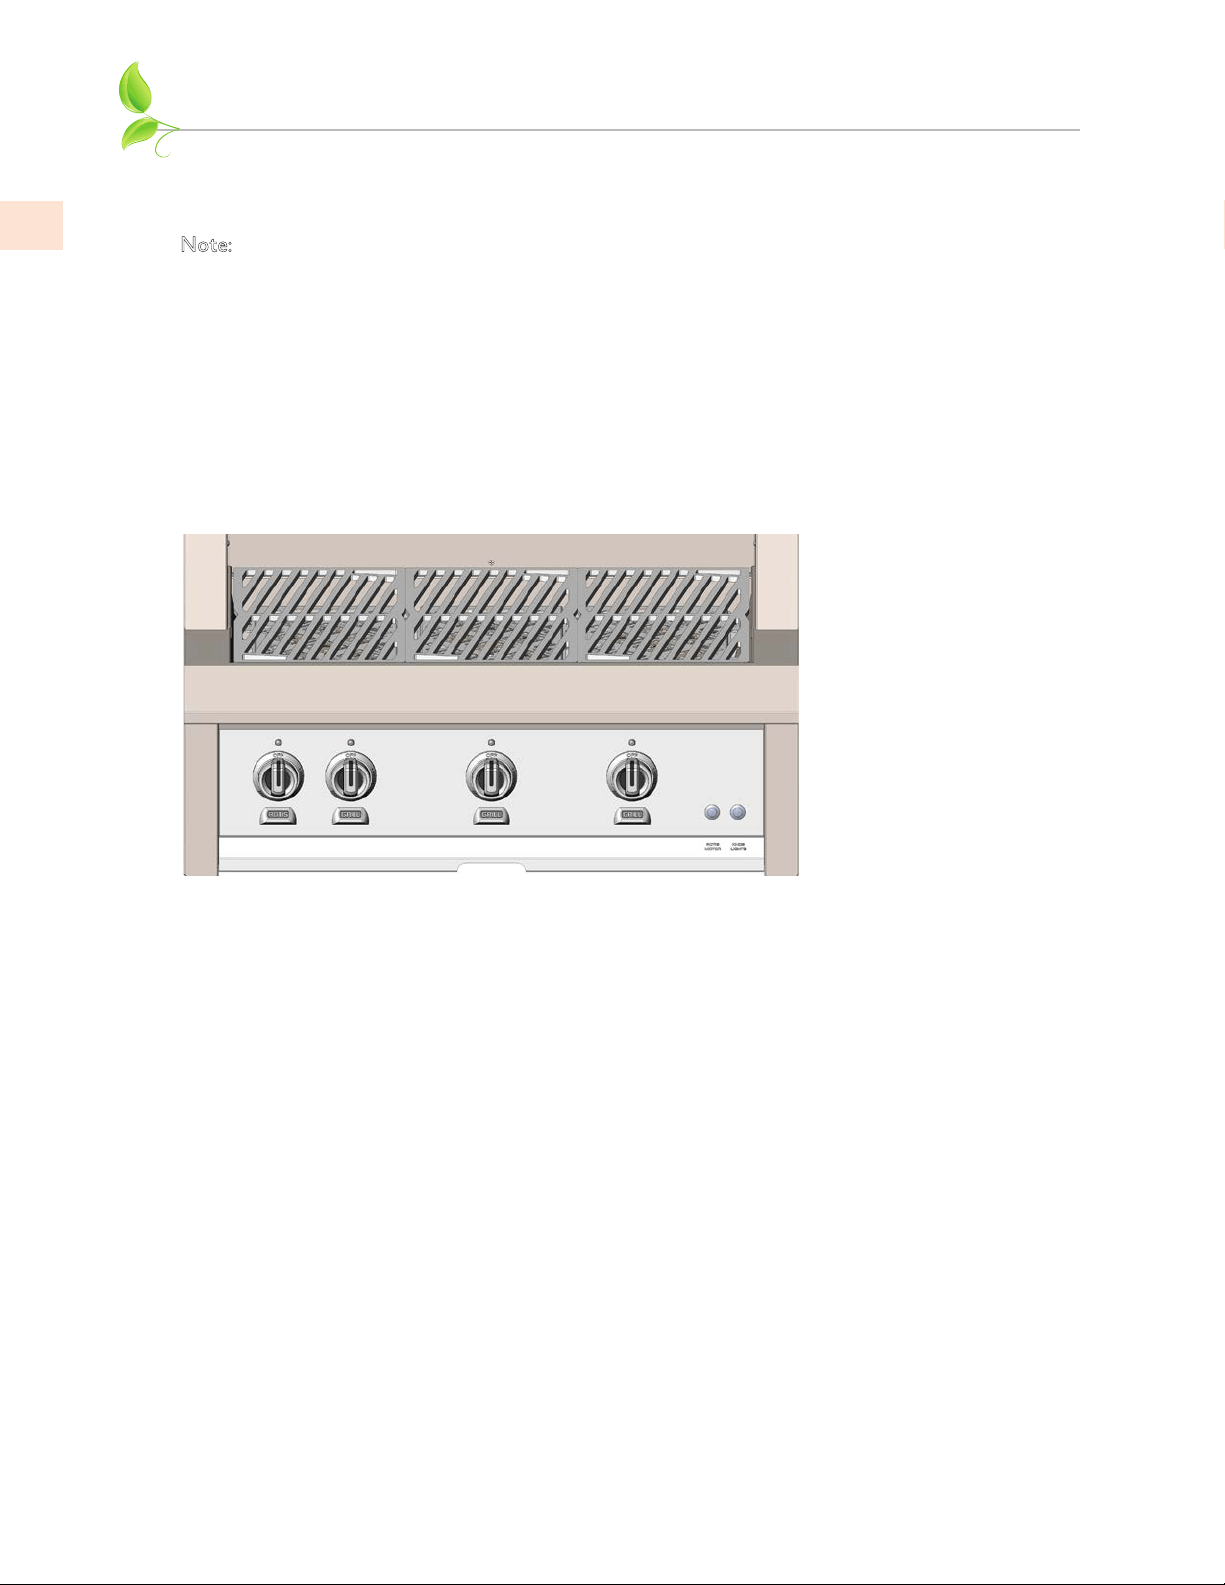
CONTROL KNOB LAYOUT
Seen here is a typical layout (36” model shown, Fig. 6) for the control knobs. The rotisserie control
is always to the far left side. Control panel LED lights and rotisserie motor switches are on the far
right.
The lighting instructions for all burners are visible when you pull out the drip tray.
LIGHTING GRILL BURNERS (Trellis Burner
™
or Sear Burner)
1. Read Use & Care Manual before lighting. Open lid during lighting. Stand as far away as
possible when lighting.
2. Push & hold selected knob for 5 seconds, then turn to “HIGH”. Burner should light. Once lit,
adjust flame as needed.
3. If burner does not light in 5 seconds, turn knob to “OFF” and wait 5 minutes before
re-lighting.
4. If burner fails to light, see USE & CARE MANUAL for match lighting instructions.
LIGHTING ROTISSERIE BURNER
1. Push & hold the knob for 5 seconds, then turn to the “HIGH”. Continue to hold in the knob for
at least 30 seconds after lighting. Rotisserie burner should stay lit and begin to glow. Release
the knob, burner should stay on.
2. If burner does not stay lit, turn knob to “OFF” and wait 5 minutes before re-lighting.
3. If burner fails to light, see USE & CARE MANUAL for match lighting instructions.
Figure 6
Loading ...
Loading ...
Loading ...