Loading ...
Loading ...
Loading ...
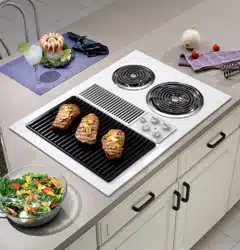
30
INSTALLATION INSTRUCTIONS
(continued)
Step 5A
Blower to Ductwork Alignment
In general, the use of flexible ducting is
discouraged because it can cause severely
restricted airflow. However, if the blower outlet
and the floor or wall duct location do NOT align
well, then flexible METAL ducting can be used
to adapt to an offset. Good alignment without use
of flexible ducting is best.
NOTE:
• Do not exceed the maximum recommended
offset of 3″.
• Do not allow the flexible ducting to kink or
collapse.
• Do stretch the flexible ducting as much as
possible to eliminate as much of the corrugation
as possible.
• Do rotate blower slightly to minimize offset
(see Step 6).
Step 5B
Determine Flexible Ducting’s Equivalent Length
1. Measure the actual amount of offset
(maximum 3″ recommended). The effect upon
airflow is dependent upon the amount of offset.
2. Calculate the equivalent ducting allowances
using:
(___ in. offset) x (14 ft. per inch)
= ___ ft. equivalent length.
3. Enter the calculated value into TABLE 1 of
this Installation Instruction.
4. Ensure that the total equivalent length of
ducting does not exceed the maximum
recommendation of 100 feet.
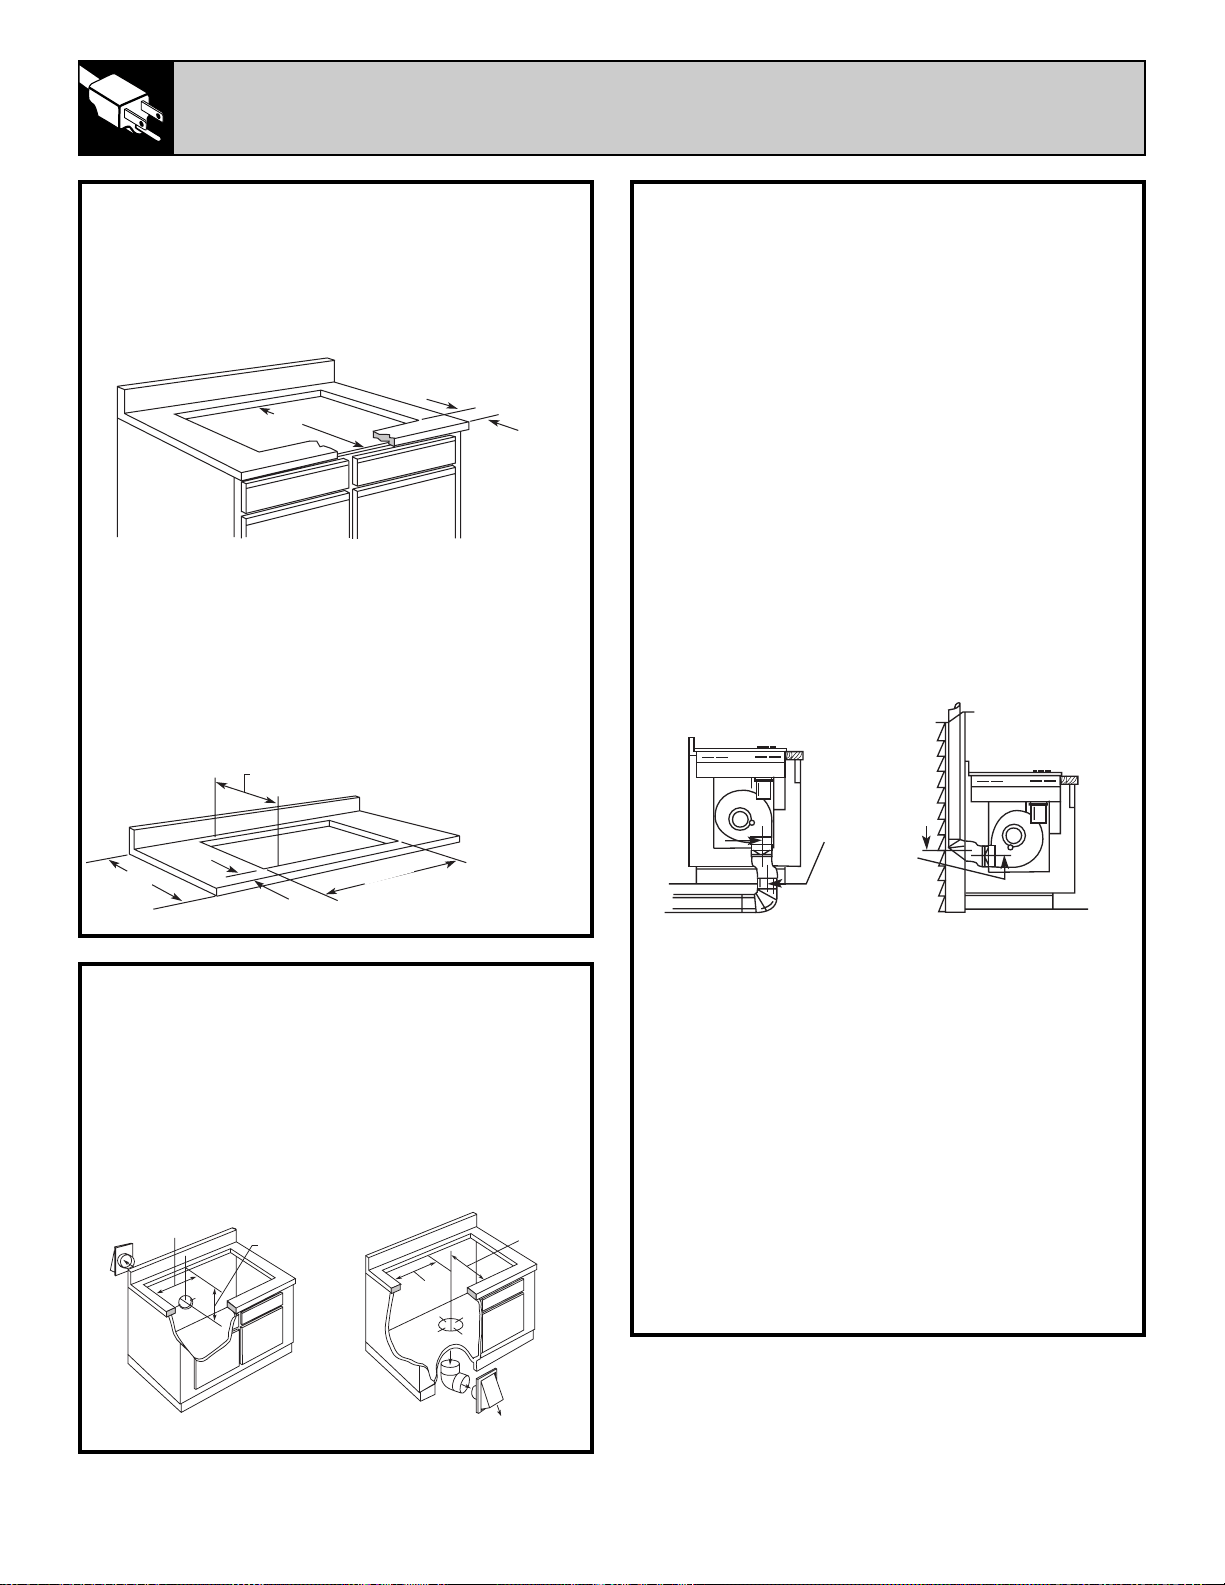
Step 4
Preparing the Countertop
Clearance between inside front of cabinet and
rear of countertop cutout must be 20
5
⁄
8
″ in order
to accommodate cooktop depth.
A 1/2″ wide flat area is required around the edge
of opening for support of the unit. The cooktop
unit must be level and sit squarely into
countertop opening.
Carefully cut countertop opening according to
the dimensions shown in the illustration. Be sure
that opening is cut squarely, with sides parallel to
each other and rear exactly perpendicular to sides.
Step 5
Preparing for Ductwork
NOTE: Ductwork MUST be vented to
outside. DO NOT vent into a wall, ceiling,
crawlspace, attic or any concealed space.
Cut hole in cabinet wall or floor as appropriate
for your installation. Make sure exhaust duct is
located between wall studs or floor joists.
1
7
⁄
8
″ Min.
20
5
⁄
8
″
1
7
⁄
8
″ Min.
20
5
⁄
8
″
25″
28
7
⁄
8
″
Rear Wall Venting Downward Venting
9
3
⁄
8
″
15
3
⁄
4
″
9
3
⁄
8
″
7
9
⁄
16
″
Bottom Venting Back Venting
3″ Max.
Centerline
to Centerline
Offset
Loading ...
Loading ...
Loading ...