Loading ...
Loading ...
Loading ...
9
doesn’t have time to warm up. This
setting double heats water for piping
hot coffee.
b. Press On/Off button. Red LED will
light up and brewing will begin.
To Program Brew Time
a. To select the time you want coffee
to start brewing, press the Program
button and hold it. The time displayed
in the window is the programmed
start time. To change time, follow
“Setting The Program Time”
instructions on page 7.
b. Push the 1-4 cup button if you are
brewing fewer than 5 cups.
c. Press and release Program button.
Green LED indicates that the unit is
in programmed-start mode and the
brew cycle will begin at the time you
selected.
9. After Brewing
When brew cycle is complete,five beeps
will sound and unit will automatically
shut itself off. Coffee will continue
to stream from the filter for several
seconds.
TIPS AND HINTS
• If you buy large portions of beans, separate
them into one or two week portions and
store them in airtight containers in the
freezer. Preserve freshness by minimizing
exposure to air, light, and moisture. Once
beans are removed from the freezer, keep
them in a sealed container at room
temperature, since damaging condensation
can occur when beans move from cold to
warmer temperatures.
• Some experts feel freezing dark-roast
beans can cause oils to coagulate; others
disagree. You’ll have to decide that one
for yourself!
MAKING COFFEE WITH
PRE-GROUND BEANS
Follow instructions in “Before Brewing
Your First Pot of Coffee,” page 7.
1. Fill the Reservoir and Insert Filter
See steps #1 and #3 in “Making Coffee
with Whole Beans,” page 7.
2. Add Pre-Ground Coffee
Our recipe suggestion: Use 1 level
scoop (1 tablespoon) of ground coffee
per cup. Adjust the recipe according
to taste. NOTE: The maximum capacity
for ground coffee is 16 level scoops
(16 tablespoons), using either a paper or
permanent filter. Exceeding that amount
may cause overflow if the coffee is too
finely ground.
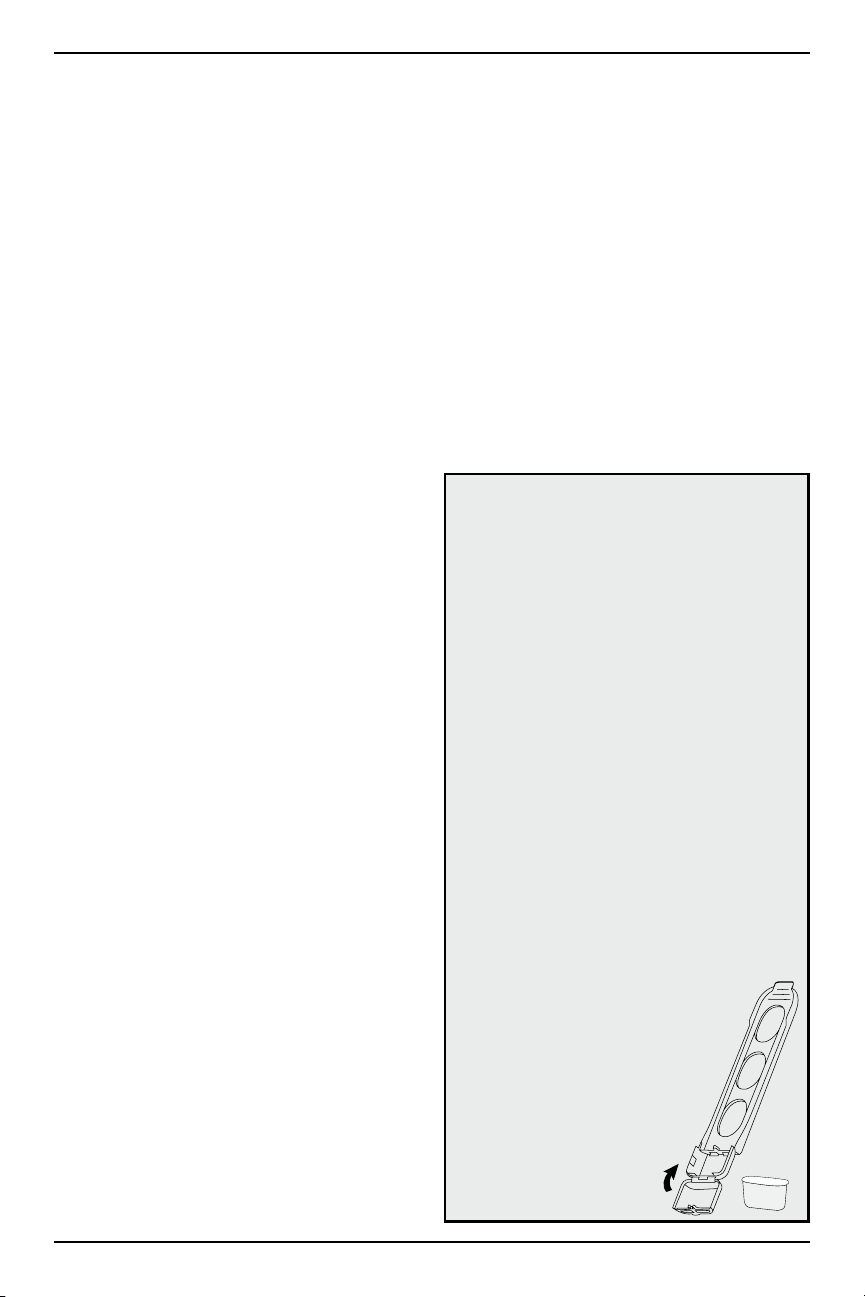
3. Press Grind Off Button
When this function is activated, an
amber LED will come on.
4. Follow steps #4 through #8 in
“Making Coffee with Whole Beans.”
CHARCOAL WATER FILTER
Your coffeemaker comes with a charcoal
water filter that eliminates chlorine, bad
tastes and odors from
tap water.
Inserting the Water Filter
• Remove the filter from polybag and soak
it, fully immersed, in cold tap water for 15
minutes.
• Lift the water filter holder out of the water
reservoir (see page 5, #13 and #14).
• Press down on the filter compartment and
pull toward you to open.
• Place filter into the holder and snap
it closed. Be careful – improper placement
can tear the filter skin.
• Flush filter by running cold tap water
through holes in bottom of compartment
for 10 seconds.
• Allow the filter to drain completely.
• Slide the water filter holder back into the
channel in the water reservoir,
pushing it down to the base of the
unit.
NOTE: We recommend changing
the water filter every 60 days or
after 60 uses, and more often if
you have hard water.
Replacement filters can be
purchased in stores, by
calling Cuisinart customer
service, or at www.
cuisinart.com.
Loading ...
Loading ...
Loading ...