INSTALLATION INSTRUCTION
VT-4550D
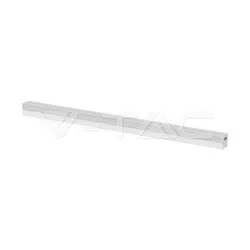
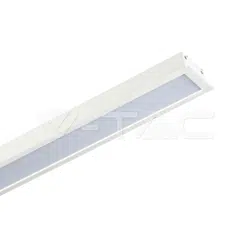
LED LINEAR LIGHTING SYSTEM
WEEE Number: 80133970
INTRODUCTION
Thank you for selecng and buying V-TAC LED Emergency Spotlight. V-TAC will serve you
the best. Please read these instrucons carefully before starng the installaon and keep
this manual handy for future reference. If you have any other query, please contact our
dealer or local vendor from whom you have purchased the product. They are trained and
ready to serve you at the best.
• Install should be performed only by qualified technician.
• Make sure no voltage while doing the installaon.
• Connect cable wires according to wire labeling.
• Max current should not exceed 16A in one power feed circuit.
SAFETY NOTES
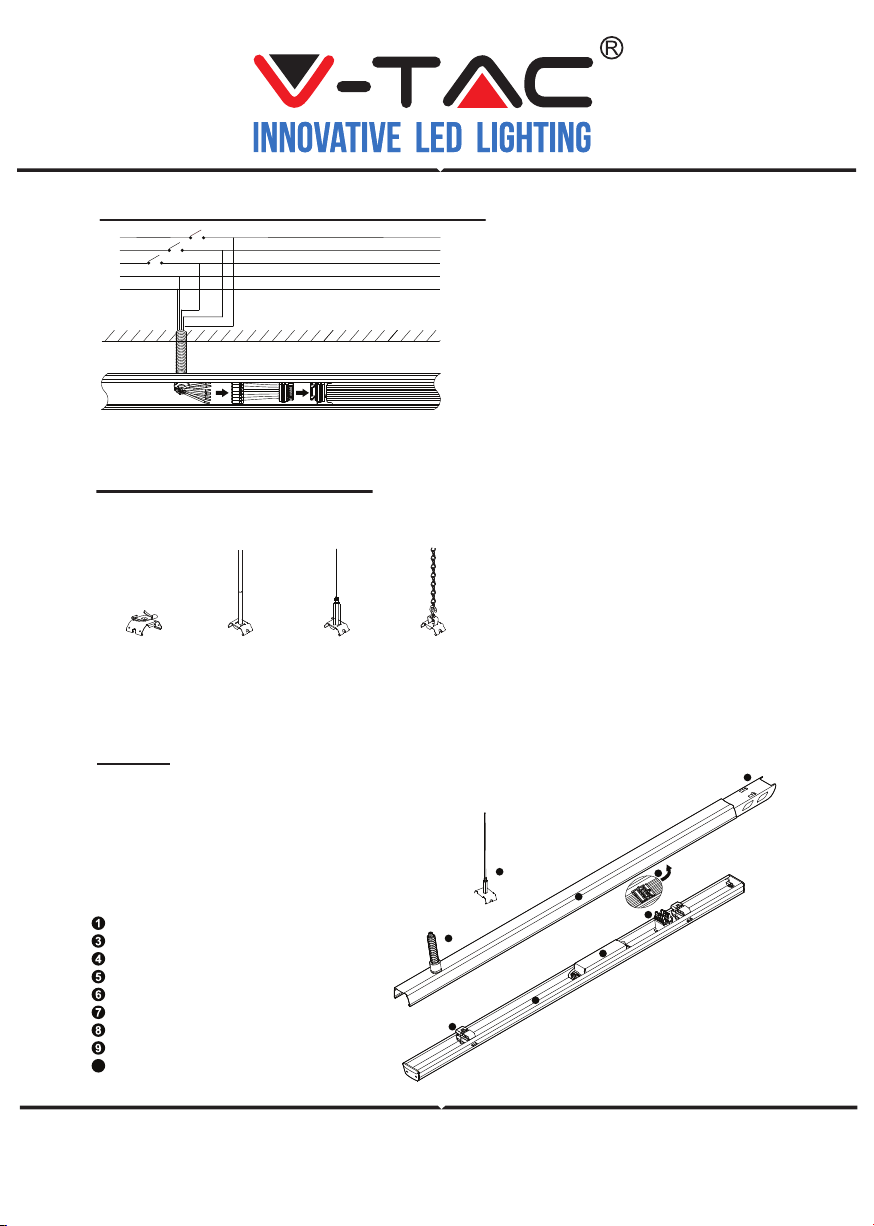
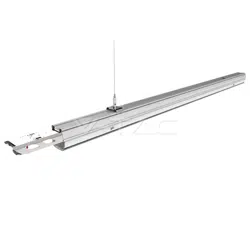
Trunking Rail
Connecng plate
Power cable feed in hole
Luminaire
Driver
Lock holder
Male connector
Female connector
Installaon cord
10
Follow:
Follow module is used for the beginning
of one linear light row,it can be infinitely
connected itself in one row with one
Master module at the end of row
10
1
2
9
3
10
6
4
5
8
Wire diagram of triple circuits funcon
This Triple Circuits funcon offers to control lighng ON/OFF by three
switches SW1,SW2,SW3 which are connected by live lines L1,L2,L3
SW3
SW2
SW1
N
FG
L3
L2
L1
Four opons for installaon
Surfacing mounng kit Rod hanger Cord hanger Chain hanger
INSTALLATION INSTRUCTION
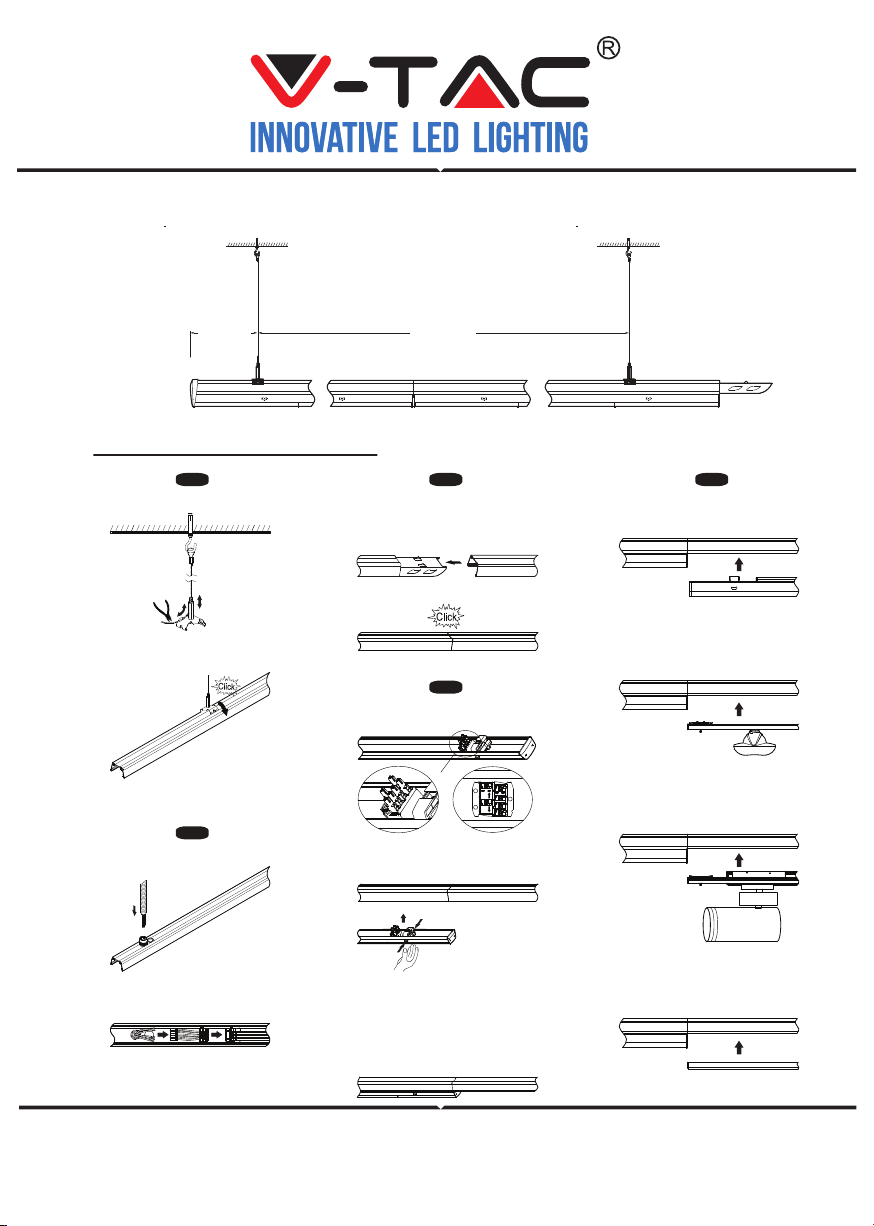
Pendant and mounng installaon
Starng Installaon distances point should be 800 mm to 1000 mm,
then in between 1st & 2nd point should be 3000 mm max
3000mm Max
800-1000mm
Mounng Suspension
Adjust length of suspension cord:
a. press down Hexagon bolt;
b. Pull in/out cord to adjust length
Click in mounng clip into
trunking rail
Step 1
Connecng Power Supply
Put in conduit with cable inside
and pull up conduit gland to lock
Connect wires according labeling
on wires to feed in connector then
connect to connector in trunking rail
Step 2
Mounng Luminaire
Slide knob to select phase L1/L2/L3
LED linear lighng system
Including luminaires and sensor
Including luminaires
Including luminaires and spotlight
Including luminaires and black cover
Make sure male & female connectors
in right posion then fix the luminaire
to trunking rail
Step 3 Step 5
Step 4
L1
L3
Connecng Trunking Rai l
Bot h trunkin g rails shoul d keep in per fect
posion then push to click

In case of any query /issue with the product please reach out to us at [email protected]
• This product is warranted from manufacturing defect only.
• The warranty does not apply to damage caused by incorrect installaon or
abnormal wear and tear.
• The company gives no warranty against damage to any surface due to
incorrect removal and installaon of the product.
WARRANTY
• The product uses a very high power LED. As with any light source, direct
viewing should be avoided.
• NOTE: Although easy to fit, this lamp requires wiring to the main and for
safety should onle be fied by a qualified electrician.
• Having issued this warning, the company accepts no responsibility for issues
arising for any failutes to comply with these clear instrucons.
• The company will not accept any responsibility for any other issues arising from
improper use of fing of this product as these materials are beyond our control.
WARNING
• Risk of shock, hence disconnect at fuse or circuit breaker before installaon
or servicing.
• Suitable for a Maximum use of 10-20 Hours Daily. Usage of product for 24Hours
a day would void the warranty.
NOTICE