Loading ...
Loading ...
Loading ...
Removing, Installing, and Replacing Components
43
Installing a 3½” Internal Hard Disk Drive
Your system comes with an available bay to hold an additional 3½” hard
disk drive. The drive you install must not require front panel access. The
hard disk drive access light blinks when either internal drive is active.
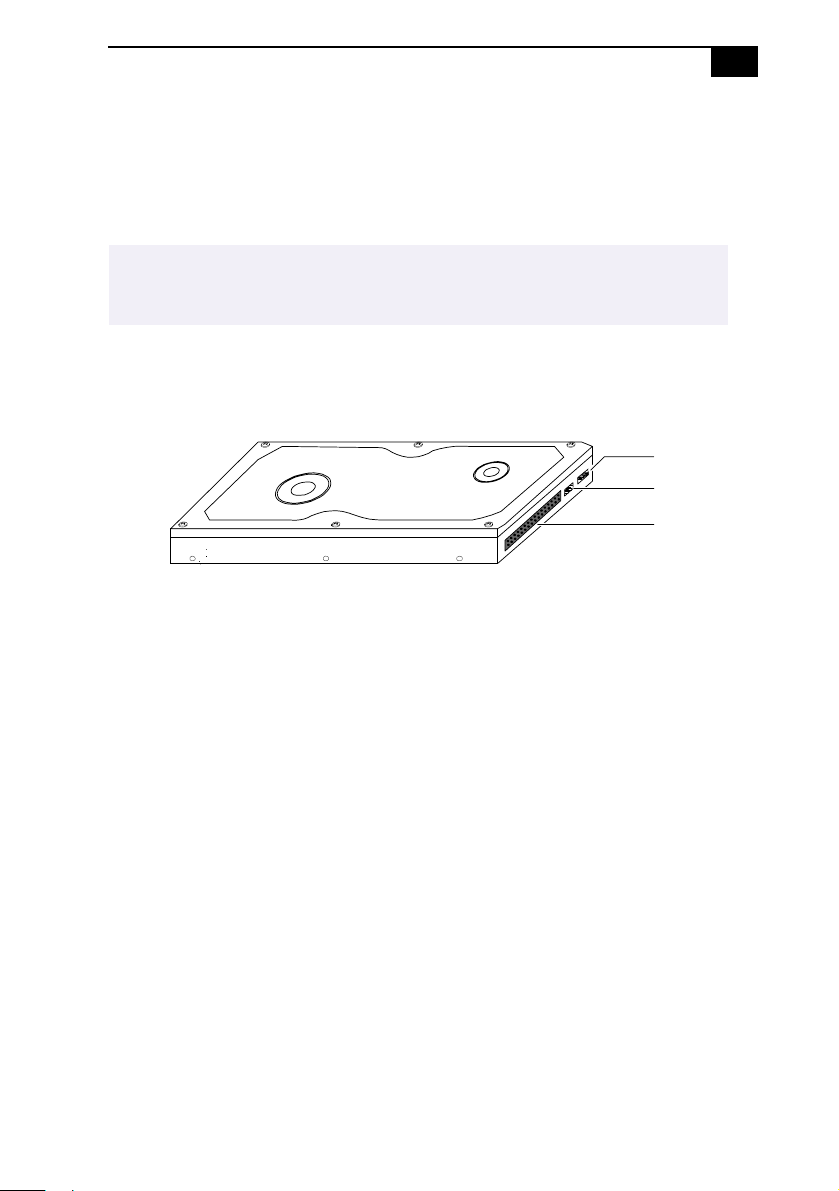
1 Configure the jumpers on the new drive as a primary slave (see your
drive’s documentation for configuration instructions).
2 Disconnect the power cord from the computer.
3 Remove the cover (see “Removing the Cover” on page 24).
4 Remove the four screws (A in next diagram) that secure the drive
holder to the top of the chassis.
! Before opening the system unit, save any open files, exit Windows, turn off
the power of the computer and all attached peripherals, and then unplug the
power cord.
KY0084.VSD
Drive connector
Power connector
Jumpers
Loading ...
Loading ...
Loading ...