Loading ...
Loading ...
Loading ...
Version 07/11 - Page 9
• This rangehood uses 20 watt halogen lamps.
FOR ALL INSTALLATIONS
1. Install the grease filters using two hands by first pulling and
turning the knob to the left so that the locking lever does not
protrude from the filter (as in FIGURE 12). Insert the opposite
end of the filter into the retaining channel. Insert the knob end
next, then turn knob to the right to lock the filter into place.
Cleaning
The stainless steel grease filters should be cleaned frequently in
hot detergent solution or washed in the dishwasher. Stainless
steel cleaner should be used on stainless rangehoods.
Abrasives and scouring agents can scratch stainless steel
finishes and should not be used to clean finished surfaces.
Replacing the Lamps
Before attempting to replace the lamps, make sure that the
light switch is turned off. Remove the 2 screws (as indicated
in FIGURE 14) that hold the light support and gently pull the
support down from the hood. Remove the lamp from the light
support and replace with new lamp. Replace the light support
and fix it into place with the 2 screws.
An alternative method to replace the lamps is to use a 1
1/4" suction cup (FIGURE 15). Attach the suction cup to
the bulb and pull firmly down on the bulb and replace with
a new lamp.
FIGURE 12
2. Turn the power supply on. Turn on blower and lights. If the
rangehood does not operate, check that the circuit breaker is not
tripped or the house fuse blown. If the unit still does not operate,
disconnect the power supply and check that the wiring connec-
tions have been made properly.
WIRING DIAGRAM
FIGURE 14
USE AND CARE INFORMATION
This rangehood system is designed to remove smoke, cooking
vapors and odors from the cooktop area.
For Best Results
Start the rangehood several minutes before cooking to develop proper
airflow. Allow the unit to operate for several minutes after cooking is
complete to clear all smoke and odors from the kitchen.
FIGURE 15
FIGURE 13
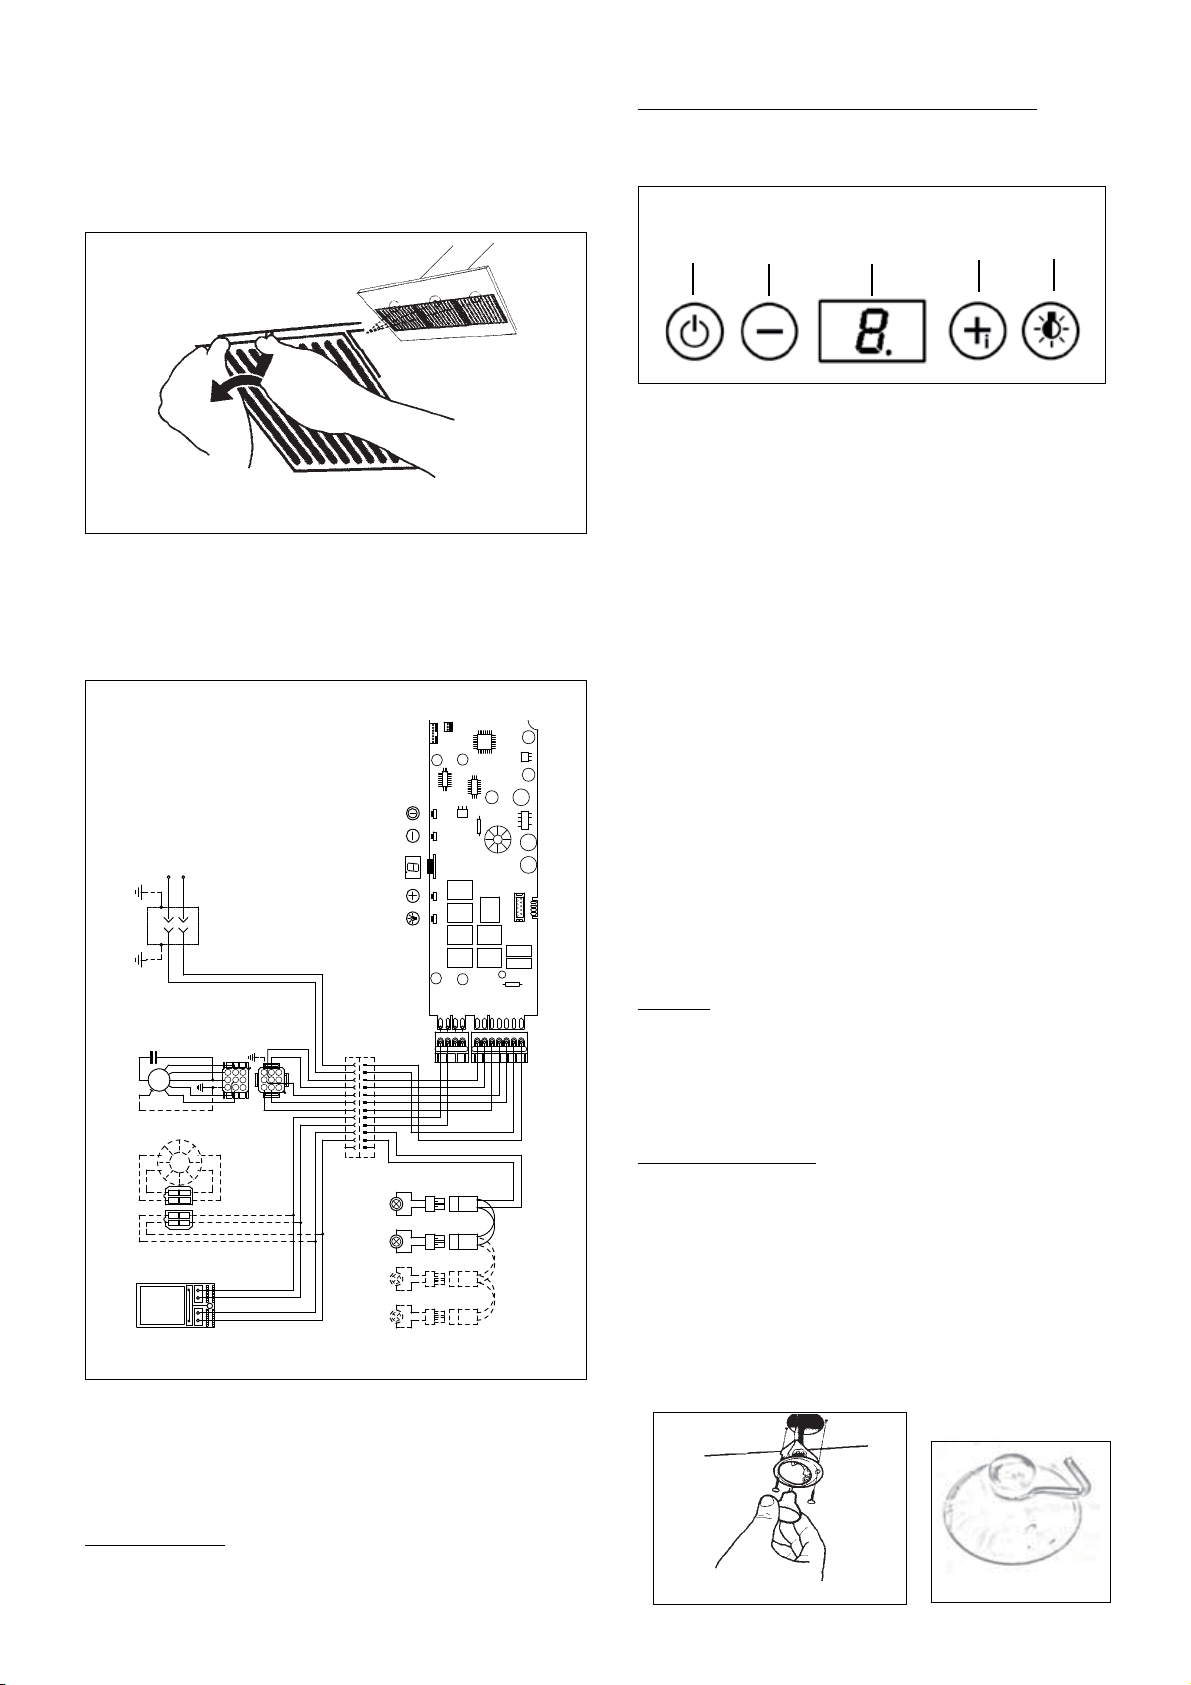
Rangehood Control Panel and Hood Operation
The control panel is located on the front edge of the rangehood
canopy. The position and function of each control button are
indicated in FIGURE 13.
CN13
CN9
CN12
CN4
CN7
CN1
FASE
NEUTRO
COM
V1
V2
V3
V4
LUC.1 F.LUC.1 F.
LUC.1 N.
LUC.2 F.
LUC.2 N.
LINE IN
120Vac
60Hz ~
L
N
Y-G
WIRING BOX
Y-G
Faber ATL
1
2
3
4
5
7
6
1
2
3
4
BLU
BLK
L-B
RED
BLU
PNK
GRY
BRW
BLK
1
1
BLK
123
654
789
123
654
987
RED
M8 4V
120V ~
WHT
2
2
WHT
WHT
BRW
BRW
3
3
BRW
BLU
GRY
4
4
GRY
BLK
BLU
5
5
BLU
ORG
RED
6
6
RED
PNK
7
7
PNK
Y-G
VLT(ORG)
8
8
VLT(ORG)
RED(ORG)
9
9
RED(ORG)
RED
10
10
RED
VLT
11
11
VLT
12
12
TOROIDAL
TRANSFORMER
WHT
4
3
BLK
VLT
RED
2
1
BLK
RED
HALOGEN
LAMPS
ORG
2
1
ORG
4
3
RED
VLT
HALOGEN
LAMPS
HALOGEN
LAMPS
ORG
ORG
RED
HALOGEN
LAMPS
VLT
PRI.
SEC.
ELECTRONIC
TRNSFORMER
A
B
C
D
Button A. Press button to turn fan on / off. Current speed is
displayed in C display (1, 2, 3)
Button B. Press to reduce fan speed to as low as speed
1, display C shows the speed selected (1, 2, 3). Hold for 3
seconds to turn on 30 minute delay feature which runs the
hood for 30 minutes and automatically shuts the hood off.
Current speed on 30 minute delay is shown in C display with
a blinking light to indicate 30 minute mode. Shut off the 30
minute mode by holding down the button for 3 seconds
Button C. LED single digit readout display screen
Button D. Press button to increase fan speed up to speed 3.
Hold for 3 seconds to activate intensive speed mode which
operates hood on highest speed for 10 minutes and then
returns to previous speed setting. Display C indicates intensive
speed with an "H" and blinking light. Shut off the intensive
speed mode by holding down the button for 3 seconds
Button E. Press the button to turn on and off lighting. Press
once to turn the dimmer light on, press twice to turn the normal
light setting on, and press again to turn off the lighting.
E
Loading ...
Loading ...
Loading ...