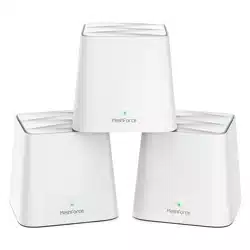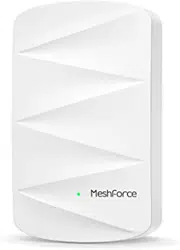
M3 / M3s
Setup with Video Guide
1
View the online video to start setup
www.imeshforce.com/m3s
If you need any help, our technical specialists are ready to help
24 hours a day.
Email us
cs@imeshforce.com
Submit a ticket on
www.imeshforce.com/help
Self-help Q&A
ask.imeshforce.com
Getting Started
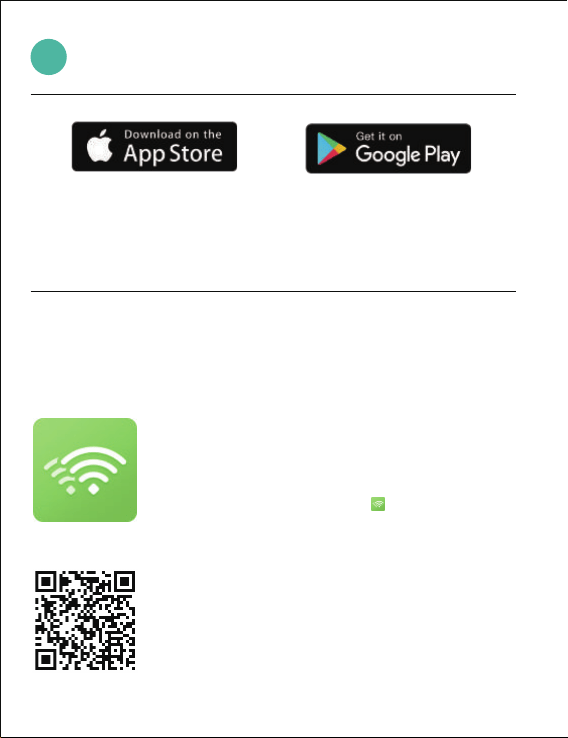
To set up, download the My Mesh app for iOS and Android.
The app will walk you through the setup.
2
Search My Mesh in App
Store or Google Play. Download
My Mesh app
Or scan the QR code to
download.
Download My Mesh for mobile device, go to:
www.imeshforce.com/app
Or
Or
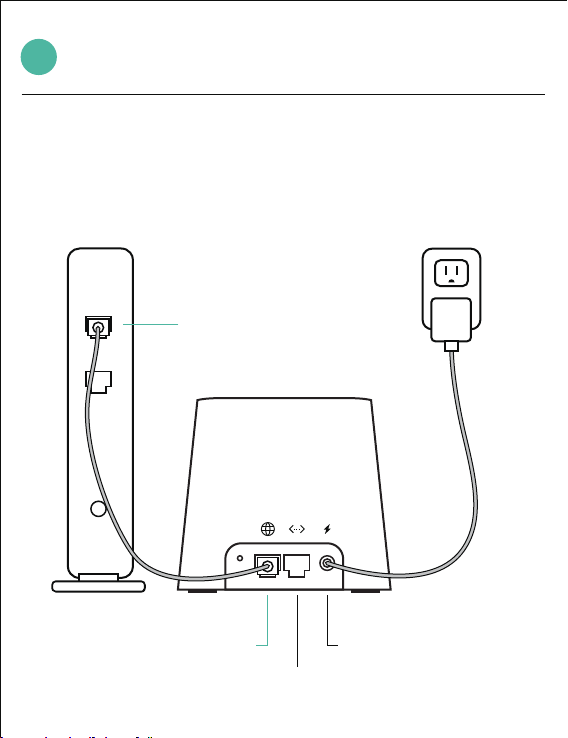
Hardware Connection
Plug the rst mesh point to power, then use Ethernet cable connect
your modem to the mesh.
If you purchased 3-pack, pick anyone as the rst mesh point.
3
RST WAN/LAN LAN PWR
Modem
Power Adapter
Local Network Cable
WAN/LAN
Ethernet port
4
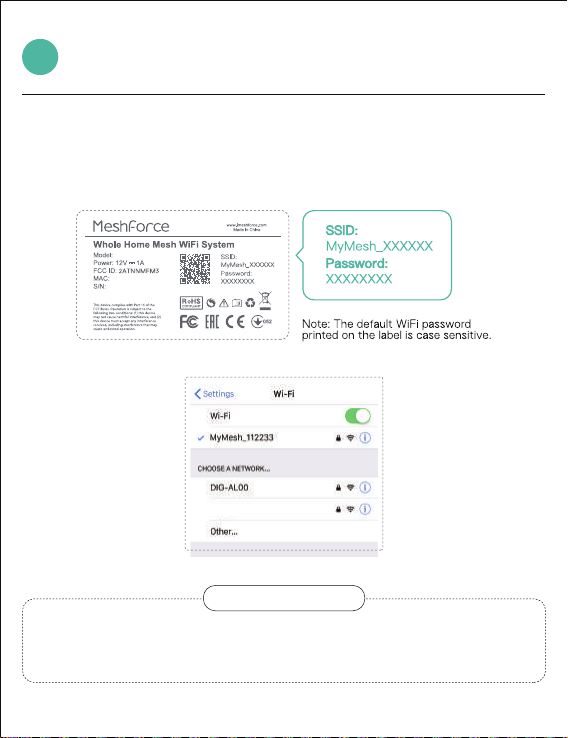
Connect your mobile phone to the default WiFi.
The WiFi name and password are printed on the bottom label
of the main mesh point.
ACD
Having trouble?
If you did not see the default WiFi on your mobile phone, try
to disable phone WiFi and re-enable it.
Connect to Default WiFi
M3s
Set Up Mesh in the App
2
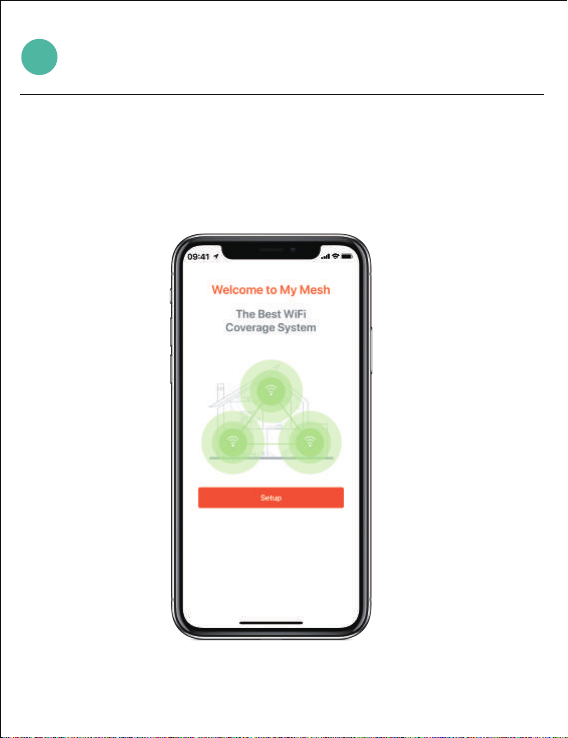
1.After your phone is connected to the rst mesh point's
WiFi, enter the App, tap Setup to start.
5
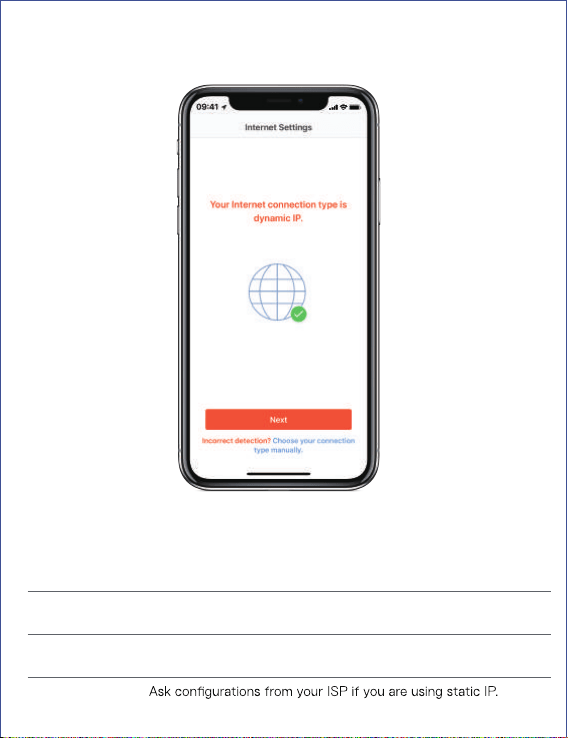
If the app failed to detect, please choose your connection type manually. There are 3
connection types are supported:
2. The app will detect your connection type automatically
Type Description
Applicable to use if your ISP provided PPPOE username and
password.
PPPOE
DHCP
Static IP
Obtain IP address from ISP automatically. If your ISP did not
provide username and password, choose DHCP to connect.
Setup
OK
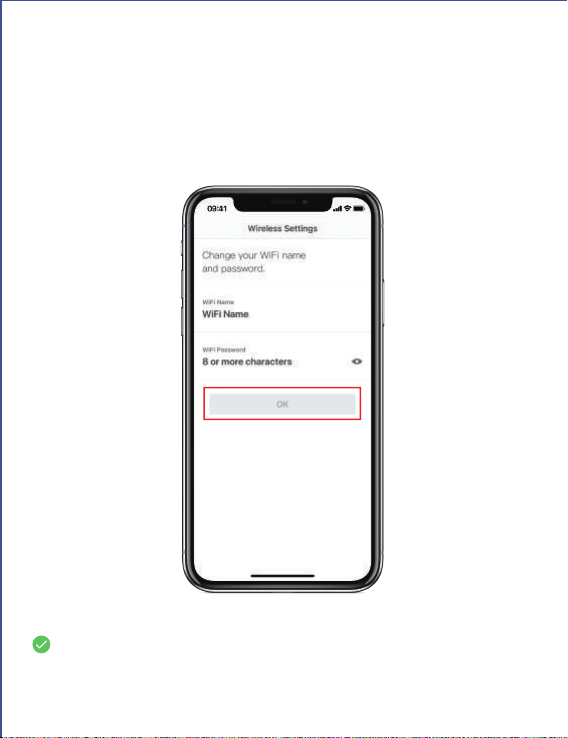
3. Set WiFi Name / Password
Set your personal WiFi name and password to replace the factory
at least 8 characters.
default. The password must contain
Tap OK and wait for a moment, the rst mesh point is
successfully set up.
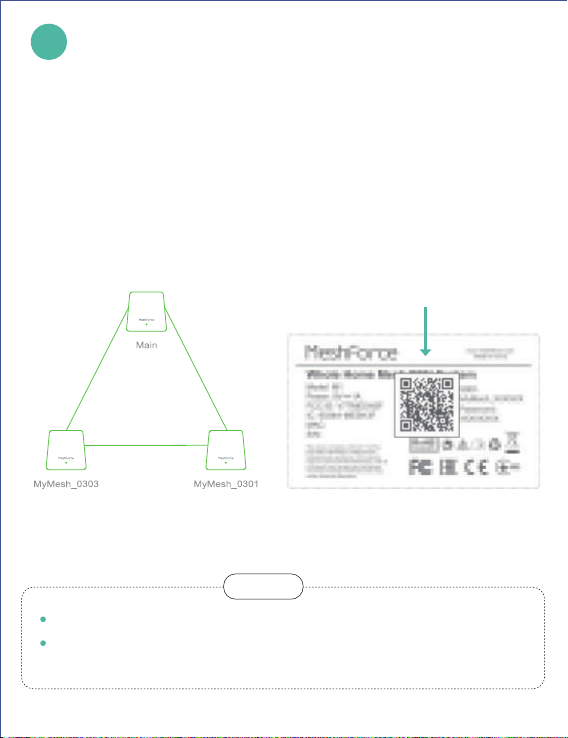
Add More Mesh Points
Power the additional mesh point and enter the App, the point may
be detected automatically if it is near to the main point.
If not, add manually in the App. Go to
Scan the QR code on the product label.
Settings – Add a Mesh.
Automatic Detect Or Add Manually
Scan the QR code on
product label
6
Keep every 2 mesh points within 10 meters or 2 rooms away.
Keep away from microwave oven and refrigerator,
for indoor use only.
Note
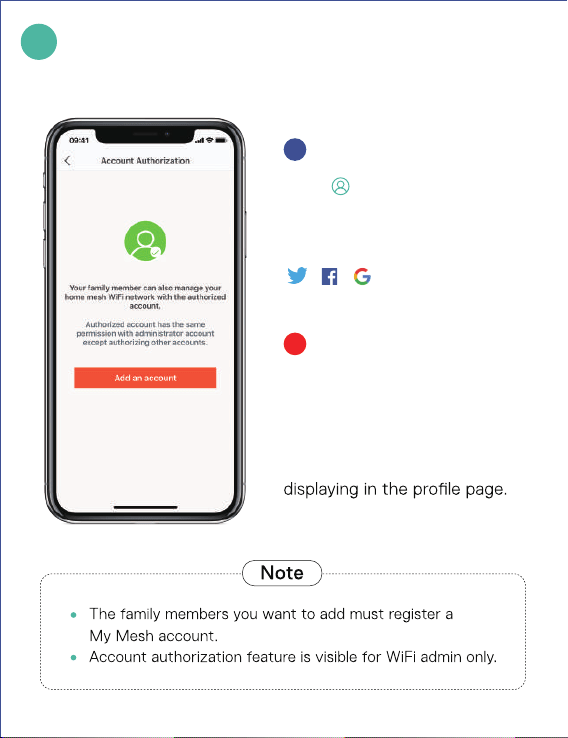
Manage WiFi Remotely
Account Authorization
You can also use
to sign in.
WiFi remotely.
Click on the homepage
up-right corner, register and sign
in
your account, you can manage
To add family members manage
the WiFi, go to
Settings – Account
Authorization. Type in his or her ID
1
2
7
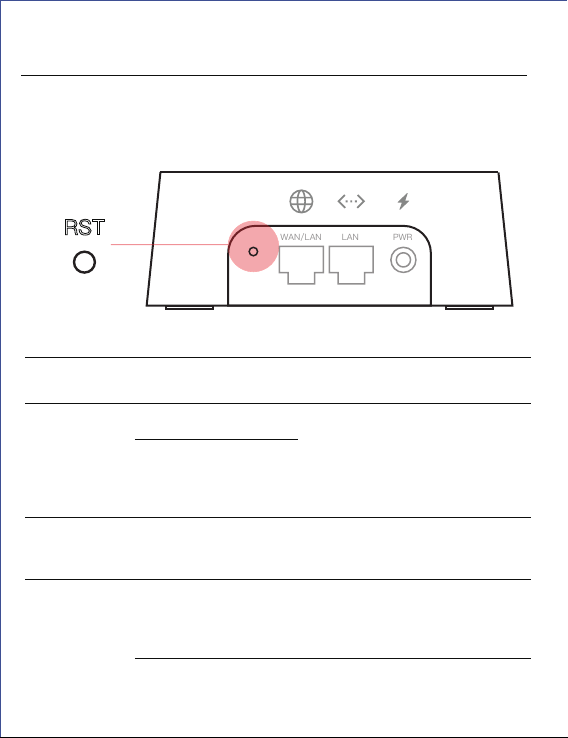
If you need to reset the device, use a sharp item (like a pen) press
the reset button for 10 seconds, until the LED indicator blinks green.
Diagnostics and Reset
RST
WAN/LAN
LAN
PWR
LED Status Take action
Green Solid Internet connection is good.
Green Pulse Product is ready to setup
Product reset successfully
Connect WiFi, go to the App
and setup the mesh. If add as
additional points, go to the
App add a mesh.
Yellow Solid Internet connection is fair Place the mesh closer to the
main mesh point
Red Solid Setup is failed or time out Go to the App check error
message, Reset the point to
start over.
Unable to connect to the
Internet
Check Internet service status
with your ISP
RST
You can also use