Loading ...
Loading ...
Loading ...
18 49-80823 Rev. 3
Oven
(Cont.)
Oven Racks
Oven Interior (Cont.)
Self Clean Mode
Read Self-Cleaning Oven Safety Instructions
at the beginning of this manual before using
Self Clean Mode.
IMPORTANT: The health of some birds is
extremely sensitive to the fumes given off
during the self-cleaning cycle of any range.
Move birds to another well-ventilated room.
Self clean uses very high temperatures to
clean the oven interior. The oven doors will
lock when using this feature. Before operating
the self clean cycle, wipe up grease and soils
from the oven. Use a damp cloth to hand
clean inside door edge and 2” area around
the inside edge of the oven doors. Remove
all items from the oven other than enameled
(dark color) racks. Shiny or silver racks, the
meat probe, and any cookware or other items
should all be removed from the oven before
initiating a self clean cycle. Close the doors.
Select Clean with both knobs. Press the mini
knob to select self-clean. Rotate the mini knob
to adjust the clean time between 3:00 and
5:00 hours or use the default time; press the
mini knob to enter the clean time and to start
the self-clean. For heavily soiled ovens, the
maximum 5 hour clean time is recommended.
The oven will turn off automatically when the
self clean cycle is complete. The doors will
stay locked until the oven has cooled down.
After the oven has cooled down wipe any ash
out of the oven. On double oven models, you
can set a clean cycle in both ovens at the
same time. The last oven set will automatically
delay its start until the end of the first oven’s
clean cycle. On double oven models, you can
bake in one oven and self-clean in the other at
the same time. However, you cannot use the
PROOF mode setting in one oven while the
other oven is self-cleaning.
The racks that were provided with your oven
(dark enameled racks, not shiny) may remain
in the oven during the self-cleaning cycle
without being damaged.
To manually clean racks, use warm, soapy
water. Make sure not to wash the rack slides
on an extension rack.
If racks become more difficult to remove from
the oven, put some vegetable oil on a soft
cloth or paper towel and rub onto the oven
rack supports. Do not wipe the oil on an
extension rack slide.
NOTE: Using other cooking oils will cause a
discoloring or a rust like color residue on the
racks and cavity sides. To clean this residue,
use a soap and water or a vinegar and water
solution. Rinse with clean water and dry with a
soft cloth.
Periodically, after several self-clean cycles,
the extension rack slides may need to be
lubricated using the graphite lubricant shipped
with your wall oven. To order additional
graphite lubricant, see the Accessories and
Consumer Support sections at the end of this
manual.
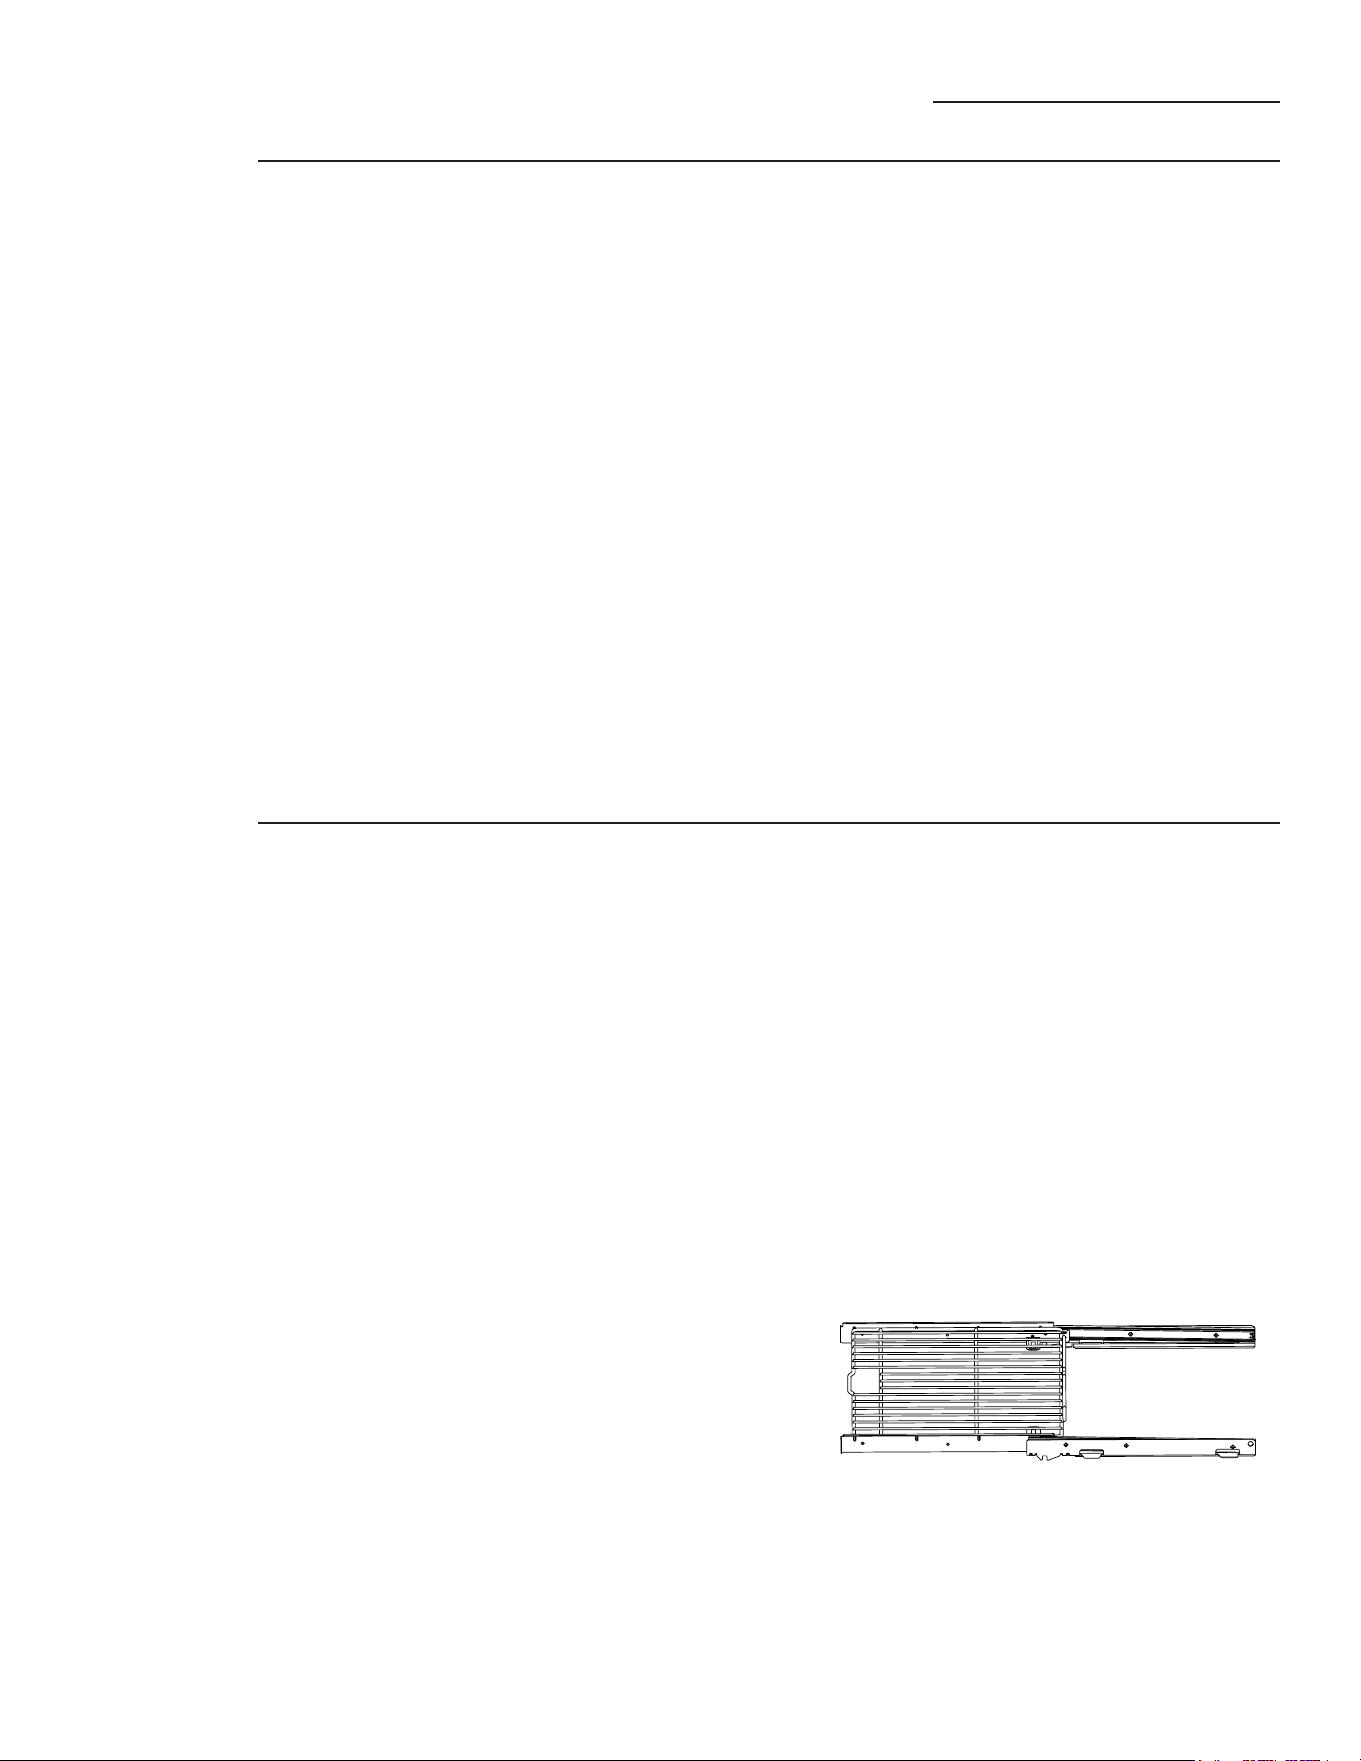
1. Remove extension rack from the oven. See
the Extension Oven Racks section.
2. Fully extend the rack on a table or
countertop. Newspaper may be placed
underneath the rack for easy clean up.
3. If there is debris in the slide tracks, wipe
it away using a paper towel. NOTE: Any
graphite lubricant wiped away must be
replaced.
Care and Cleaning
Wall Oven
Loading ...
Loading ...
Loading ...