Loading ...
Loading ...
Loading ...
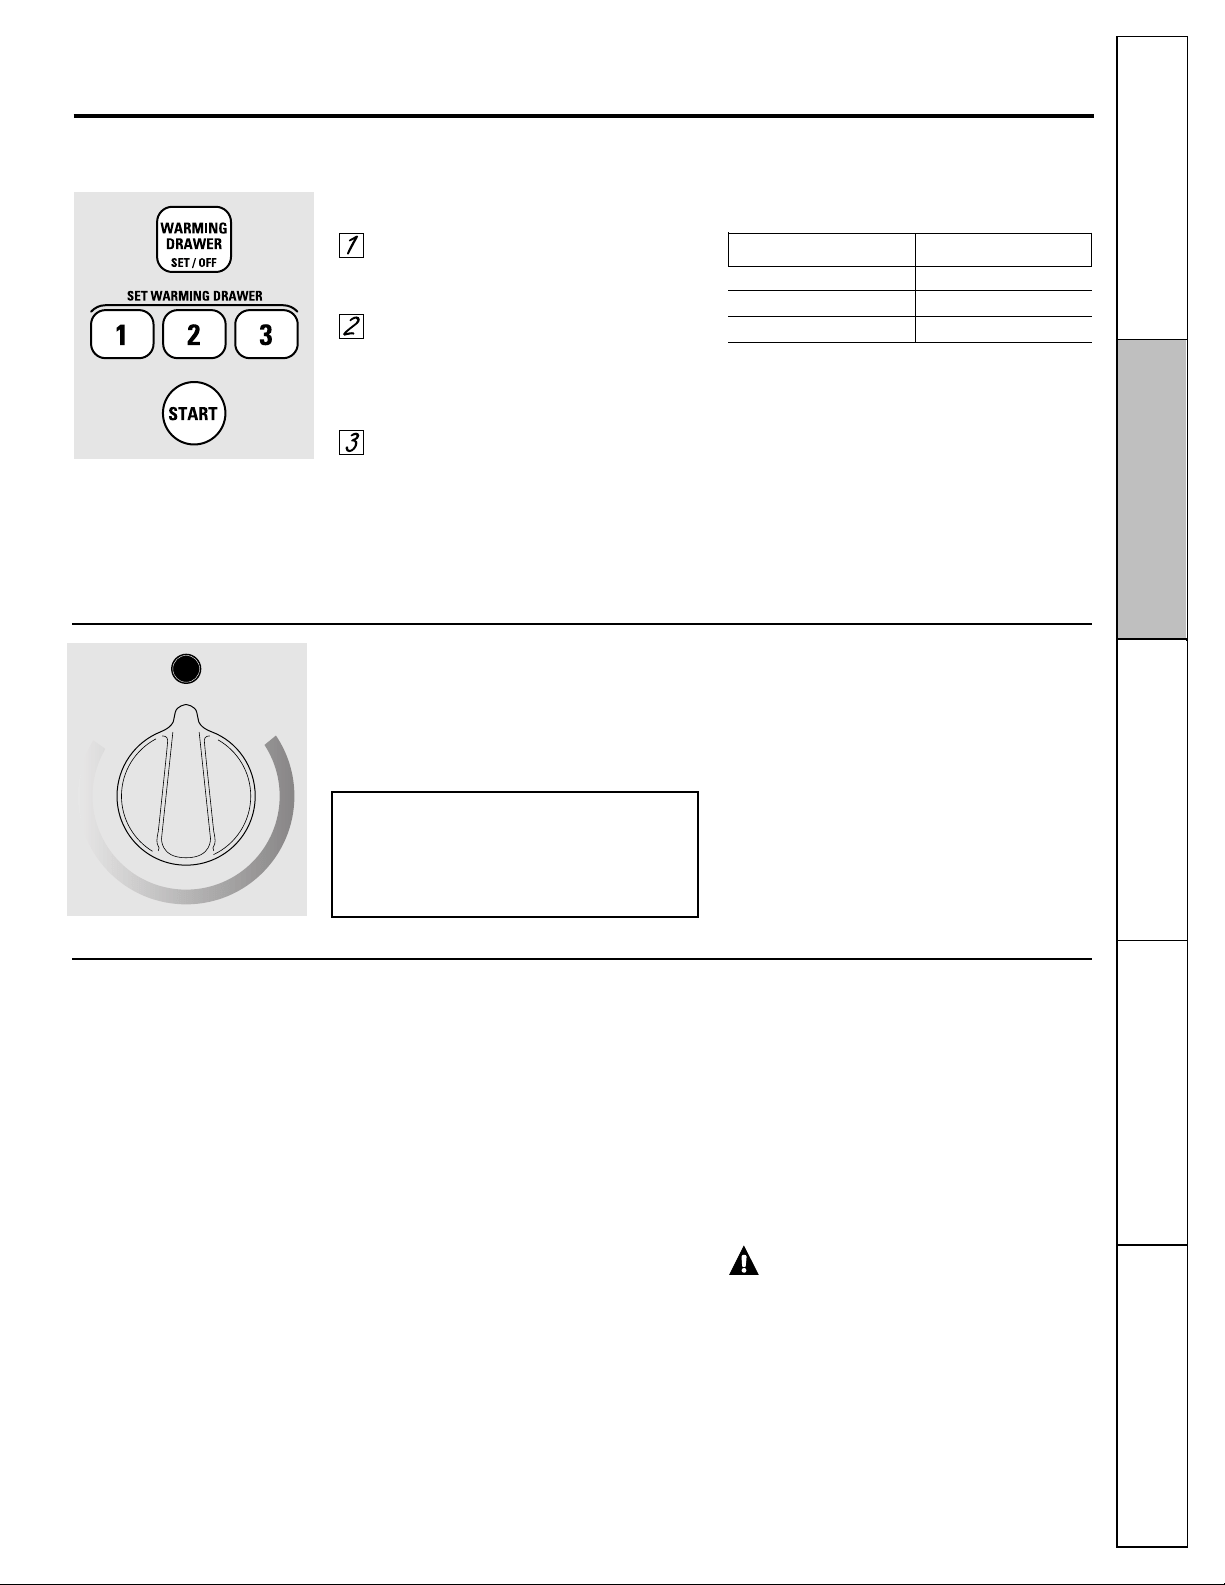
Touch the WARMING DRAWER pad.
“Warm” and “1” are lit on the display
and “Set” begins to blink.
On the number pad, touch 1 for Low,
2 for Medium or 3 for High.
The display “1” changes corresponding
to the number pad selected.
Touch the START pad.
“Warm” and the number remain lit.
“Set” stops blinking.
To cancel, touch the WARMING DRAWER
pad. NOTE: Touching the CLEAR/OFF pad does
not turn the warming drawer off.
NOTES:
■ The warming drawer cannot be used during
a self-clean cycle.
■ The warming drawer has three settings: 1, 2 and
3. These settings maintain different temperature
levels in the warming drawer.
■ On some models, if using the oven at the same
time as the warming drawer, the oven settings
only will be displayed.
23
Number Pad Setting
1 Lo (pies)
2 Med (casseroles)
3 Hi (meats)
The warming drawer will keep hot, cooked foods at serving temperature. Always start with hot food. Do not use to heat
cold food other than crisping crackers, chips or dry cereal.
Using the electric warming drawer. (on some models) ge.com
To Use the Warming Drawer (on models equipped with press pads)
When Using the Warming Drawer
The warming drawer will keep hot, cooked
foods at serving temperature. Always start
with hot food. Do not use to heat cold
food other than crisping crackers, chips
or dry cereal.
Do not line the warming drawer with
aluminum foil. Foil is an excellent heat
insulator and will trap heat beneath it. This
will upset the performance of the drawer
and could damage the interior finish.
■ Preheat prior to use according to these
recommended times:
Setting 1/LO . . . . . . . . . . . .15 minutes
Setting 2/Medium . . . . . . . .25 minutes
Setting 3/HI . . . . . . . . . . . . .35 minutes
■ Do not put liquid or water in the
warming drawer.
■ For moist foods, cover them with a lid
or aluminum foil.
■ For crisp foods, leave them uncovered.
■ Food should be kept hot in its cooking
container or transferred to a heat-safe
serving dish.
CAUTION: Plastic containers or
plastic wrap will melt if in direct contact with the
drawer or a hot utensil. Melted plastic may not be
removable and is not covered under your warranty.
■ Remove serving spoons, etc., before
placing containers in warming drawer.
Consumer SupportOperating Instructions
Safety Instructions
Installation Instructions Troubleshooting Tips
Control Knob (on models equipped with a knob)
Push and turn the control knob to any
desired setting.
NOTE: The warming drawer should not
be used during a self-clean cycle.
ON Signal Light
The ON signal light is located above the
control knob and glows when the knob is in
the on position. It stays on until the knob is
moved to the OFF position.
WARMING DRAWER
L
O
O
F
F
H
I
LO . . . . . . . . . . . . . . . . . . . . . . . . .Pies
Medium (mid-position
on the knob) . . . . . . . . . . . .Casseroles
HI . . . . . . . . . . . . . . . . . . . . . . . .Meats
Loading ...
Loading ...
Loading ...