Loading ...
Loading ...
Loading ...

76
1 Connect your TV or VCR device to
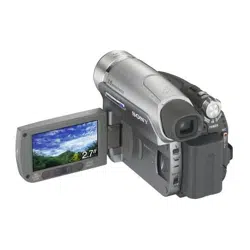
your camcorder as a playback
device.
Connect your camcorder to the output
jacks of a TV or VCR device.
2 Insert a cassette into the VCR as
a player.
3 Slide the POWER switch
repeatedly to turn on the PLAY/
EDIT lamp.
4 Set your camcorder to recording
pause mode.
When recording on a tape, touch
t [ REC CTRL] t [REC
PAUSE].
When recording on a “Memory Stick
Duo,” touch t [MENU] t
(EDIT/PLAY) t [ REC
MOVIE].
For DCR-HC96:
When connecting with an S VIDEO
plug, touch t [MENU] t
(STANDARD SET) t [VIDEO
INPUT] t [S VIDEO].
5 When recording pictures from a
VCR device:
Start playing the cassette on the
VCR.
When recording pictures from a
TV:
Select a TV program.
The picture played on the connected
device appears on the LCD screen of
your camcorder.
6 Touch [REC START] at the point
you want to start recording.
7 Stop recording.
When recording on a tape, touch
(Stop) or [REC PAUSE].
When recording on a “Memory Stick
Duo,” touch [REC STOP].
8 Touch t .
1 Perform steps 1 to 3 in
“Recording movies.”
2 Start playing the cassette on the
playback device, or select a TV
program.
The pictures on the VCR device or TV
appear on the screen of your camcorder.
3 Press PHOTO lightly at the scene
you want to record. Check the
image and press it fully.
Recording movies
Recording still images
Recording pictures from a TV or VCR device, etc. (Continued)
Loading ...
Loading ...
Loading ...
