Loading ...
Loading ...
Loading ...
40
This section explains recording on the
DVD (For information on recording to
HDD, see page 38.)
Checking Remaining Time
and Other Information
Press ON SCREEN (under the cover) during
DVD playback or recording.
• Disc capacity and the number of recorded
titles, etc. are displayed. It is recom-
mended to confirm before recording.
• “REMAIN 0hr 0min” or nothing will be
displayed when an unrecordable disc is
set.
NOTE
• Disc remaining time display is approximate
measure of disc capacity. There may be
space left in disc capacity after recording.
(Remaining time during recording and after
recording might not be the same.)
Simultaneous Recording/
Playback (page 77)
• HDD playback is possible while recording
or timer recording to DVD.
Dubbing (page 57)
• Dubbing titles recorded on DVD to HDD or
titles recorded on HDD to DVD-R/RW are
possible.
• Exact Dubbing: Automatically selects the
appropriate recording mode according to
the remaining capacity of DVD when
dubbing titles recorded on HDD to DVD.
Not Enough Disc Capacity
• Exact Recording (page 98)
Exact recording functions when the
selected recording mode is not appropriate
to fit the program to the disc when you
timer record. (Will not function during timer
dubbing.)
• Alternate Recording (page 104)
Alternate recording functions when you
forget to load a DVD for timer recording. It
automatically timer records the program to
HDD.
Cutting TV Commercials
(page 81)
• You can cut unwanted scenes like TV
commercials by using the ERASE SCENE
function after the recording. (Cannot cut TV
commercials automatically.)
• You cannot cut scenes when you record
programs by Video mode to DVD-RW or
DVD-R.
Recording to DVD
DVD-RW
ORVR
I
N
AL
I
G
REMAIN 0h30m
00:00:00
2
10
FINE
Tamper Proof
• You can set Tamper Proof to prevent
operations by mistake during recording or
timer recording.
1 Press and hold TAMPER PROOF (ON
SCREEN and DISPLAY together) for
more than 2 seconds.
2 Each time you perform this operation,
the function is activated or deactivated.
• If you try to operate the Recorder while
Tamper Proof is set, “
” blinks in the front
display panel and tells you that Tamper
Proof is set.
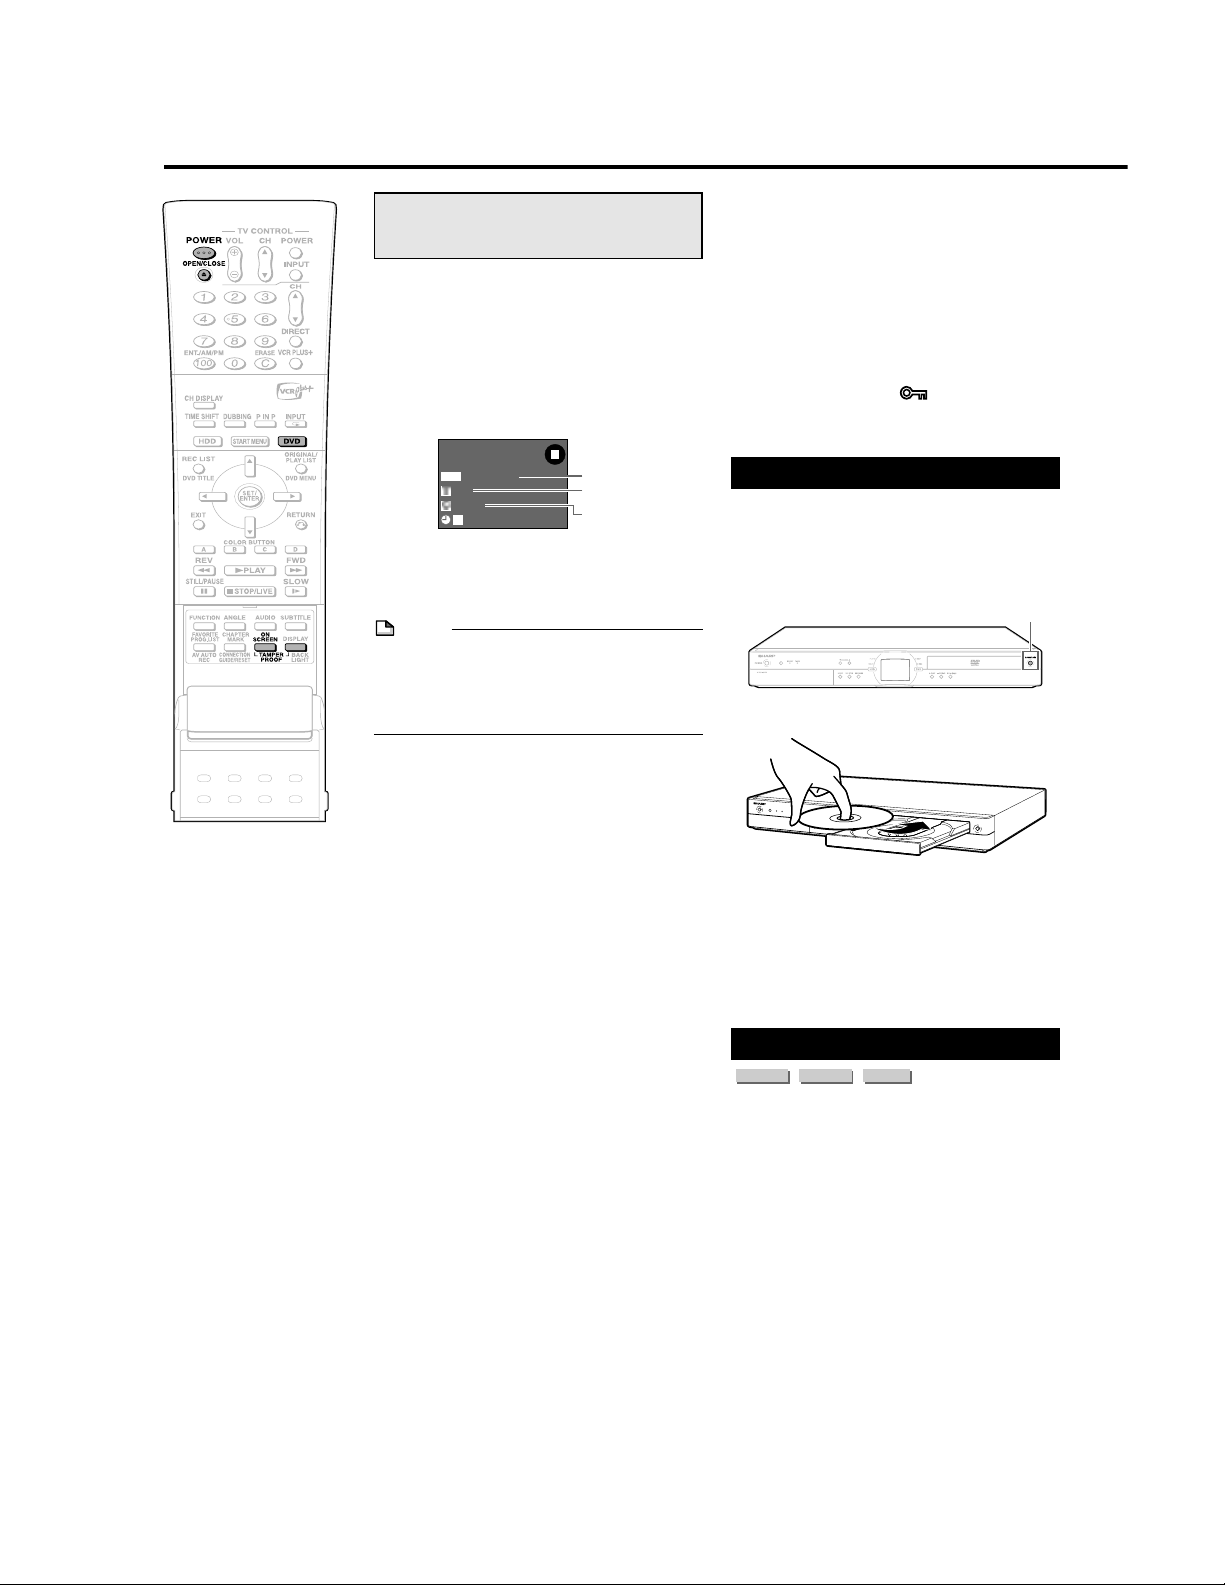
Loading Disc
1
Press POWER to turn the power
on.
2
Press OPEN/CLOSE on the
Recorder to open the disc tray.
3
Load disc on the disc tray.
• Insert the disc with the label face up.
• In case of disc recorded on both
sides, face the side you want to
record down.
4
Press OPEN/CLOSE to close the
disc tray.
Direct Recording to DVD
VR MODE
DVD-RW
VIDEO MODE
DVD-RW
DVD-R
Explained below is the standard procedure
for recording the program being viewed onto
DVD.
• You can create a maximum of 99 original
titles.
• Record in VR mode when you want to edit
later. Edit functions will be limited when you
record in Video mode.
Preparation for Direct Recording
• When you record SAP broadcast, set “SAP
SETTING” to “ON” (see page 98).
1
Press DVD to select DVD mode
.
• The DVD button on the front of the
Recorder lights up.
• When the power is turned on, HDD
mode is selected automatically.
Disc capacity
Number of titles
Number of
chapters
OPEN/CLOSE
Loading ...
Loading ...
Loading ...