POWER HINGE™ INSTALLATION
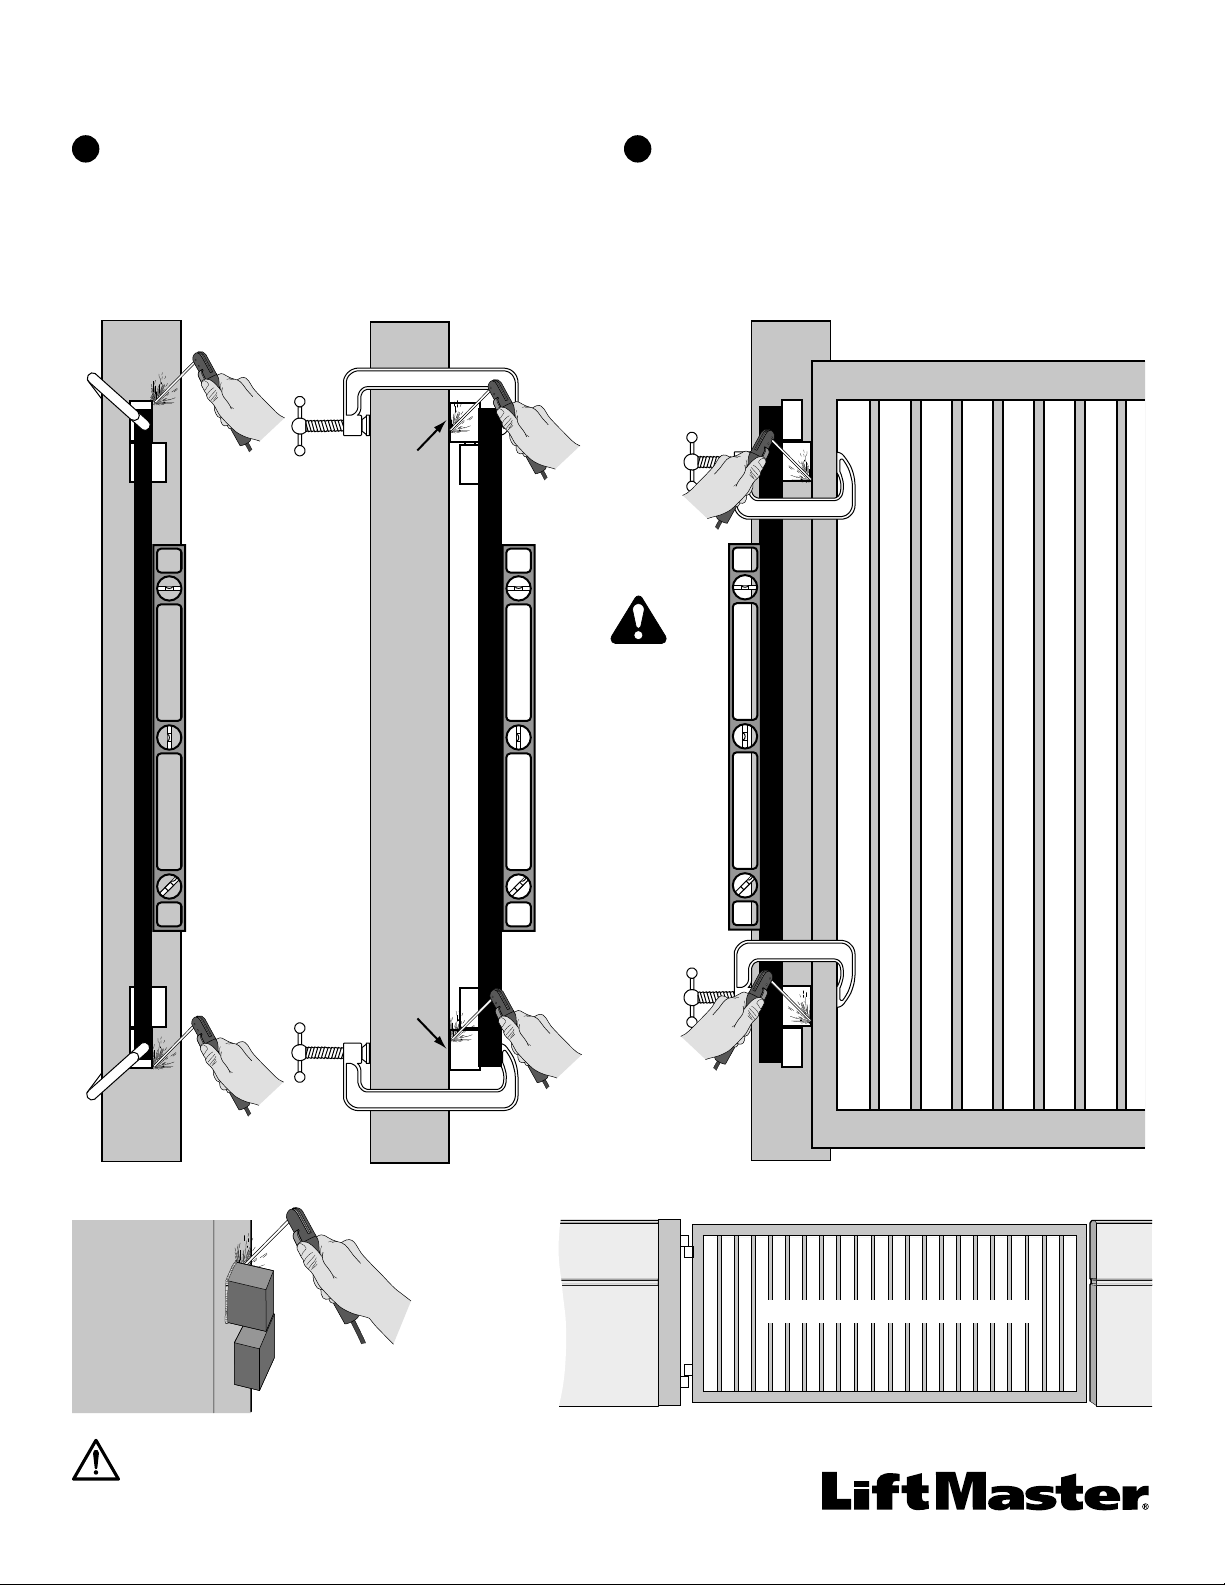
Post
Metal Bar
Metal Bar
Post
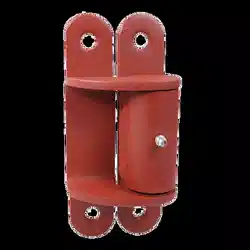
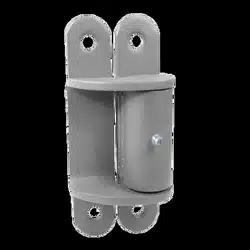
Power
Hinge™
Power
Hinge™
S
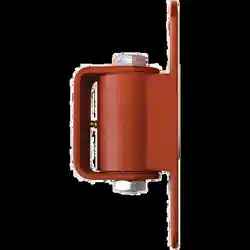
Weld Hinge to Post
Clamp the outside of the hinges to the post using a metal bar
between the clamp and hinge as shown. Use the metal bar to ensure
both hinges are equally aligned, level and positioned.
When the hinges are properly positioned, weld them to the post
making sure you weld all four sides of each hinge. Once you have
a strong weld remove the clamps and metal bar used for alignment.
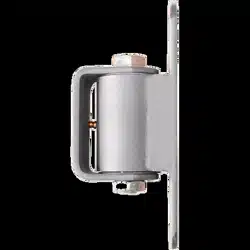
Weld Hinge to Gate
Clamp the inside of the hinges to the gate using the metal
alignment bar as shown. The gate must be in the open position
for the clamps to fi t. Make sure the gate and post is even and that
the hinges are level and aligned. Weld inside hinge halves to gate
making sure you weld all four sides of each hinge. Remove clamps
and metal rod and gate is ready for use.
A
B
Metal Bar
Post
Gate in Open Position
de
WARNING: This product can expose you to chemicals including lead, which are known to
the State of California to cause cancer or birth defects or other reproductive harm. For more
information go to www.P65Warnings.ca.gov
Weld all four sides
of each hinge
Finished installation gate closed
Weld all four sides
of each hinge
See Reverse Side
for Important
Precautions
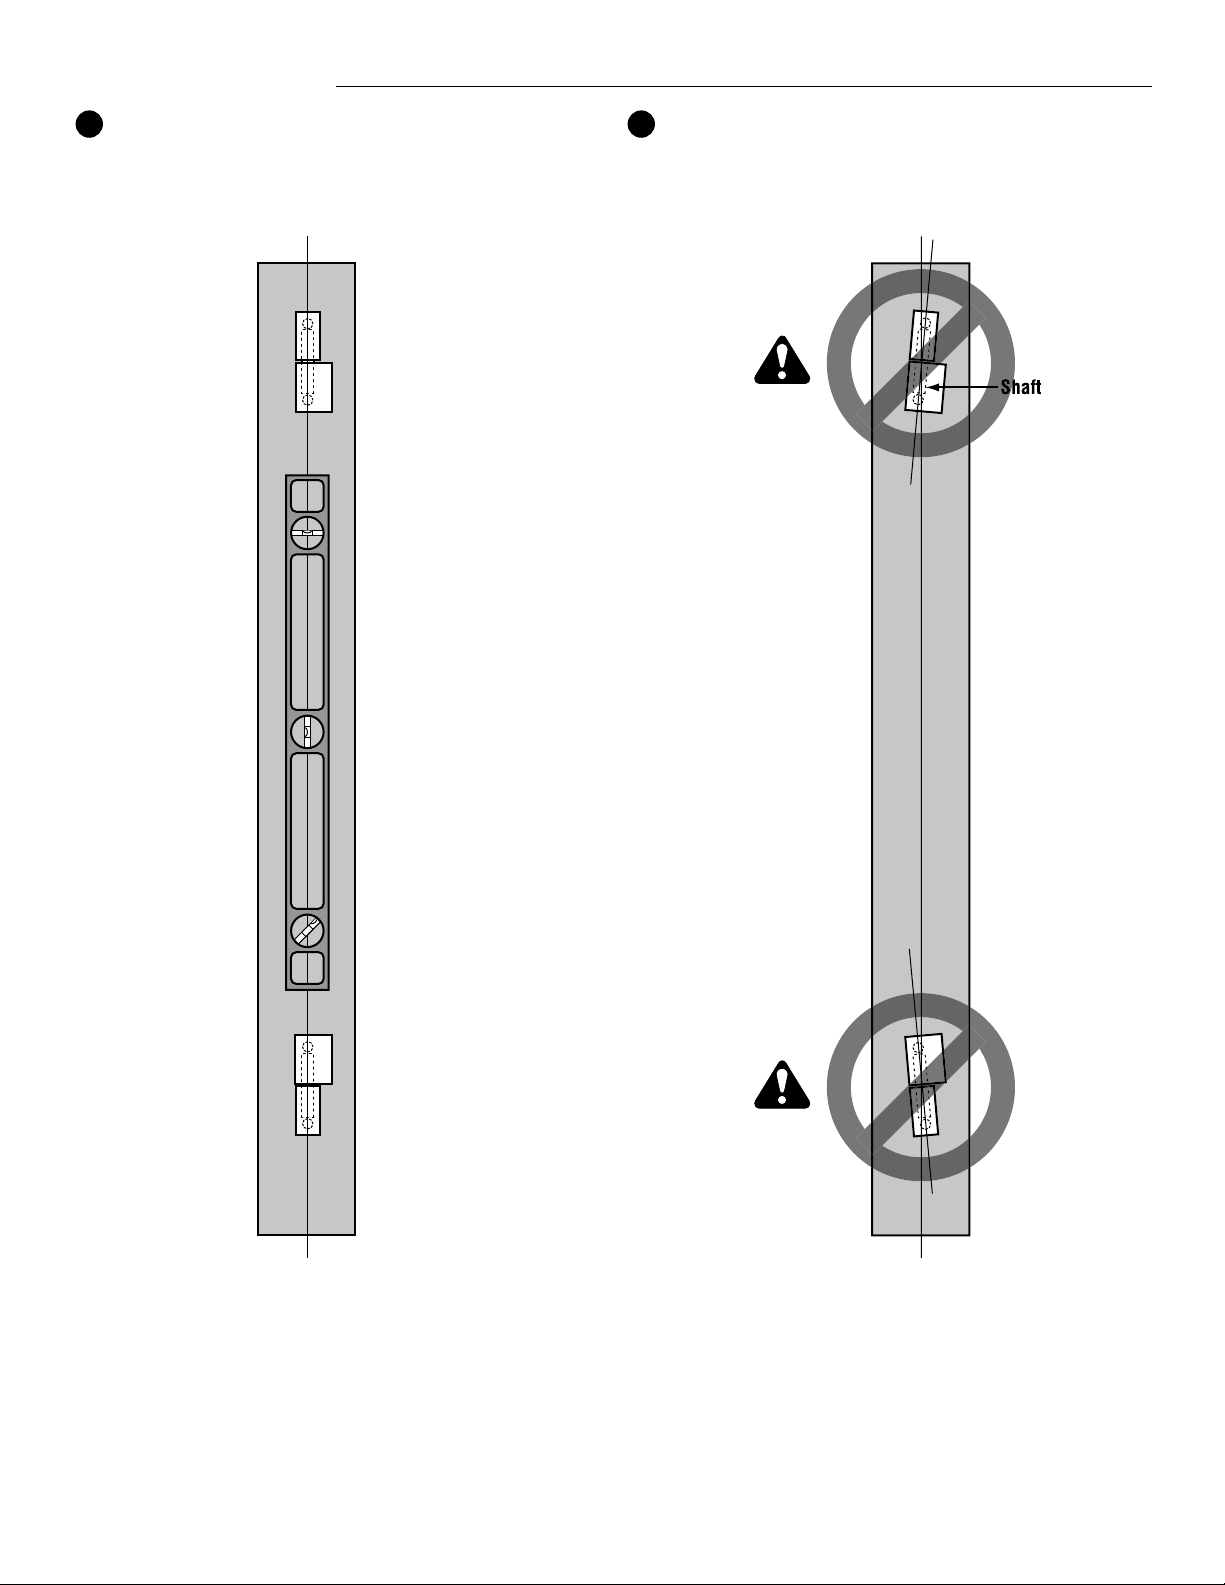
Proper Alignment
It is very important, for smooth and proper operation of the
gate, that the hinge shafts are in line and level.
Improper Alignment
Improper installation of the hinges will result in poor gate
operation and shearing of the shafts.
C
D
Important Precautions
© 2004 LiftMaster
01-50690B All Rights Reserved
AA
BB
Post
Post
LiftMaster.com