Quick Start Guide
for dishwashers
These short instructions are not a substitute for the
operating instructions supplied with the appliance.
Please read the operating instructions supplied with your
dishwasher before using it for the first time and take note of
the Warning and Safety instructions, as well as the full de‐
scriptions on how to use your appliance.
en-AU, NZ
M.-Nr. 10 075 800 / 00
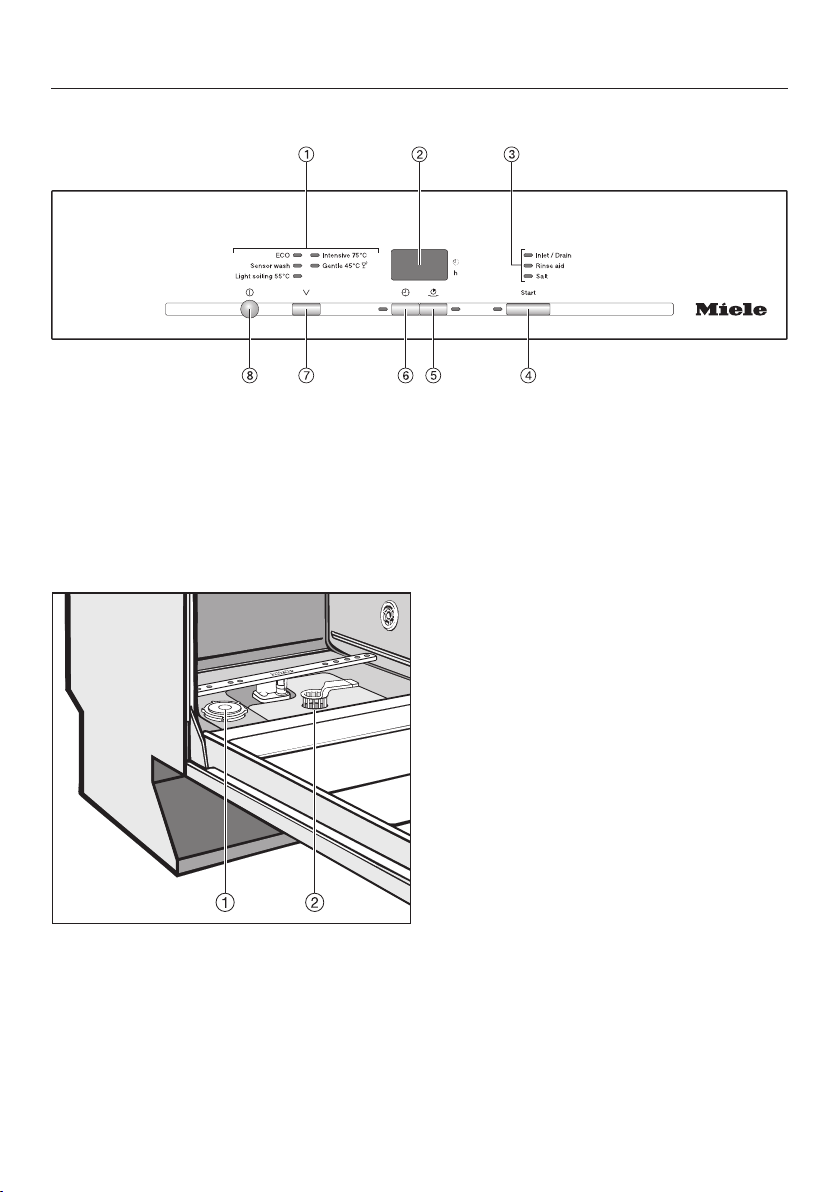
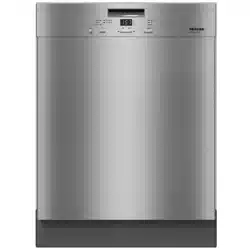
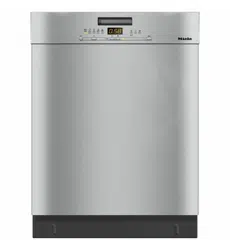
Guide to the appliance
Control panel
a
Programme selection
b
Display
c
Check/Refill indicators
d
Start button with indicator light
e
Short button with indicator light
f
Delay start button with indicator
light
g
Programme selector button
h
On/Off button
a
Salt reservoir
b
Filter combination

Brief instructions
Filling the salt reservoir
Remove the lower basket and un‐
screw the salt reservoir cap.
Water or saline solution will run out
of the reservoir when the cap is re‐
moved.
It should therefore only be removed
in order to refill the salt reservoir.
Dishwasher detergent will dam‐
age the water softener.
Do not fill the salt reservoir with
powder or liquid detergent.
Place the funnel provided over the
salt reservoir and carefully fill with
dishwasher salt until the reservoir is
full.
Clean any excess salt from around
the reservoir opening and then screw
the cap on again firmly.
Immediately after filling the salt reser‐
voir, run the Gentle 45°C pro‐
gramme with the Short programme
option selected and without any
crockery in the dishwasher to remove
any traces of salt from the cabinet.
Adding rinse aid
Press the button on the lid of the
rinse aid reservoir in the direction of
the arrow until the flap springs open.
Add rinse aid only until it is visible in
the opening.
Close the flap firmly. It should click
into place.
Wipe up any spilled rinse aid. This
prevents over-foaming occurring dur‐
ing the next programme.
Load the dishwasher
Adding detergent
Follow the dosage recommended by
the manufacturer on the packaging.
Press the opening catch on the de‐
tergent dispenser. The flap will spring
open.
The flap is always open at the end of a
programme.
Add the required amount of detergent
and close the flap.

Switching on the dishwasher
Close the door.
Turn on the tap if it is turned off.
Switch the dishwasher on with the
button.
Selecting a programme
Use the programme selector button
to select the programme required.
Selecting the Short pro‐
gramme option (if required)
The button is used to select the
Short programme option.
The option selected will remain active
for that particular programme until the
setting is changed.
Press the button.
The indicator light comes on.
Activating Delay start (if re‐
quired)
Set the required time using the
button.
Starting the programme
Press the Start button.
At the end of a programme -
Switching off
The programme has finished when .
appears in the display.
The drying fan may continue to run for
a few minutes at the end of the pro‐
gramme.
Switch the dishwasher off with the
button.
To prevent the risk of steam
damage to the worktop edging
above the dishwasher, it is advisable
to leave the door closed until you are
ready to unload the crockery. Alter‐
natively, you can open the door fully
until the crockery is cool enough to
unload. Do not leave the door only
partially open.
Unloading the dishwasher
Dishes tend to break and chip more
easily when they are hot. Allow the
dishes to cool until they are comforta‐
ble enough to handle before unloading
them.
Cleaning and care
Checking the filters in the
wash cabinet
This dishwasher must not be
used without all the filters in place.
Check the condition of the filters reg‐
ularly and clean them if necessary.
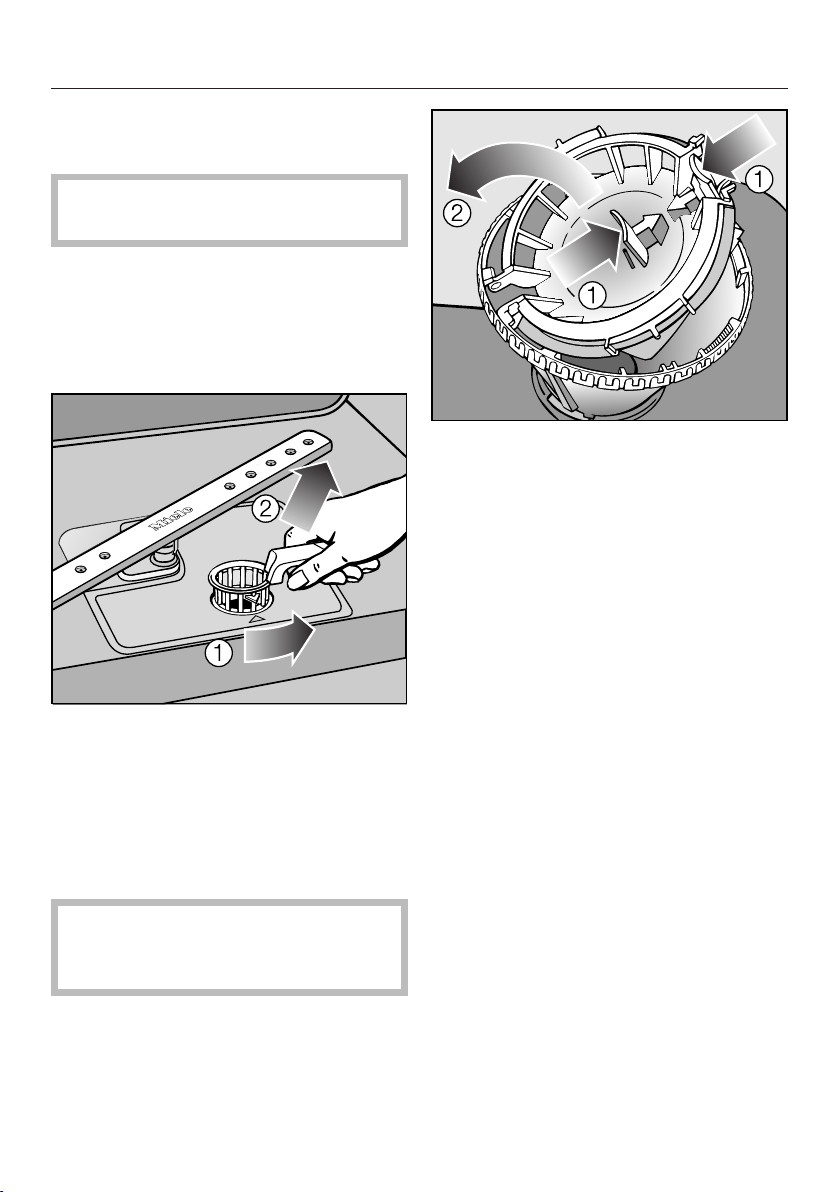
Cleaning the filters
Switch the dishwasher off.
Turn the handle anti-clockwise to re‐
lease the filter combination .
Lift the filter combination out of the
dishwasher . Remove any coarse
particles and rinse the filter well un‐
der running water.
Use a nylon brush if necessary.
Ensure that course soil doesn't
get into the circulation system and
cause a blockage.
To clean the inside of the filter, the flap
must be opened:
Press catches together in the di‐
rection of the arrows as shown, and
open the filter .
Rinse all the filters under running wa‐
ter.
Then close the flap so that the catch
engages.
Replace the filter combination so that
it lies flat in the base of the wash
cabinet.
Then turn the handle clockwise until
both arrows point towards each oth‐
er. This will lock the filter combination
in place.
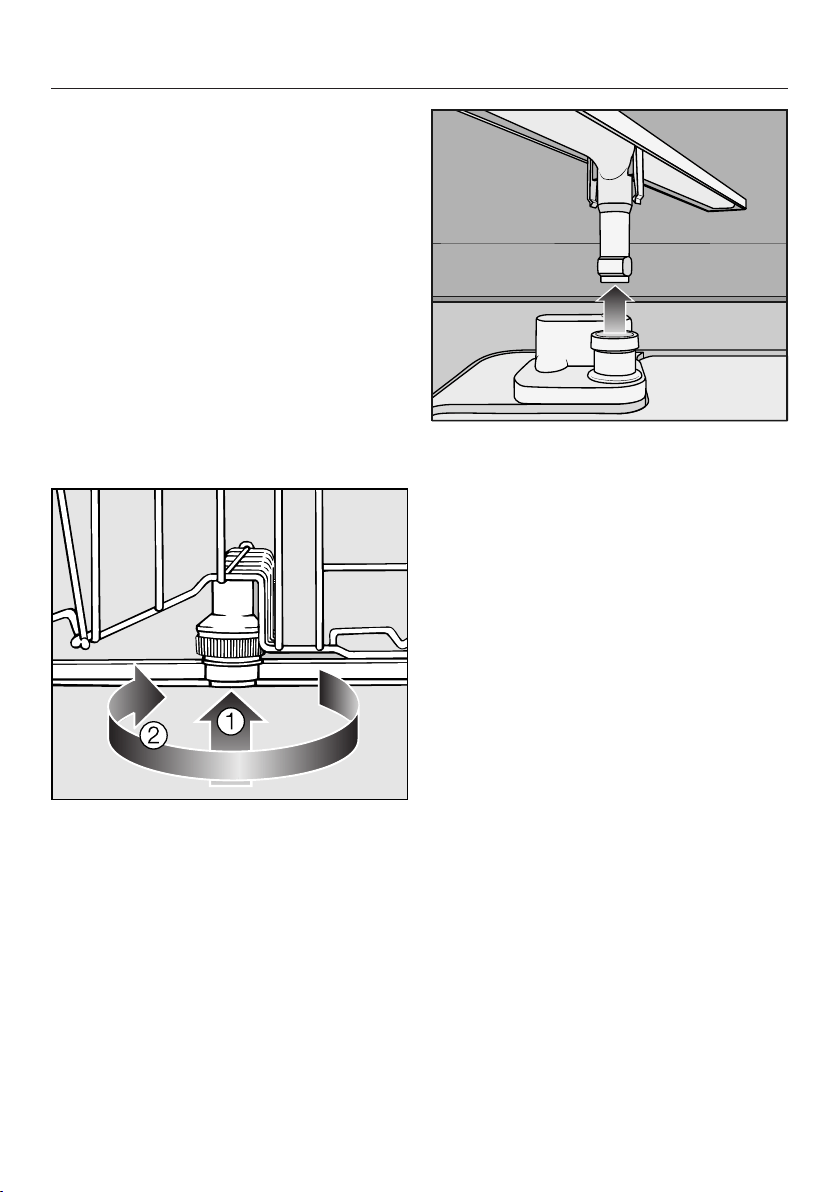
Cleaning the spray arms
Particles of food can get stuck in the
spray arm jets and bearings. The spray
arms should therefore be inspected and
cleaned regularly (approx. every 4 - 6
months).
Switch the dishwasher off.
Remove the spray arms as follows:
Take out the cutlery tray (if your dish‐
washer is fitted with one).
Push the top spray arm upwards to
engage the inner ratchet. Then un‐
screw the spray arm.
Push the middle spray arm upwards
to engage the ratchet. Then un‐
screw the spray arm .
Remove the lower basket.
Pull the lower spray arm firmly up‐
wards to remove it.
Use a pointed object to push food
particles into the spray arm jets.
Rinse thoroughly under running wa‐
ter.
Refit the spray arms and check that
they rotate freely.

Programme chart
Mixed,
everyday crockery
Heat-sensitive glasses and
plastic
Mixed crockery
Pots, pans, everyday porcelain
and cutlery
All fresh to dried-on
food deposits
Fresh, easily removed food
deposits
Fresh food deposits which
have begun to dry on
Burnt-on, stubborn, dried-
on food deposits containing
starch or protein
1)
Variable, sensor-controlled
programme sequence
Shorter duration
This needs a gentle
programme with glass care
Shorter duration
This needs a water and energy
saving programme
Average programme values
Shorter duration
Maximum cleaning power
Shorter duration
1)
Food such as potatoes, pasta, rice or stews can leave starchy deposits. Deposits containing protein
can be left by food such as fried meat, fish or eggs and bakes.
Crockery Food deposits Action required

-
25 ml
or
1 tab
Sensor wash
+short
-
20 ml
or
1 tab
Gentle 45°C
+short
-
25 ml
or
1 tab
ECO
-
25 ml
or
1 tab
Light soiling 55°C
+short
10 ml
25 ml
or
1 tab
Intensive 75°C
+short
2)
see "Detergent"
Detergent
Compartment I
2)
Compartment II
2)
Programme