Loading ...
Loading ...
Loading ...

Black plate (251,1)
北米Model "A8150BE-B" EDITED: 2009/ 10/ 2
CAUTION
Do not place metal film or any metal
parts in the cargo room/trunk. This
may cause poor reception of the
signals from the tire pressure sen-
sors, and the tire pressure monitor-
ing system will not function prop-
erly.
NOTE
This device complies with Part 15 of
the FCC Rules and with RSS-210 of
Industry Canada. Operation is subject
to the following two conditions: (1) This
device may not cause harmful inter-
ference, and (2) this device must
accept any interference received, in-
cluding interference that may cause
undesired operation.
Changes or modifications not ex-
pressly approved by the party respon-
sible for compliance could void the
user’s authority to operate the equip-
ment.
Parking your vehicle
& Parking brake
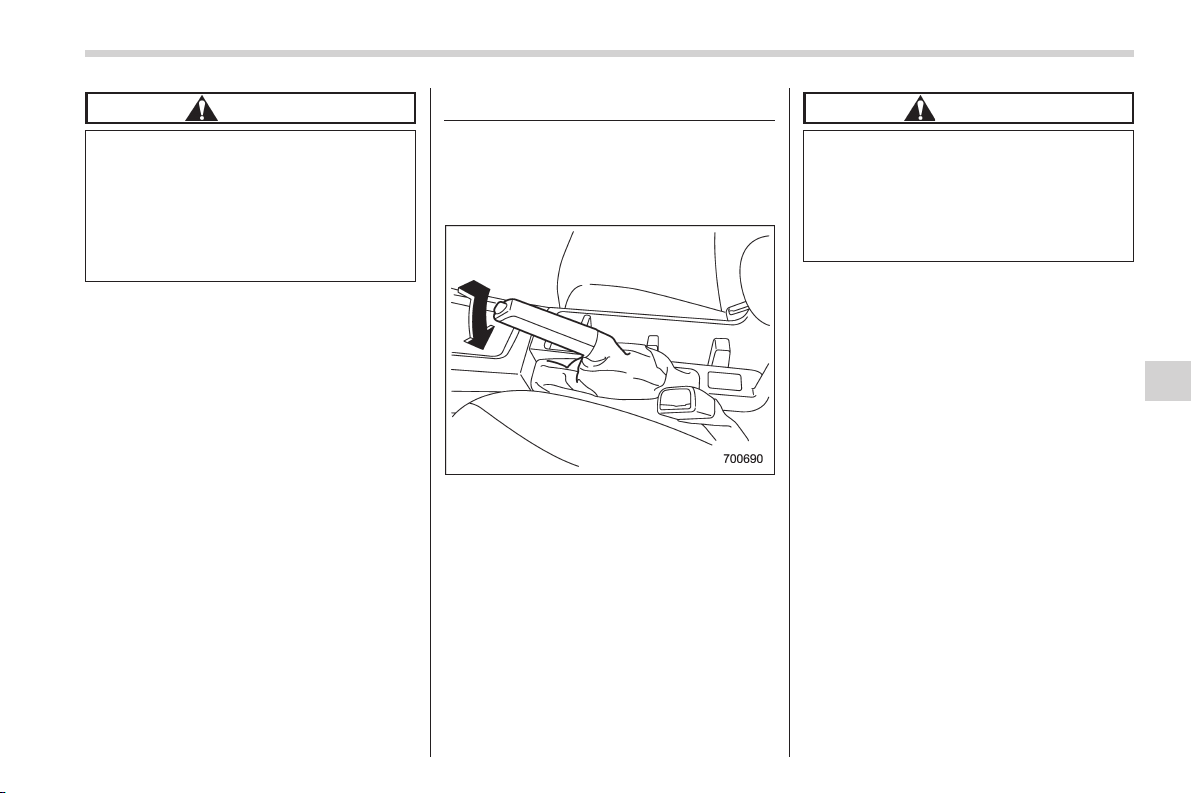
To set the parking brake, depress the
brake pedal firmly and hold it down until
the parking brake lever is fully pulled up.
To release the parking brake, pull the lever
up slightly, press the release button, then
lower the lever while keeping the button
pressed.
When the parking brake is set while the
engine is running, the parking brake
warning light illuminates. A fter starting
the vehicle, be sure that the warning light
has gone out before the vehicle is driven.
Refer to “Brake system warning light” F3-
17.
CAUTION
Never drive while the parking brake
is set because this will cause un-
necessary wear on the brake lin-
ings. Before starting to drive, always
make sure that the parking brake
has been fully released.
& Parking tips
When parking your vehicle, always per-
form the following procedure.
. Apply the parking brake firmly.
. For MT models, put the shift lever in
the “1” (1st) position when on an upgrade
or the “R ” (Reverse) position when on a
downgrade.
. For AT models, put the select lever in
the “P” (Park) position.
. When parking on a hill, always turn the
steering wheel as follows.
Starting and operating 7-31
– CONTINUED –
7
Loading ...
Loading ...
Loading ...
