Loading ...
Loading ...
4
5
PREPARATION
BEFORE FIRST USE
• Remove packing material, plastic, labels, stickers or tags that are attached to the
mixer, bowl or accessories.
• Hand wash the Glass Bowl, Bowl Lid, Bowl Clamping Plate, Splash Guard, Easy Pour
Funnel Insert, Flat Beater, Wire Whisk, Dough Hook, Egg Separator and Grater in
warm, sudsy water. Thoroughly rinse and dry all items.
• Clean the outside of the Stand Mixer only with a soft damp cloth, then use dry
soft cloth to wipe dry.
TILT HEAD (See Fig. 1)
• To attach and remove accessories and bowl you must tilt back the Mixer Head by
means of the release lever on the right side of the mixer (with the front facing you).
• To unlock the Head from operation position, press lever down with one hand,
then with other hand guide spring loaded Head up to lock into raised position.
• To unlock Head from raised position, press lever down with one hand and push
Head down until it locks into operation position.
TILT AND GLIDE
Glides are built into the bottom of the Mixer to allow easy movement from one
location to another across the same surface. To use, first lower Tilt Head into locked
position. With one hand lift up on Tilt Head Lift Handle to tilt Mixer back onto glides.
With other hand grasp Mixer base at front and push to new location.
Lower Mixer back into operation position.
OPERATION
OPERATION
WARNING: To avoid serious injury, keep fingers and hands away from
hinge area when raising or lowering Tilt Head.
WARNING: To prevent injury to persons or product damage, NEVER pour
boiling water into the glass mixer bowl or use the bowl for heating or cooking
purposes. Extreme temperatures can cause the glass bowl to break or shatter.
CAUTION
: NEVER submerge the Mixer in water. It will be permanently
damaged. NEVER use abrasive cleaning agents or scouring pads to clean
mixer surfaces. They will be permanently scratched.
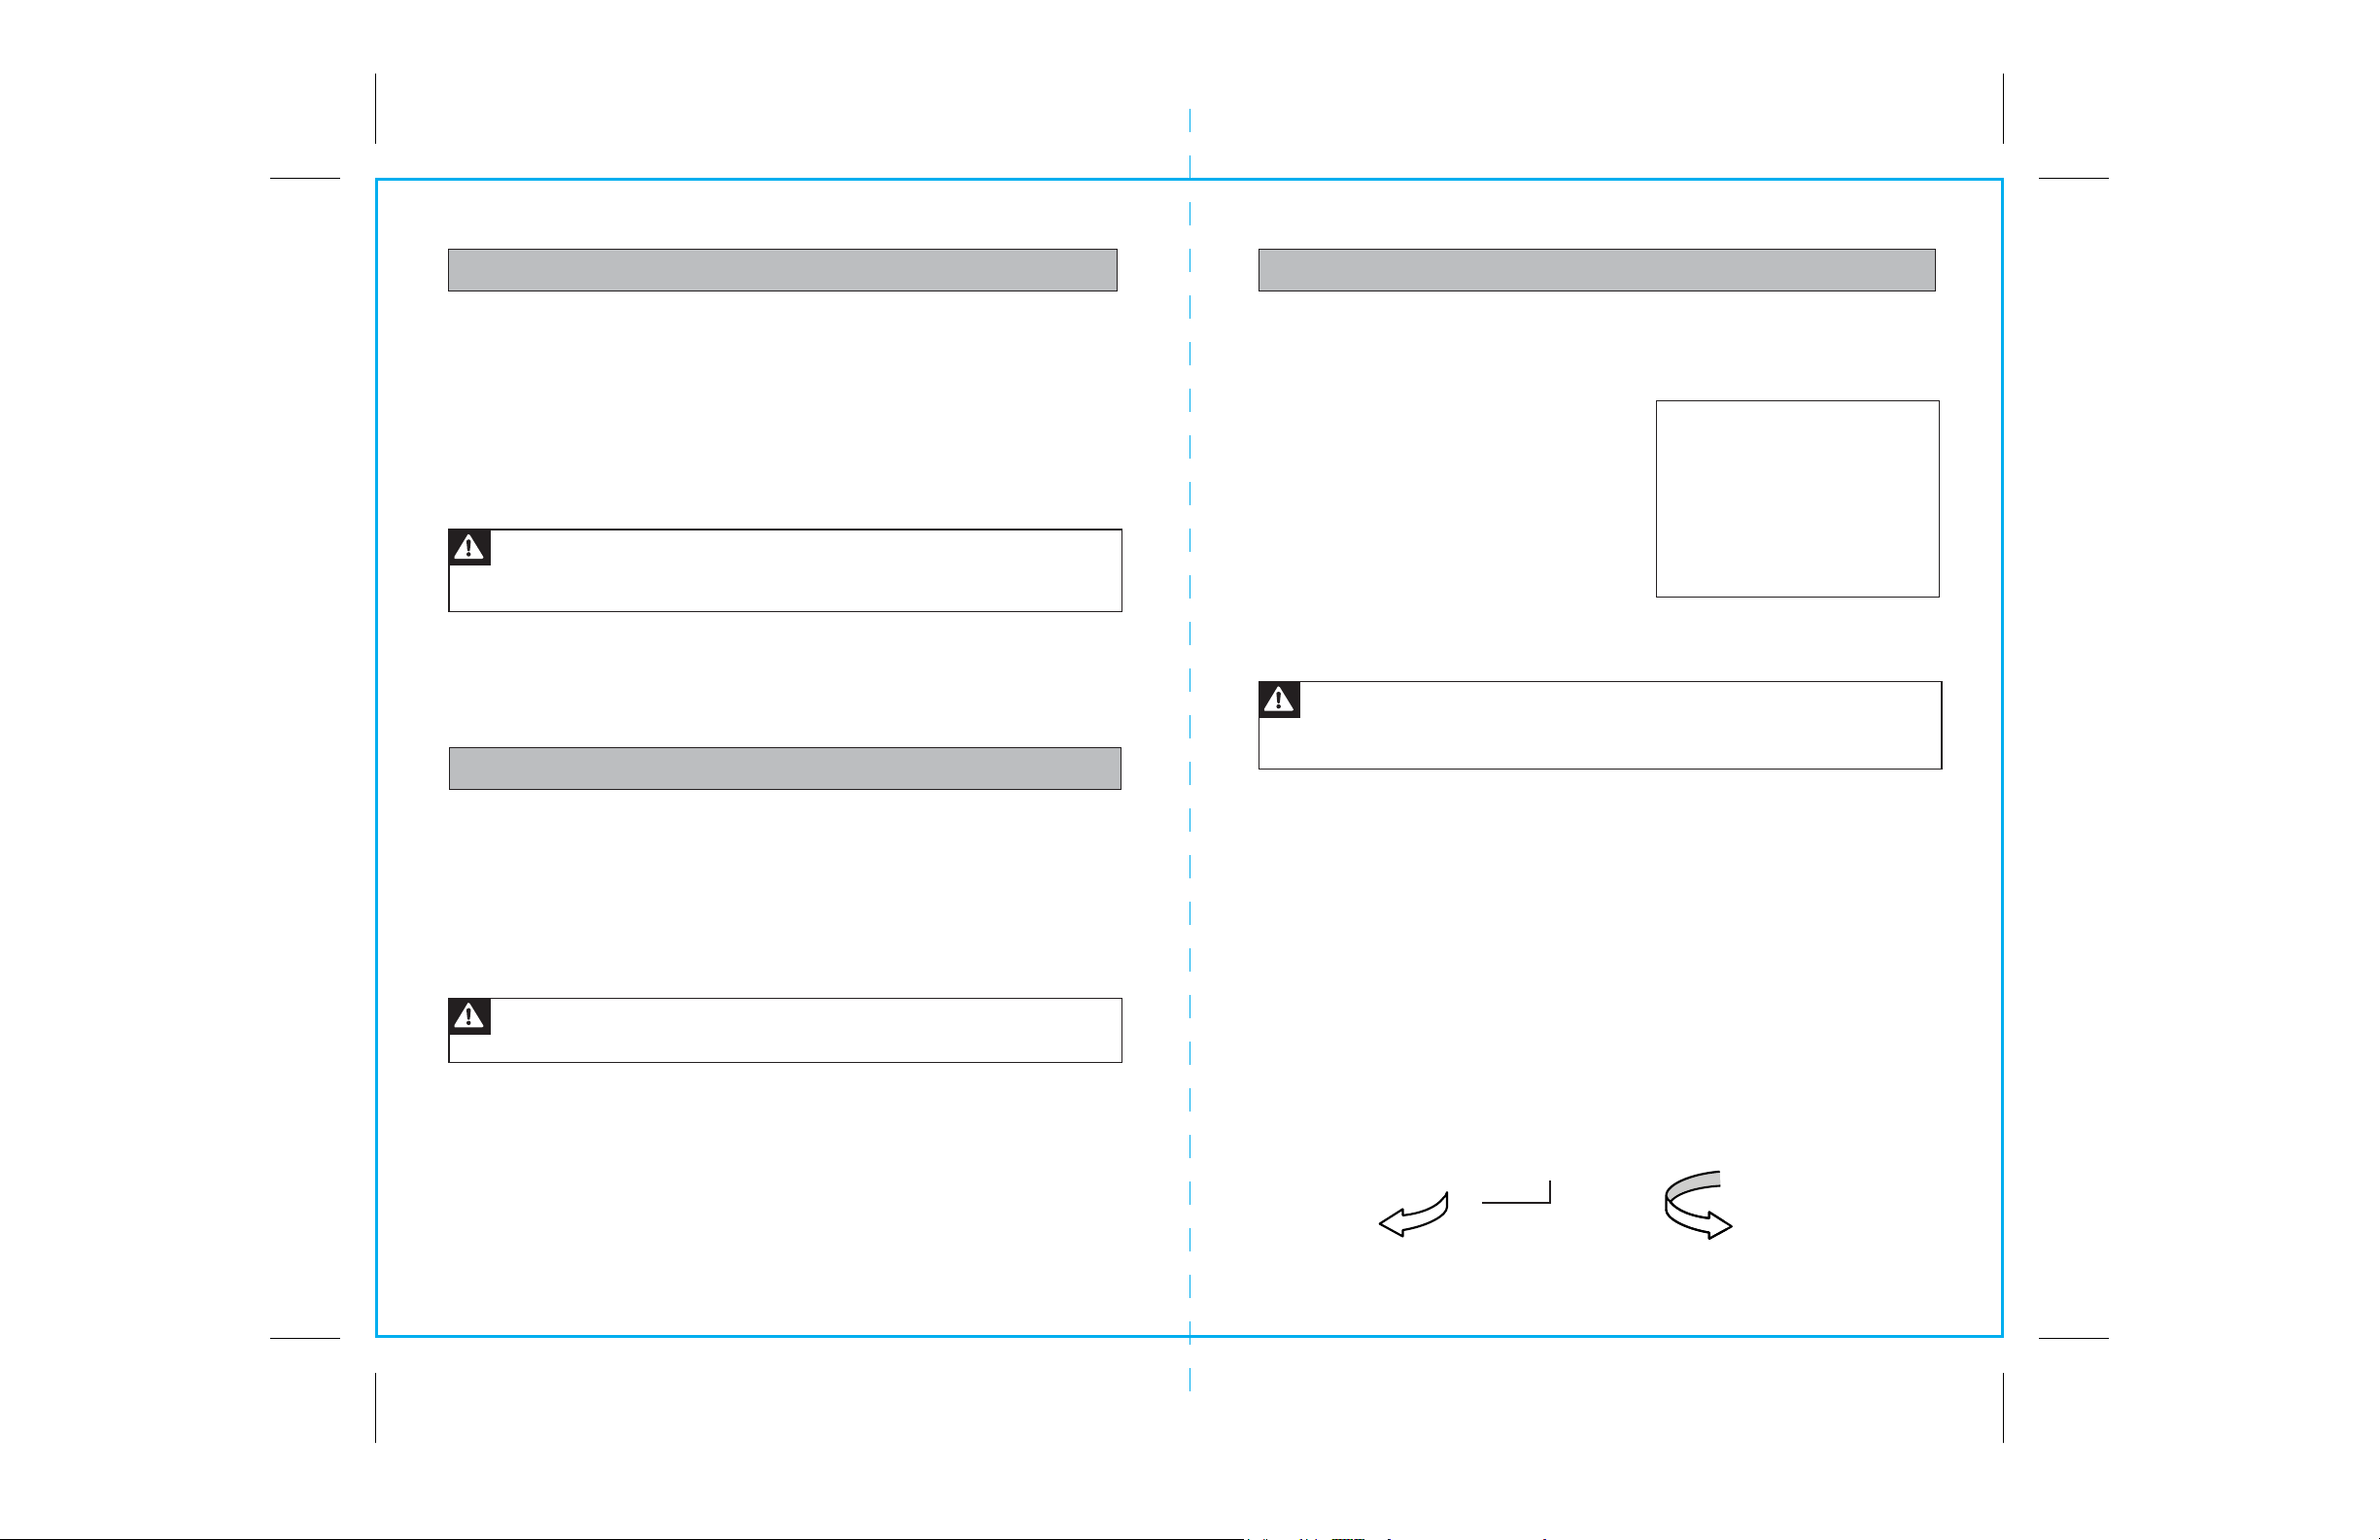
ATTACHING BOWL TO MIXER (See Fig. 2)
1. Turn speed dial to 0.
2. Unplug mixer from electrical outlet.
3. Press down release lever to tilt head back.
4. Place bowl in Bowl Clamping Plate.
5. Turn bowl clockwise until snug.
WORK LIGHT The work light is an LED that shines continuously during mixer
operation to help illuminate mixer bowl contents. It also flashes to alert you of
operational errors or motor overheating. See Operation Safety Features section.
CORD STORAGE The power cord is stored in
the base of the mixer. Grasp cord by plug and
raise out of slot. Carefully pull the cord out of
the mixer and secure it by pressing it down into
the slot. The cord is 3-1/2 feet long.
Be careful not to overextend the cord.
Push the cord all the way back into the
base when finished using mixer.
EASY POUR FUNNEL The Easy Pour Funnel allows you to add ingredients directly
into the mixing bowl from the top of the mixer.
REMOVING BOWL FROM MIXER (See Fig. 3)
1. Turn speed dial to 0.
2. Unplug mixer from electrical outlet.
3. Press down release lever to tilt head back.
4. Turn bowl counterclockwise until loosened and pull up and out of Bowl Clamping Plate.
Fig. 3
• Rest the Mixer on a level and stable dry countertop or table surface.
Also, be sure that the Mixer is at a safe distance from the surface edge to prevent
it from falling off. There must also be enough room around the back of the Mixer
for sufficient air flow through the Mixer motor air vents.
Cord Storage
Tilt Head
Release
Lever
Fig. 2
Loading ...
Loading ...
Loading ...