
Loading ...
Loading ...
Loading ...
WWW.STIEBEL-ELTRON-USA.COM TEMPRA TREND & TEMPRA PLUS | 9
ENGLISH
OPERATION
USING THE DISPLAY
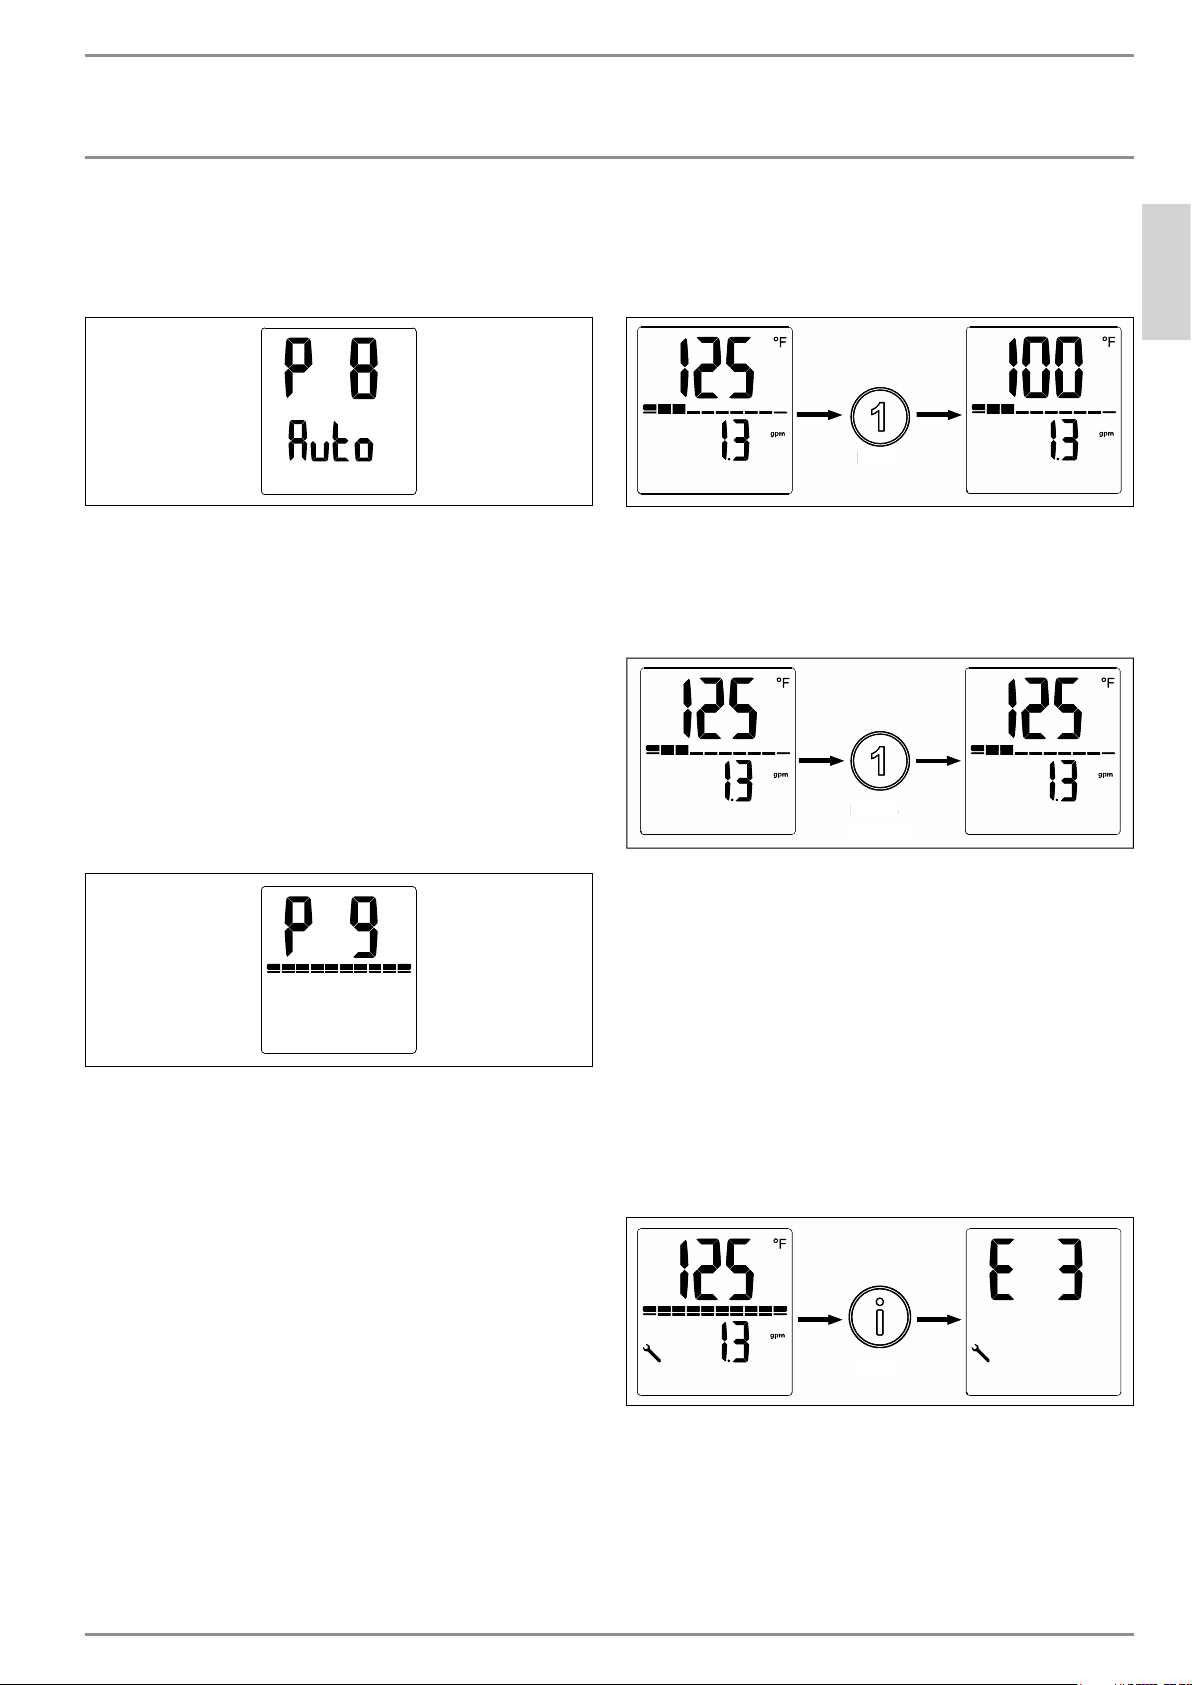
Display backlight time-out parameter
The backlight of the display can be set to be always on, or set to an
automatic mode that deactivates when no user input is detected
for 15 seconds.
The entire display and backlight will be flashing to indicate that
the value can be changed by rotating the control knob. When
the value is set to "On", the backlight will always be on. When
the value is set to "Auto", it will automatically deactivate after 15
seconds of inactivity.
Pressing the Information button once while at this menu wil ad-
vance the display to the backlight display brightness parameter
menu.
Backlight display brightness parameter
The brightness of the display backlight can be adjusted to two
different parameters. A high and low setting allows for user cus-
tomization depending on the light conditions in the installation
location.
The power capacity status bar indicates the brightness setting.
A full capacity bar indicates that the brightness is at the high
setting. A half-full capacity bar indicates that the brightness is at
the low setting.
Pressing the Information button once while at this menu will ad-
vance the display back to the T
max
parameter setting page, labeled
"P1".
5.3.4 Temperature preset options
The Tempra Plus features two temperature preset settings to allow
for quickly accessible setpoints. Button 1 and Button 2 are capable
of each storing an independent setpoint value.
Changing setpoint to preset values
While the display is at the base display, the user can press either
Button 1 or Button 2 to change the setpoint to the buttons stored
value.
Press
P
res
s
When the button is pressed, the setpoint value will change to
whatever value was stored up to that point.
Changing the preset values
The preset values can be changed from the default setpoint values.
Hold 5
seconds
Hol
d
5
s
econ
ds
To change the value of either preset 1 or preset 2, first rotate the
control knob to the temperature that you want to set the preset
value. Then hold the preset button for 5 seconds. The display will
flash to indicate that the preset has been changed successfully.
5.3.5 Returning to the base display
While navigating the display and on any menu other than the base
display, holding the Information button for 5 seconds will return
the display to the base display. Additionally, the display will revert
to the base display after a 15 second period with no user input.
5.3.6 Tempra Plus error menu
If the Tempra plus encounters an error, a wrench will illuminate
in the bottom left of the display.
Press
P
res
s
While the wrench is showing, press the Information button to
advance the display to the error display page. Consult section
“Tempra Plus error code reporting”, pg. 14 for information on
how to interpret the reported error code.
Loading ...
Loading ...
Loading ...