Loading ...
Loading ...
Loading ...
19
Installation
During installation, make sure that the lettering "top right" is
upside down at the bottom left.
1. Insert the panel at an angle towards the back (fig. A).
2. Insert the top panel at an angle towards the back into the
brackets. The smooth surface must face outwards. (fig. B).
3. Put the cover back in place and press on it.
4. Attach the oven door.
Do not use the oven again until the panels have been
correctly installed.
Troubleshooting
Malfunctions often have simple explanations. Refer to the table
before calling the after-sales service as you may be able to
remedy the fault yourself.
Malfunction table
If your meal is not successful, please refer to section . We have
tested the recipe for you in our cooking studio. Here, you will
find useful cooking tips and tricks for cooking, baking and
roasting.
: Risk of electric shock!
Repairs that are not carried out properly are dangerous.
Repairs must only be performed by one of our after-sales
service technicians.
Replacing the bulb in the oven ceiling light
If the bulb in the oven light fails, it must be replaced. Heat-
resistant, 40 watt spare bulbs can be obtained from our after-
sales service or a specialist retailer. Only use these bulbs.
: Risk of electric shock!
Switch off the circuit breaker in the fuse box.
1. Place a tea towel in the oven when it is cold to prevent
damage.
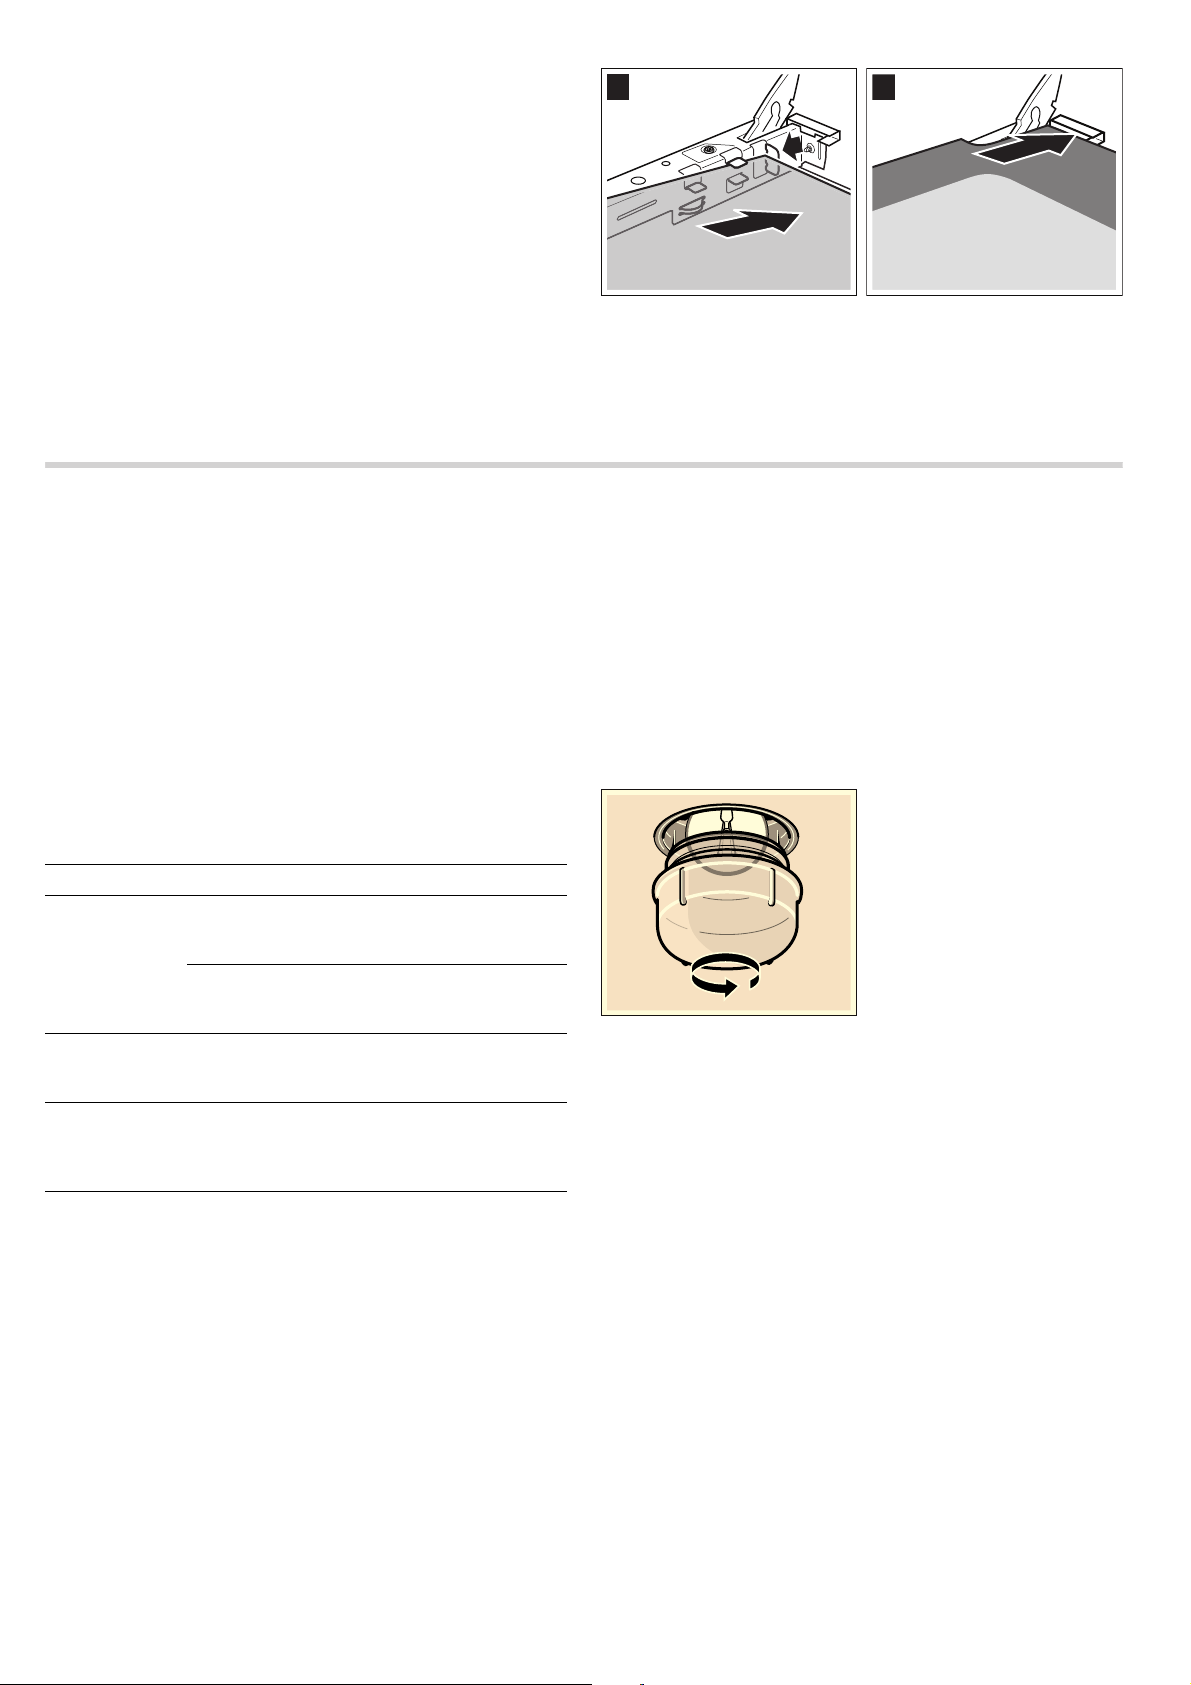
2. Unscrew the glass cover by turning it anti-clockwise.
3. Replace the bulb with one of the same type.
4. Screw the glass cover back in.
5. Remove the tea towel and switch on the circuit breaker.
Glass cover
You must replace a damaged glass cover. Suitable glass
covers may be obtained from the after-sales service. Please
specify the E number and FD number of your appliance.
%
$
Malfunction Possible cause Remedy/information
The oven does
not work.
The circuit
breaker is
defective.
Look in the fuse box to see
if the circuit breaker is
defective.
Power cut. Check whether the kitchen
light and other kitchen
appliances are working.
Oven not hot. Dust on the
contacts.
Turn the control knobs sev-
eral times to the left and
right.
The burner
does not ignite.
Power has
failed or igni-
tion plugs are
damp.
Light the gas burner with a
gas lighter or a match.
Loading ...
Loading ...
Loading ...