Loading ...
Loading ...
Loading ...
Loading tips and suggestions
•
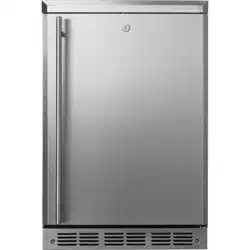
The two telescopic shelves hold five bottles each and
are loaded with necks facing the rear. Tall bottles should
not be loaded on the bottom shelf because they may
prevent the door from closing.
•
Do not block the thermistor, located on the right-hand
side, just above the third shelf of the outdoor/indoor
refrigerator. Blocking the thermistor could impair the air
circulation and temperature control.
•
Do not allow children to climb, stand or hang on the
appliance shelves or door.. They could seriously injure
themselves and possibly cause damage to the appliance.
Wood drawer fronts
The telescopic shelf fronts on the appliance are
unfinished wood. Wooden parts are protected with a foil
which is to be removed. During use, oil from hands may
accumulate and stain the wood.
Natural wood may vary slightly in grain and color.
Condenser
Be sure that nothing obstructs the required air flow
openings in the front of the cabinet.
For best performance, brush or vacuum lint and dirt from
the condenser once a year.
Remove the cover from the bottom rear of the
Outdoor/Indoor refrigerator to access the condenser.
Glass shelves
Tempered glass shelves in the outdoor/ indoor
refrigerator are removable for easy cleaning or for storing
larger items.
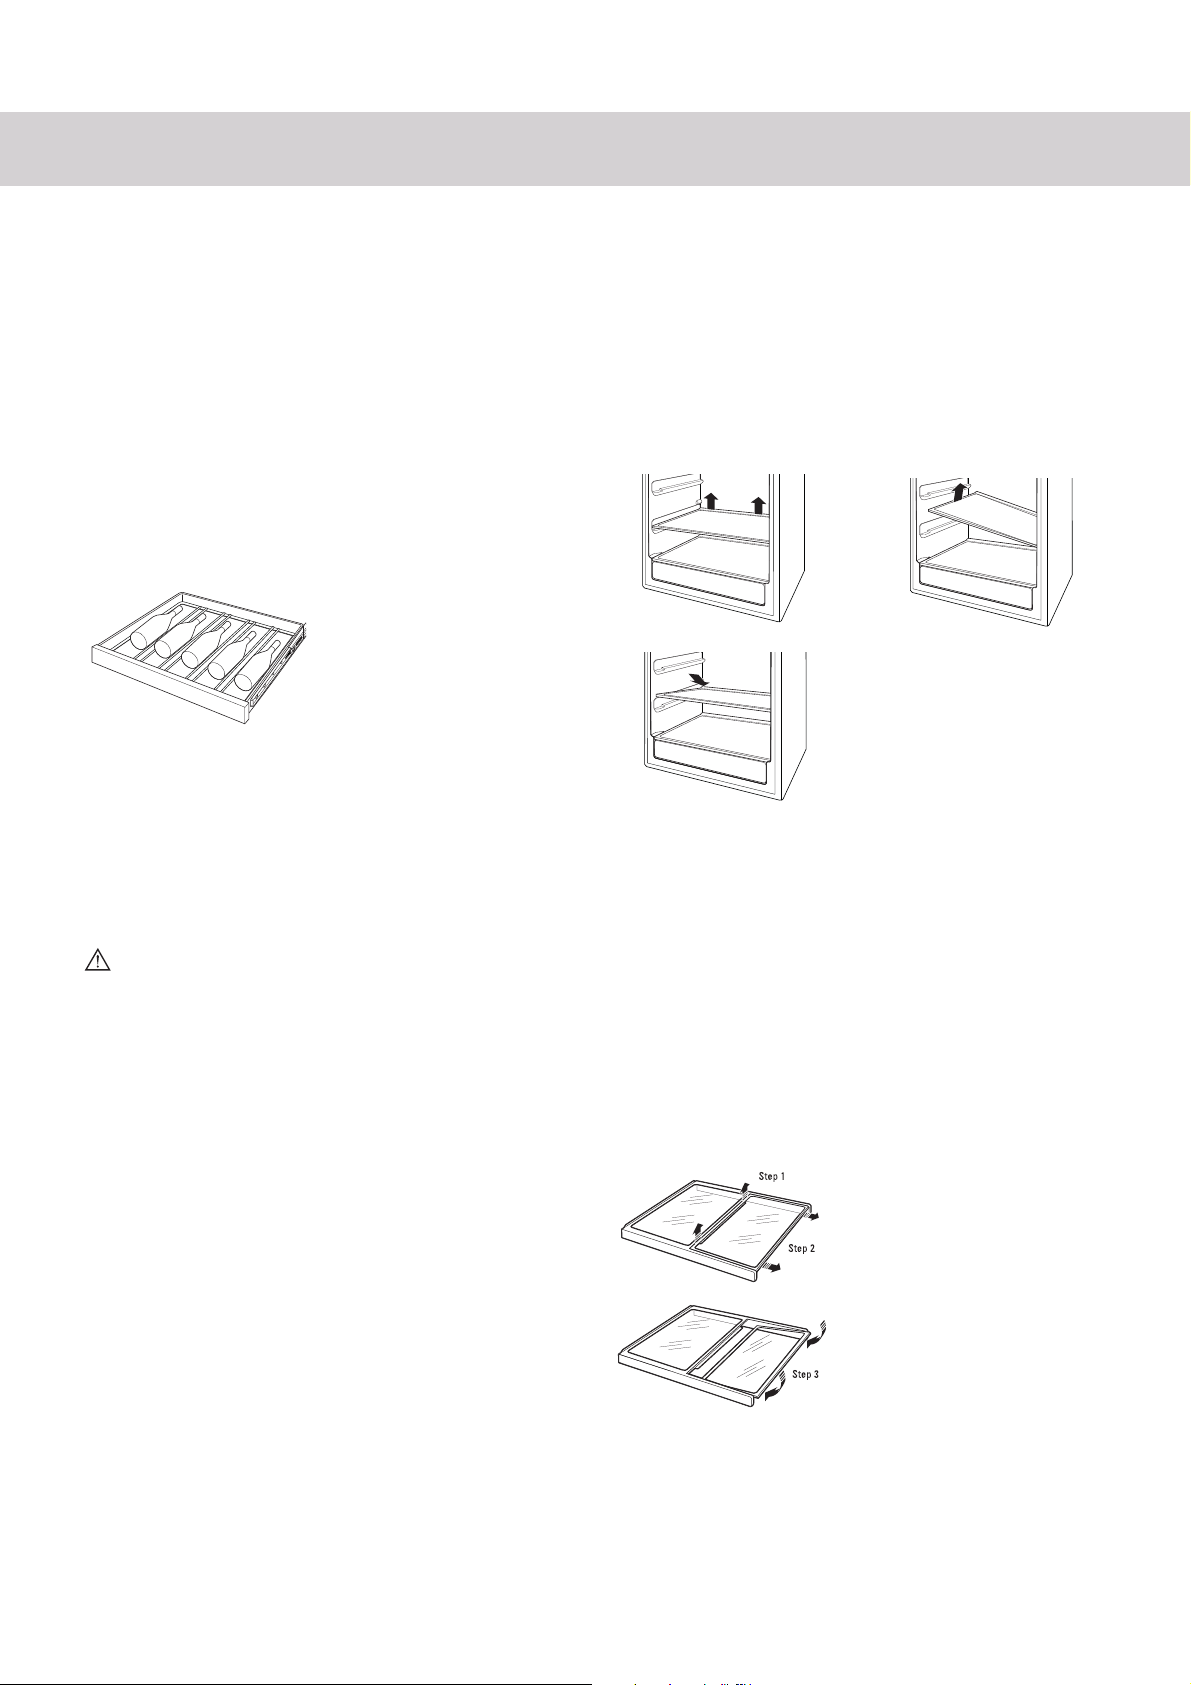
To remove a shelf, open the door completely to avoid
potential damage to the gasket. Lift up on the back of the
shelf slightly. Tilt the shelf to one side at an angle while
pulling forward.
To replace a shelf, open the door completely to avoid
potential damage to the gasket. Tilt the shelf to one side
at an angle and slide toward the back wall, placing one
side onto the shelf support. Place the other side onto
the opposite shelf support. Ensure rear locking tabs are
engaged. When installed properly, the shelf will not slide
forward when gently pulled.
QuickSpace™ Shelf
This shelf splits in half and slides under itself for storage
of tall items on the shelf below.
Step 1: Lift the back edge of the front half of the shelf.
Step 2: Pull slightly forward.
Step 3: Lower the back edge of the front half of the shelf
while sliding it underneath the back half.
The entire Quick Space shelf can be removed and
replaced (see Glass Shelves section).
Loading ...
Loading ...
Loading ...