
Loading ...
Loading ...
Loading ...
Control Panel
If desired, the touch pads may be deactivated
before cleaning.
See the Control lockout information in the
Using the clock, timer and control lockout
section in this manual.
Clean up splatters with a damp cloth.
You may also use a glass cleaner or the
cooktop cream.
Remove heavier soil with warm soapy
water. Do not use abrasives of any kind.
Reactivate the touch pads after cleaning.
Care and cleaning of the range.
Be sure all controls are off and all surfaces are cool before cleaning any part of the range.
Control Knobs
The control knobs may be removed for easier
cleaning.
Before removing the knobs for
cleaning, please note that the knobs are
in the OFF position. When replacing the
knobs, check the OFF position to insure
proper placement.
Wash the knobs in soap and water or a
vinegar and hot water solution but do
not soak.
How to Remove Packaging Tape
To assure no damage is done to the finish
of the product, the safest way to remove
the adhesive left from packaging tape
and cooktop labels on new appliances
is an application of a household liquid
dishwashing detergent, mineral oil or
cooking oil.
Apply with a soft cloth and allow to soak.
Wipe dry and then apply an appliance
polish to thoroughly clean and protect
the surface.
NOTE: The adhesive must be removed from all
parts. It cannot be removed if it is baked on.
If your range is removed for cleaning, servicing or any reason, be sure the anti-tip
device is re-engaged properly when the range is replaced. Failure to take this
precaution could result in tipping of the range and cause injury.
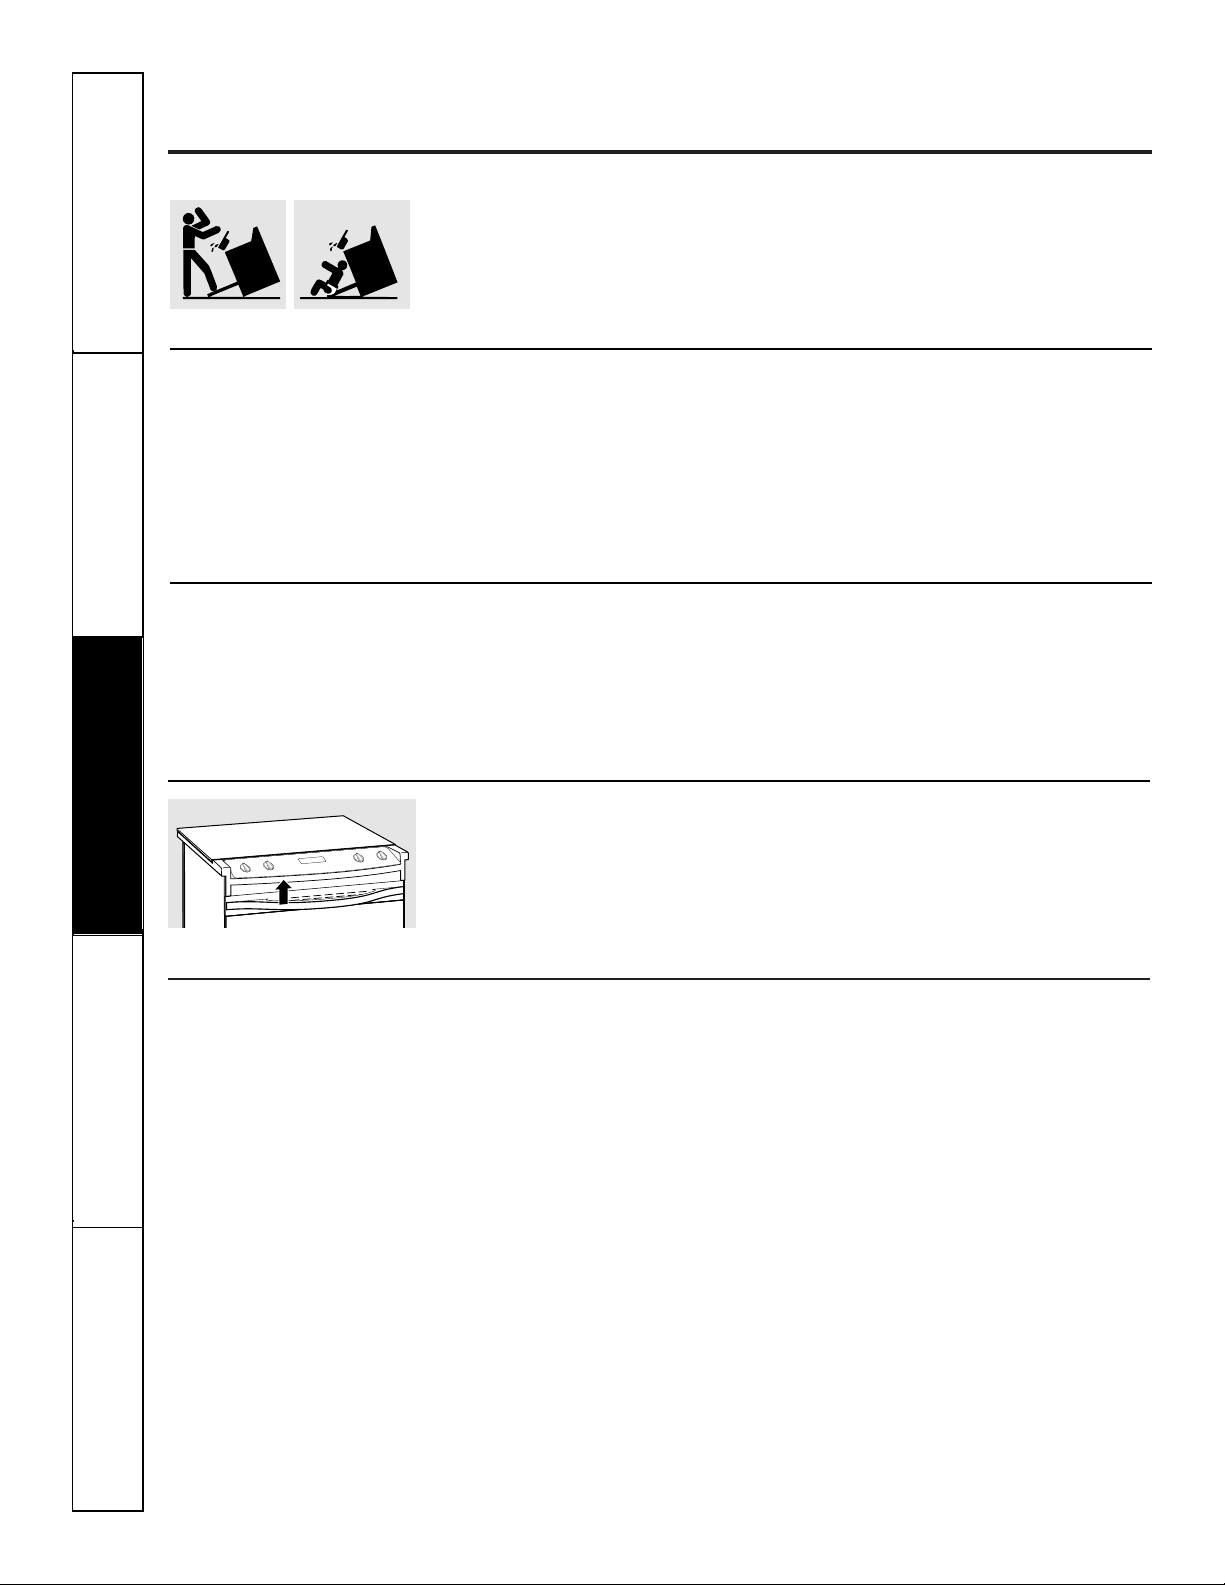
Oven Vent
The oven vent is above the left side of the door.
This area could become hot during
oven use.
It is normal for steam to come out of
the vent.
The vent is important for proper air circulation.
Never block this vent.
42
Consumer Support Troubleshooting Tips Care and Cleaning Operating Instructions Safety Instructions
Loading ...
Loading ...
Loading ...