Loading ...
Loading ...
Loading ...
7
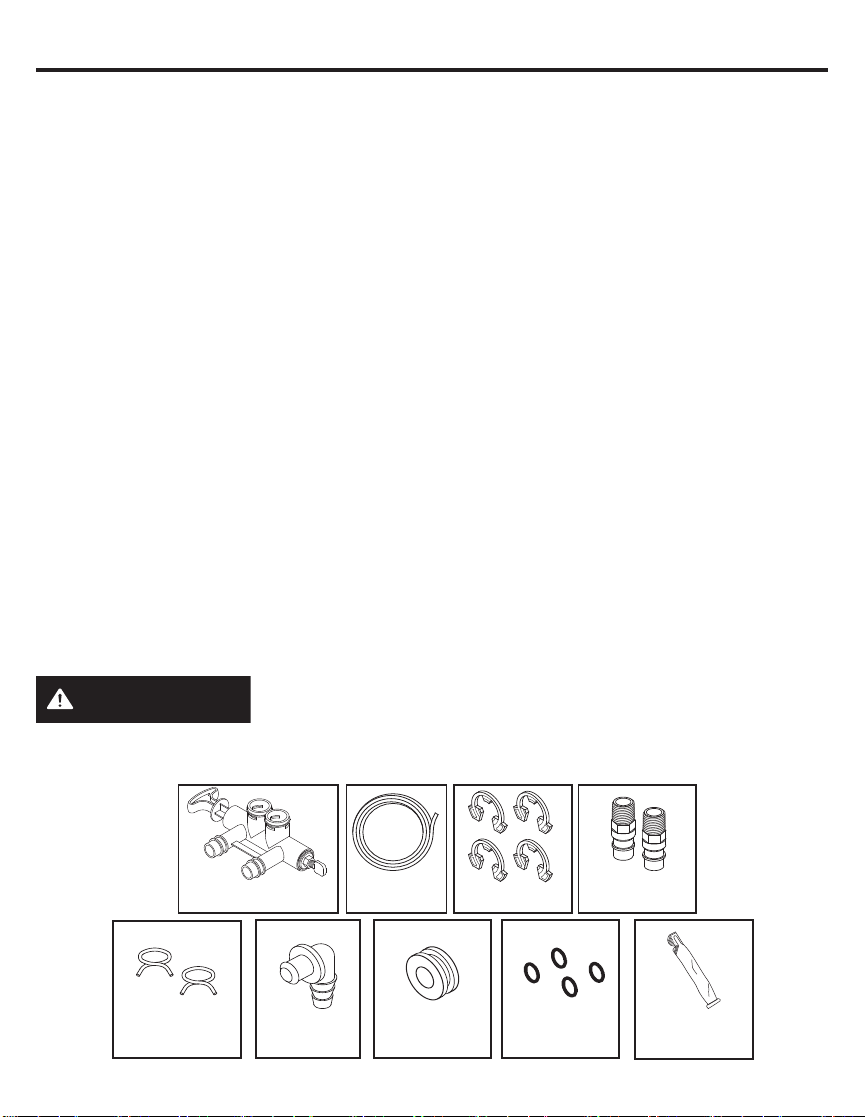
Bypass Valve Drain Hose Clips
Installation
Adaptors
Hose Clamps Overflow
Adapter
Grommet O-rings
Silicone
Grease
BEFORE YOU START
The water softener requires a minimum water flow of 3 gallons per minute at the inlet. Maximum
allowable inlet water pressure is 125 psi. If daytime pressure is over 80 psi, nighttime pressure
may exceed the maximum. Use a pressure reducing valve if necessary (Adding a pressure
reducing valve may reduce the flow). If your home is equipped with a back flow preventer, an
expansion tank must be installed in accordance with local codes and laws.
The water softener uses a direct plug-in external power supply (included). Be sure to use the
included power supply and plug it into a nominal 120V, 60 cycle household outlet that is in a
dry location only, grounded and properly protected by an over current device such as a circuit
breaker or fuse.
Do not use this system to treat water that is microbiologically unsafe or of unknown quality
without adequate disinfection upstream or downstream of the system.
INSPECT SHIPMENT
Make sure all the parts shown below are present. Additional parts must be purchased to complete
the installation. Thoroughly check the water softener for possible shipping damage and parts loss.
Also inspect and note any damage to the shipping carton.
Remove and discard (or recycle) all packing materials. To avoid loss of small parts, we suggest
you keep the small parts in the parts bag until you are ready to use them.
WARNING
Discard all unused parts and packaging material after installation.
Small parts remaining after the installation could be a choke hazard.
TOOLS AND MATERIALS REQUIRED FOR INSTALLATION
Pliers
Screwdriver
Razor knife
Two adjustable wrenches
Teflon tape
2 fittings to connect household plumbing to
1” NPT threads on softening adaptors.
Additional installation parts may be required:
• UL-approved grounding clamps and
6-gauge copper grounding wire.
NOTE: Failure to comply with these installation instructions will void the product warranty,
and the installer will be responsible for any service, repair or damages caused thereby.
Before you start
Loading ...
Loading ...
Loading ...