Loading ...
Loading ...
Loading ...
35
Shooting still images
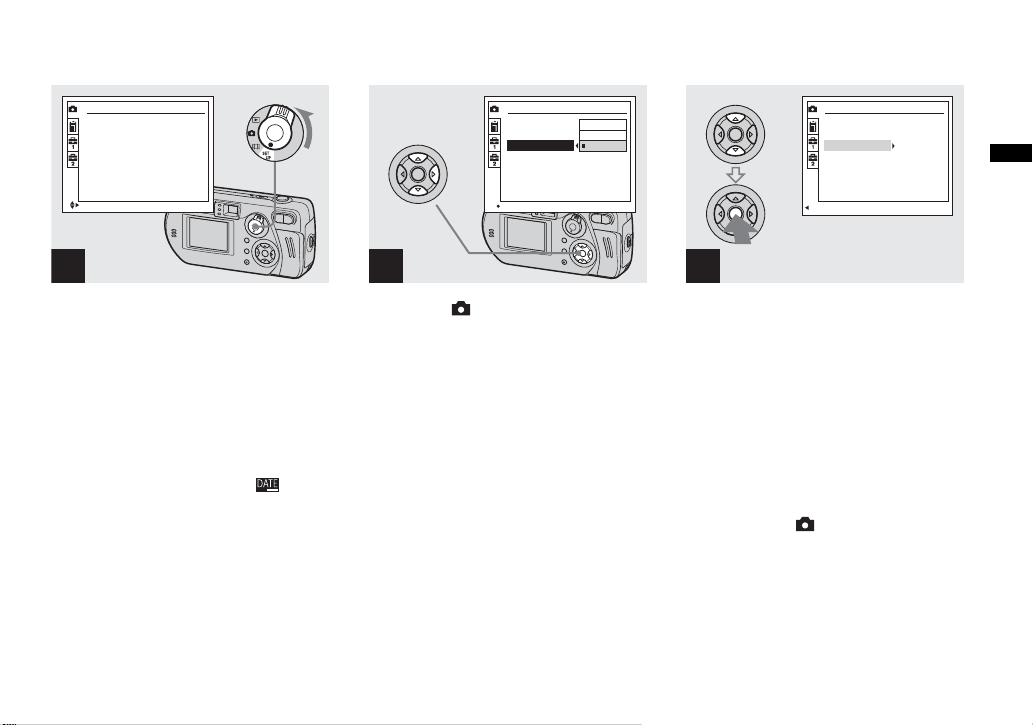
Inserting the date and time on a still image
, Set the mode selector to SET
UP.
The SET UP screen appears.
• When images are shot with the date and time
inserted, the date and time cannot be removed
later.
• When shooting images with the date and time
inserted, the actual date and time are not
displayed on the LCD screen, and is
displayed in the upper-left portion of the LCD
screen instead. The actual date and time are
indicated in red on the lower-right corner when
the image is played back.
, Select (Camera) with v on
the control button, then press
B.
Select [Date/Time] with v/V,
then press B.
, Select the date and time setting
with v/V on the control button,
then press z.
Day&Time: Inserts the date and the time of
shooting into the image
Date: Inserts the year, the month and the
date of shooting into the image
Off: Does not insert date/time data into the
image
After the setting has been completed, set the
mode selector to to shoot your image.
• When you chose [Date], the date will be
inserted in the order set in “Setting the date and
time” (page 21).
• This setting is maintained even when the power
is turned off.
1
Camera
Moving Image:
Smart Zoom:
Date/Time:
Red Eye Reduction
:
AF Illuminator:
MPEG Movie
On
Off
Off
Auto
SELECT
2
OK
Camera
Moving Image:
Smart Zoom:
Date/Time:
Red Eye Reduction
:
AF Illuminator:
Day&Time
Date
Off
3
PAGE SELECT
Camera
Moving Image:
Smart Zoom:
Date/Time:
Red Eye Reduction
:
AF Illuminator:
MPEG Movie
On
Date
Off
Auto
Loading ...
Loading ...
Loading ...