Loading ...
Loading ...
Loading ...
ProductAssembly
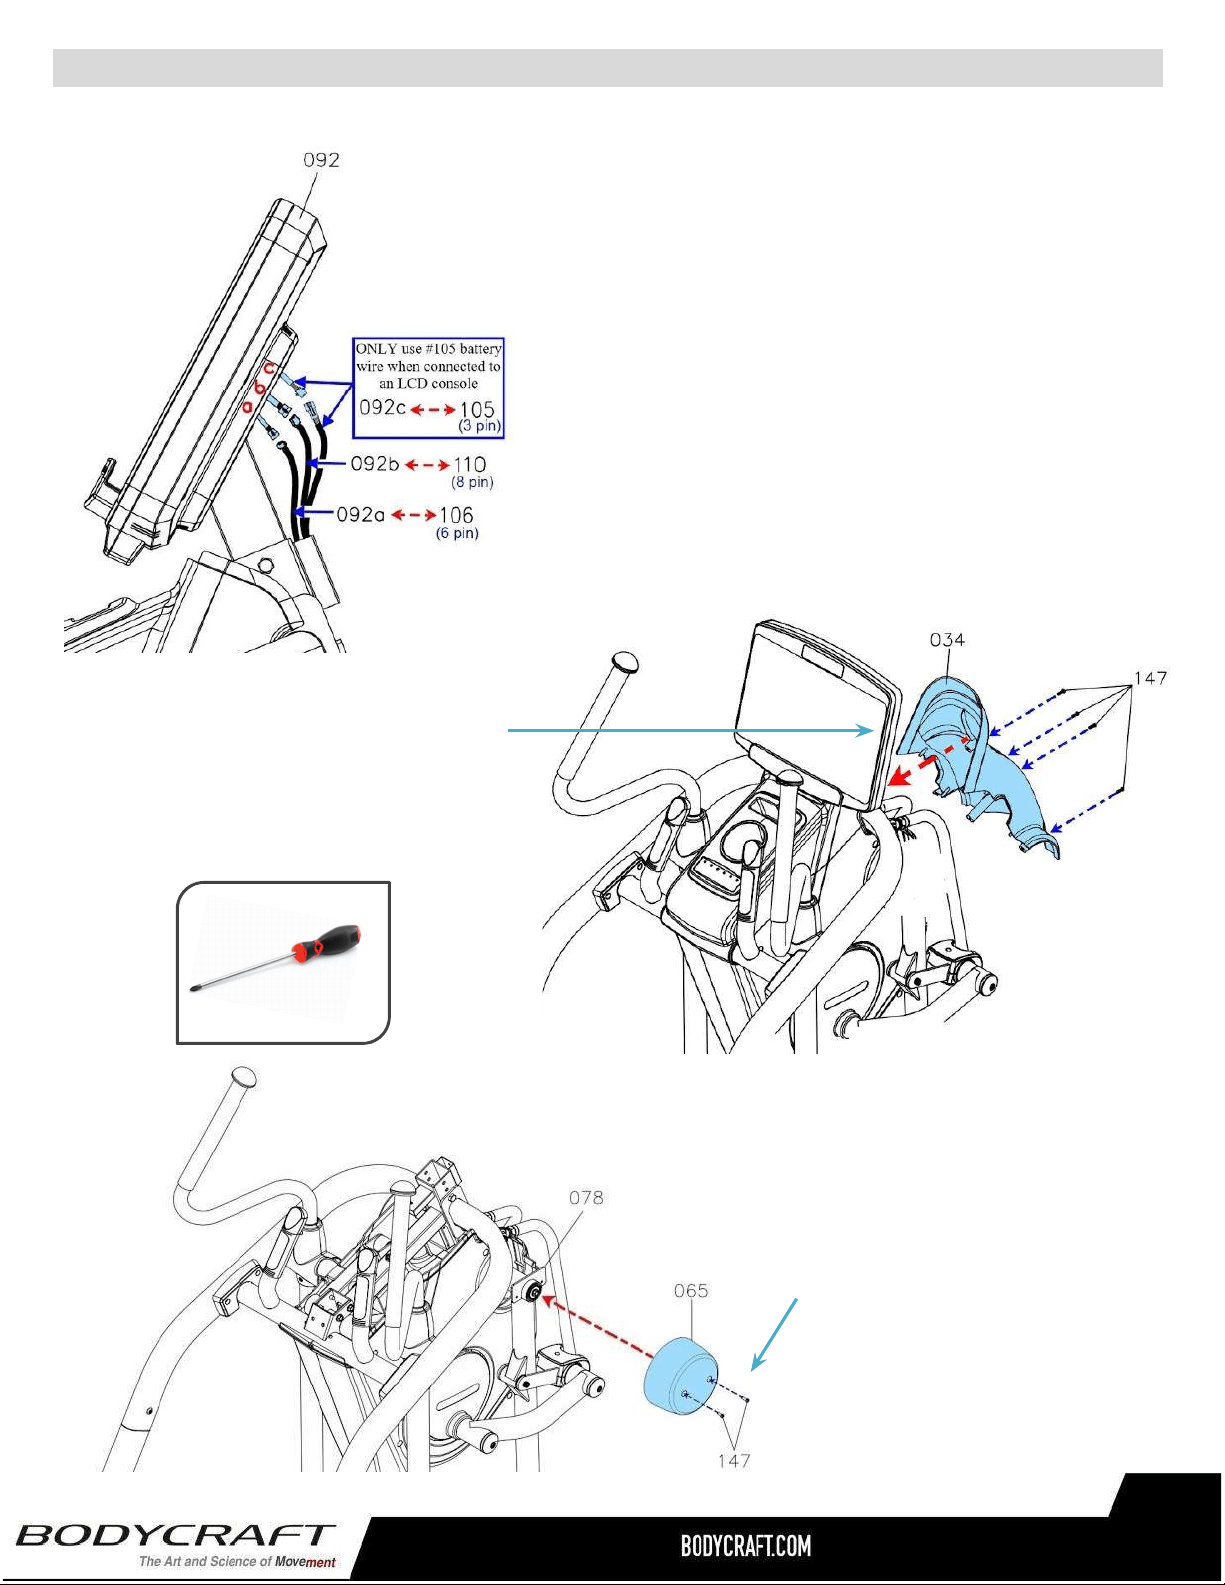
g.AttachtheFrontCover(34)tothe
MainFrame(1)andfullytighten
with4pcsScrews,PhilipsPan
Head(M5xp0.8x15mm)(147).
STEP15–(Continued)ConsoleBracket,ConsoleandFrontCoverAssembly.
STEP16–FrontSwingArmCoverAssembly
a. AttachtheUpperCover(30)
totheMainFrame(1)and
fullytighten2pcsPhillips
PanHeadScrews(M5x
p0.8x15mm)(147).
PHILLIPSSCREWDRIVERS#2
w/MagneticTIP
RecommendedTool:
b.Repeatthe same processfor
theLeftSide.
28
d.ConnecttheConsoleConnectionWire(92a)to
….theFirstConnectionWire(106).
e. ConnecttheConsolePulseSensorWire(92b)to
.theFirstPulseSensorWire(110).
f.ForLCDconsole,connecttheConsoleBatteryWire
….(92c)totheBatteryConnectionWire(105)for
…..self-poweredfunction
NOTE:Thesewires(92c)and(105)areONLYforthe
Self-PoweredLCDConsole.
Loading ...
Loading ...
Loading ...