Rev.03_17122018


0,60
0,63

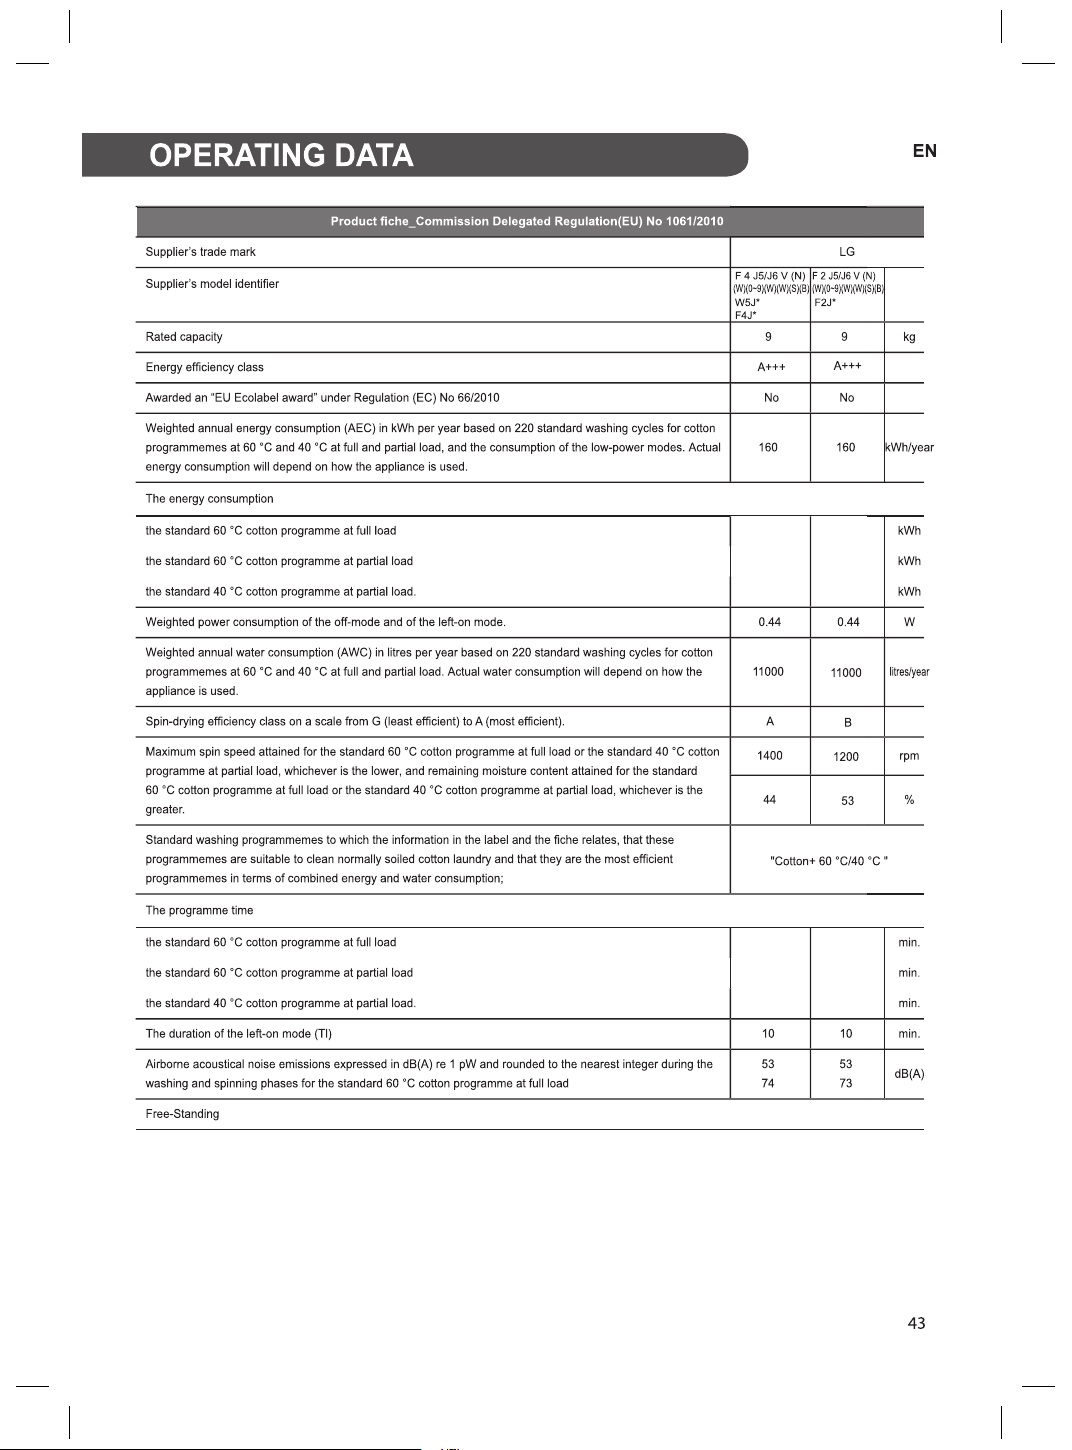
0,83
0,63
0,60
0,83
0,63
0,60
300
250
240
300
250
240
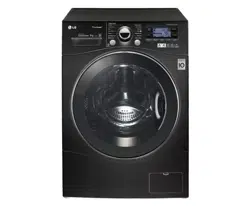
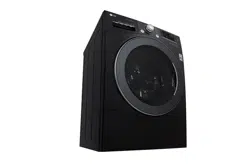
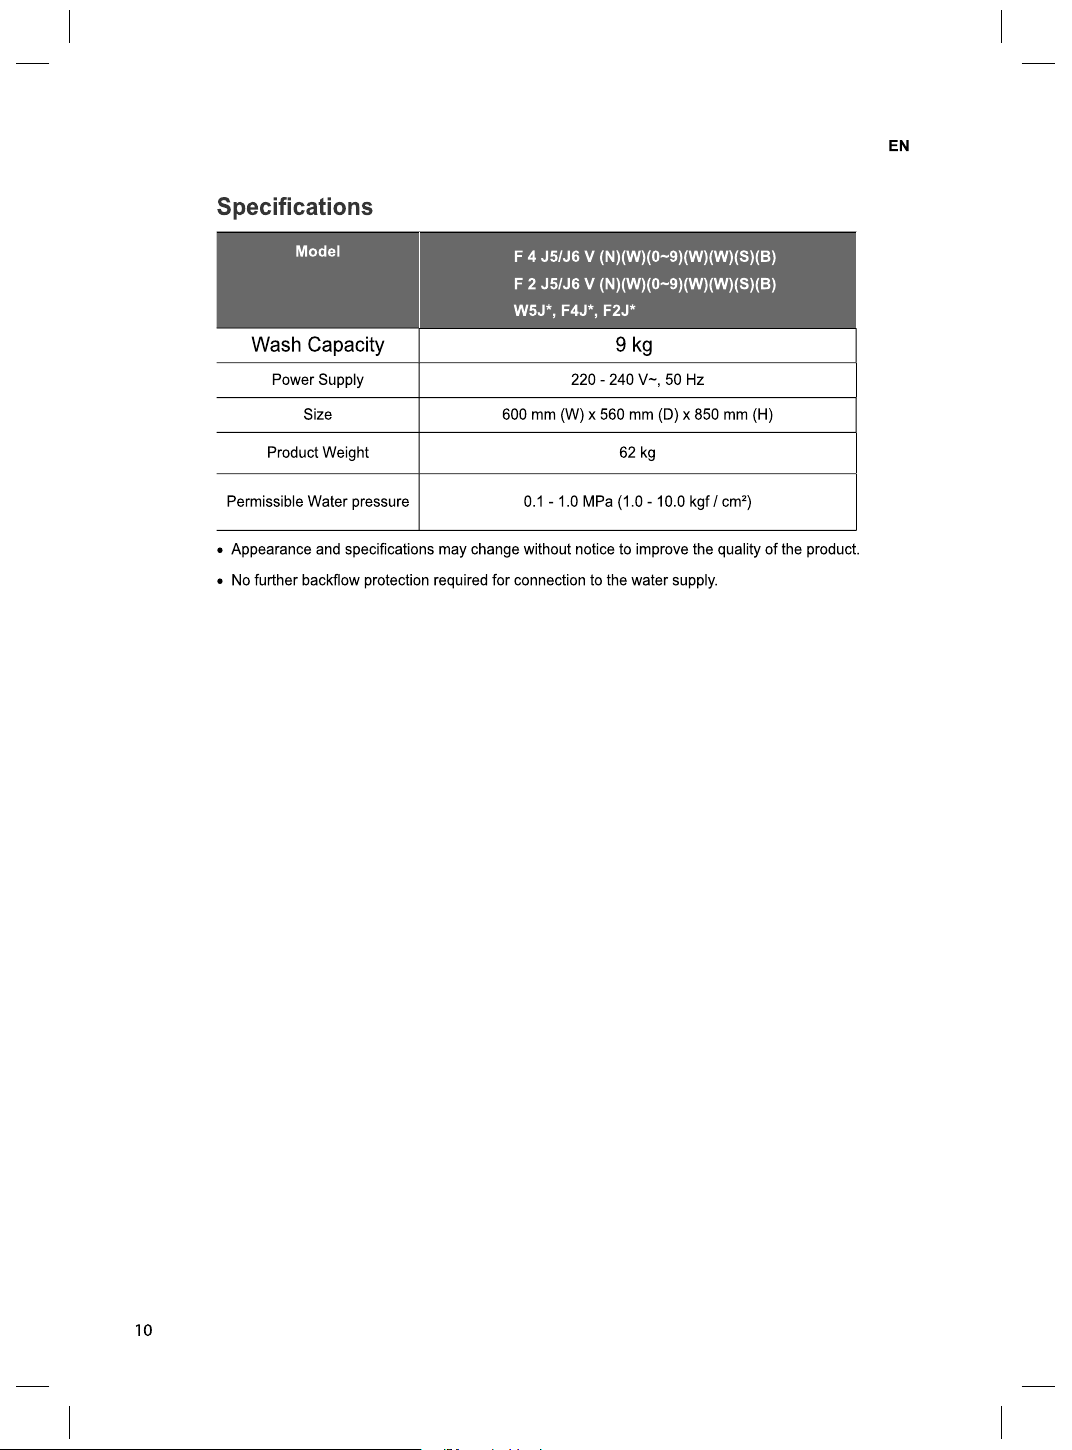
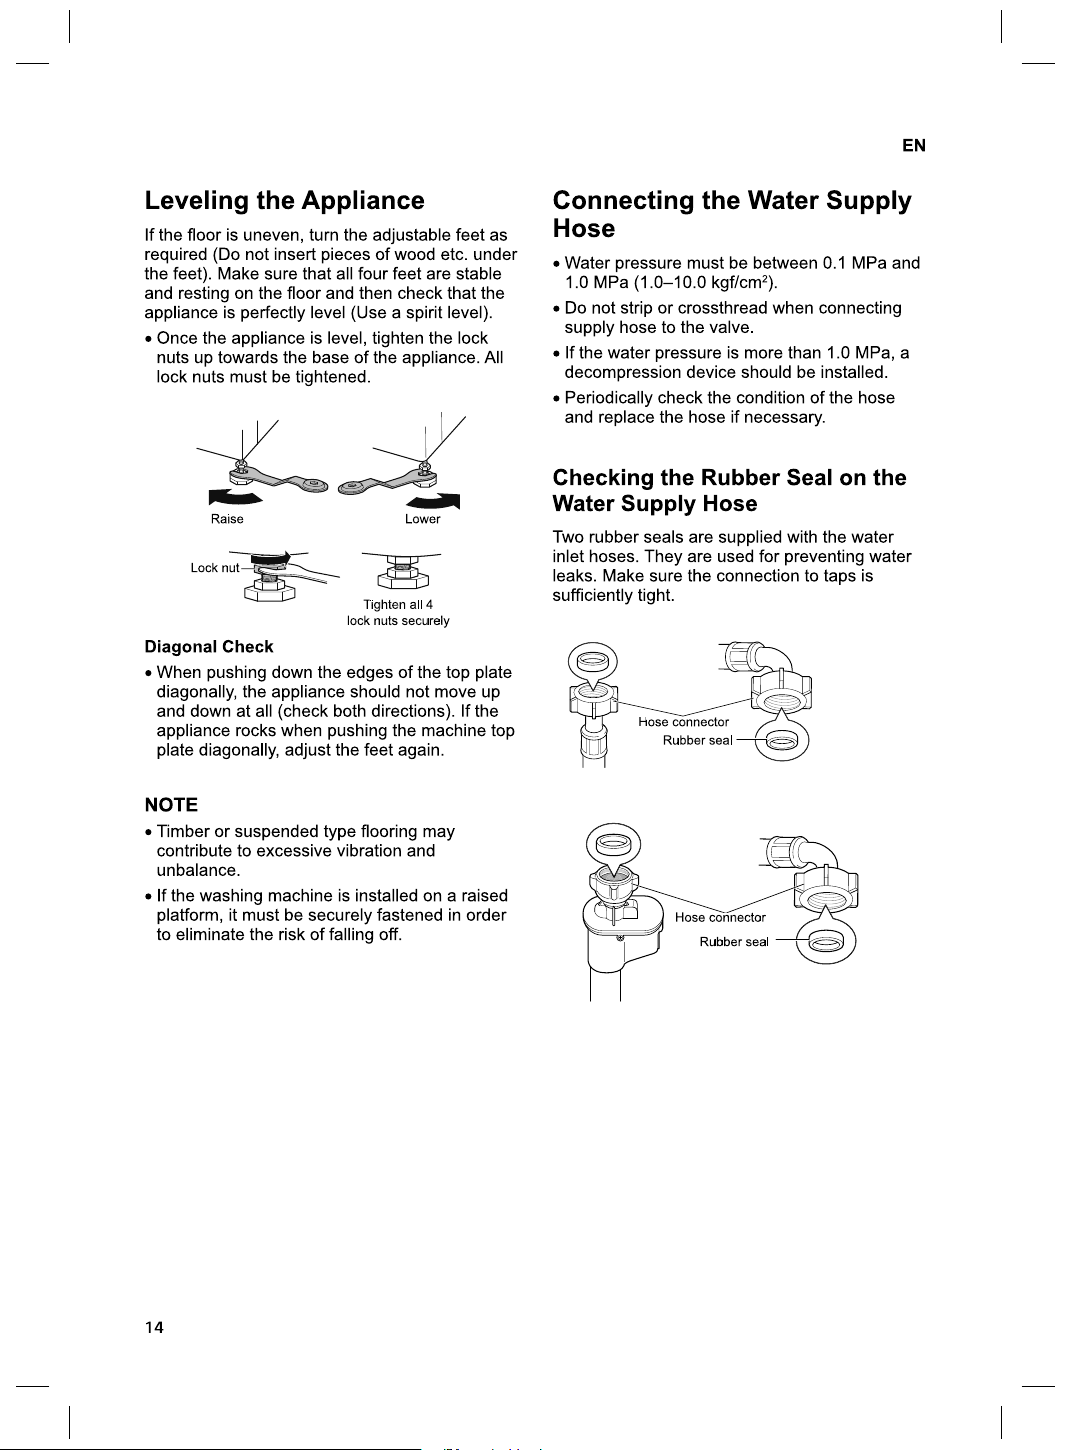
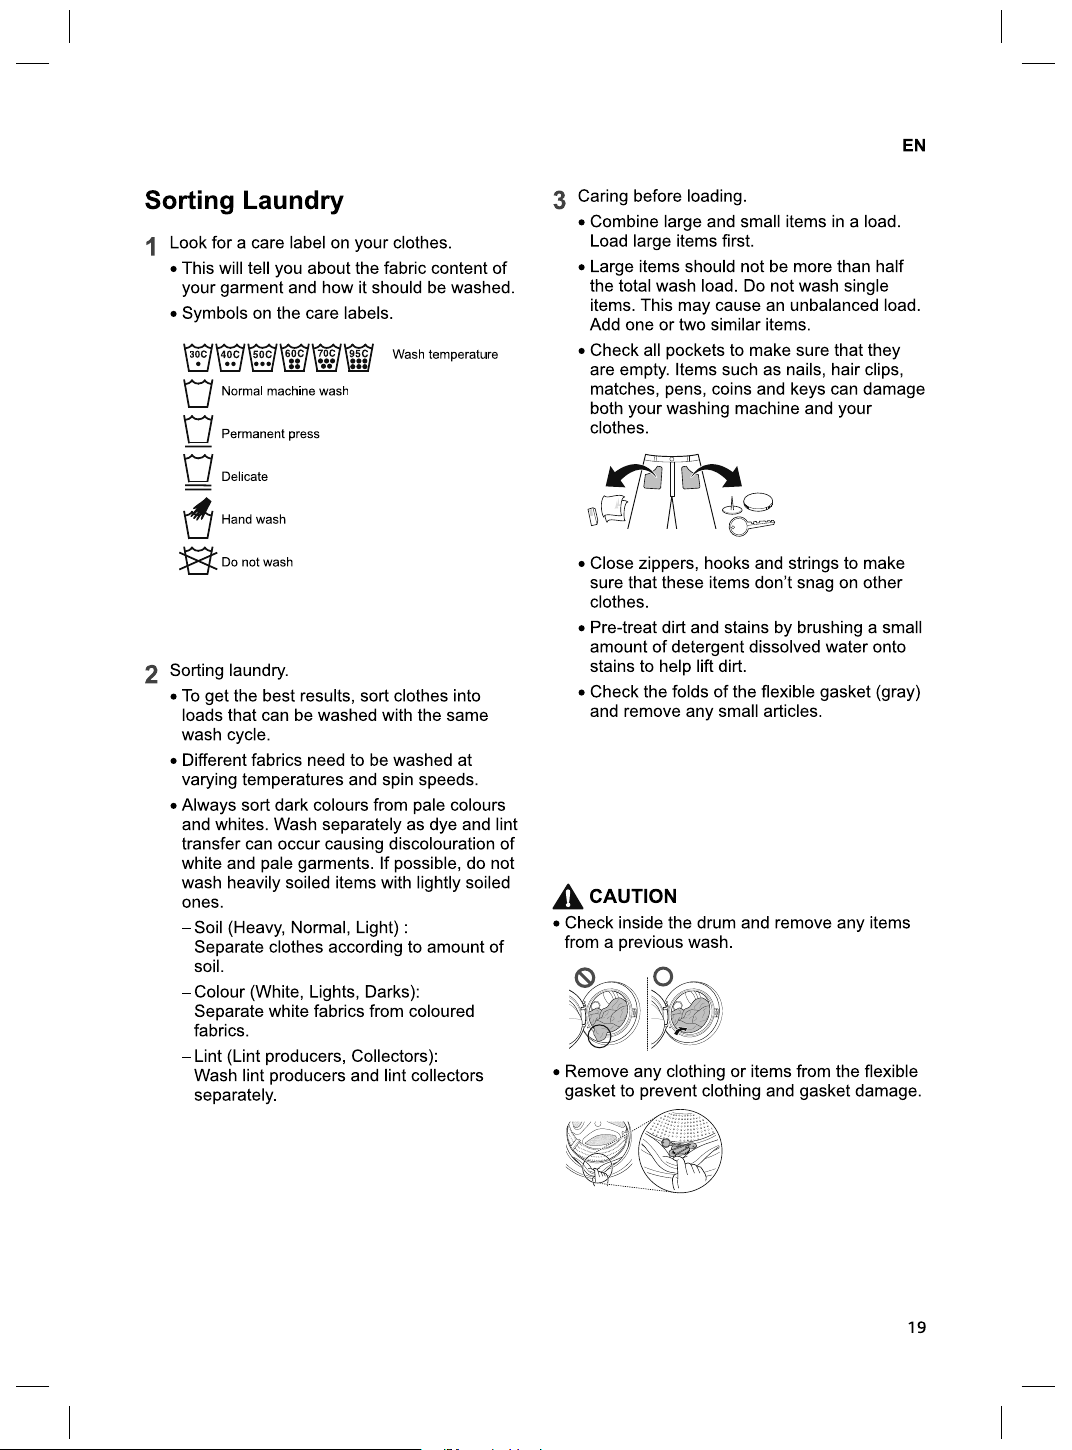
This is the main product document for model F4J609WN. Additionally, the document applies to other LG Electronics models: W5J*, F4J*, F2J*
The file format is pdf, 44 pages, you can download this manual here .