Loading ...
Loading ...
Loading ...
47
Using the Menus
Cinema Black Pro Advanced Iris
Switches the iris function during projection.
Auto 1: Automatically switches to an optimum iris according to a
projected scene. The contrast of the scene is emphasized most.
Auto 2: An optimum iris becomes smaller than when set to “Auto 1”.
The contrast of the scene becomes reduced.
Sensitivity: If “Auto 1” or “Auto 2” is selected, either “Recommend”,
“Fast”, or “Slow” can be selected according to the desired response
speed with Sensitivity Mode.
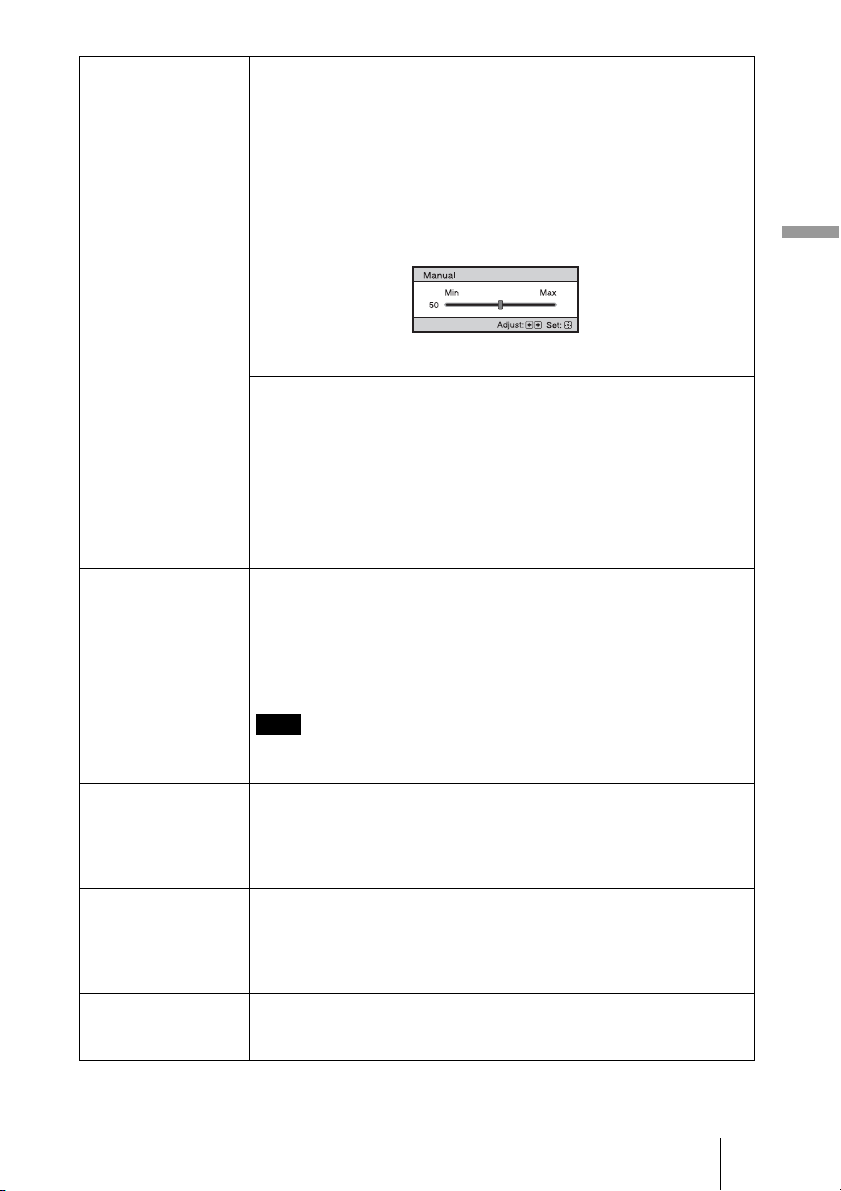
Manual: Manually (fixed) adjusts the Iris.
Off: Disables the iris (aperture) function.
Lamp Control
Switches the lamp wattage during projection.
High: Increases the lamp brightness, and projects brighter images.
Low: Decreases the lamp brightness, and enhances blacks by
minimizing brightness.
Tip
When you switch from “Low” to “High”, the number of turns of the fan
increases, and the fan noise becomes slightly louder. When you switch to
“Low”, energy consumption is reduced, thereby increasing the lamp life.
Motionflow Motion Enhancer
Reproduces fast-moving pictures smoothly without generating
afterimages.
High: Select this for picture quality smoother than “Low.”
Low: Select this for smooth picture quality.
Off: Select “Off” when noise, etc. appears in “High” or “Low.” Usually,
use to set “Motion Enhancer” to “Off.”
Depending on the scene, a noise in particular in digital signals may
appear on the picture.
Contrast Adjusts the contrast.
Higher values increase the sharpness in images, while lower values
decrease the sharpness.
You can make adjustments by pressing CONTRAST+/– on the remote
control.
Brightness Adjusts the brightness of the picture.
The higher the setting, the brighter the picture. The lower the setting, the
darker the picture.
You can make adjustments by pressing BRIGHTNESS+/– on the remote
control.
Color Adjusts the color density.
The higher the setting, the greater the intensity. The lower the setting, the
lower the intensity.
Note
Loading ...
Loading ...
Loading ...