Loading ...
Loading ...
Loading ...
User Manual 06
Installation Instructions
POWER SOURCE AND GROUNDING
It’s recommended to use the dryer on it’s own dedicated power outlet for both convenience and safety. The power outlet
must be grounded.
Important! If the power cord is damaged, it must be replaced by Residentia Group or one of it’s authorised
service representatives. Please contact 1300 11 HELP (4357) and ensure the appliance is completely
disconnected from the power supply.
SIMPLE INSTALLATION:
→ Step 1: Dryer should be placed in a ventilated area with no less than 10cm
distance from the wall or cabinetry. It is also recommended that there are
no obstacles within 1.5m of the dryers front, to ensure ease of operation
and ventilation.
→ Step 2: Use a spirit level to ensure that your dryer is horizontally level, whether
it be on the ground or wall mounted. As with all appliances with moving
internal parts, it’s essential that the dryer is level as it will eect it’s
balance and operation.
Important! Please ensure that the dyer is only ever installed in an internal environment only (and not outside), or an
environment where the dryer could become wet. Never place the dryer near combustible surfaces (such
as curtains) and ensure the dryer isn’t operating near gas or other ammable materials.
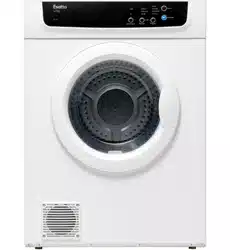
INSTALLATION UPSIDE DOWN (WALL MOUNTED):
→ Step 1: Fix the two metal wall brackets onto the wall to align with the mounting
slots on the dryer. Ensure that the wall is of sucient strength to support
the dryer weight.
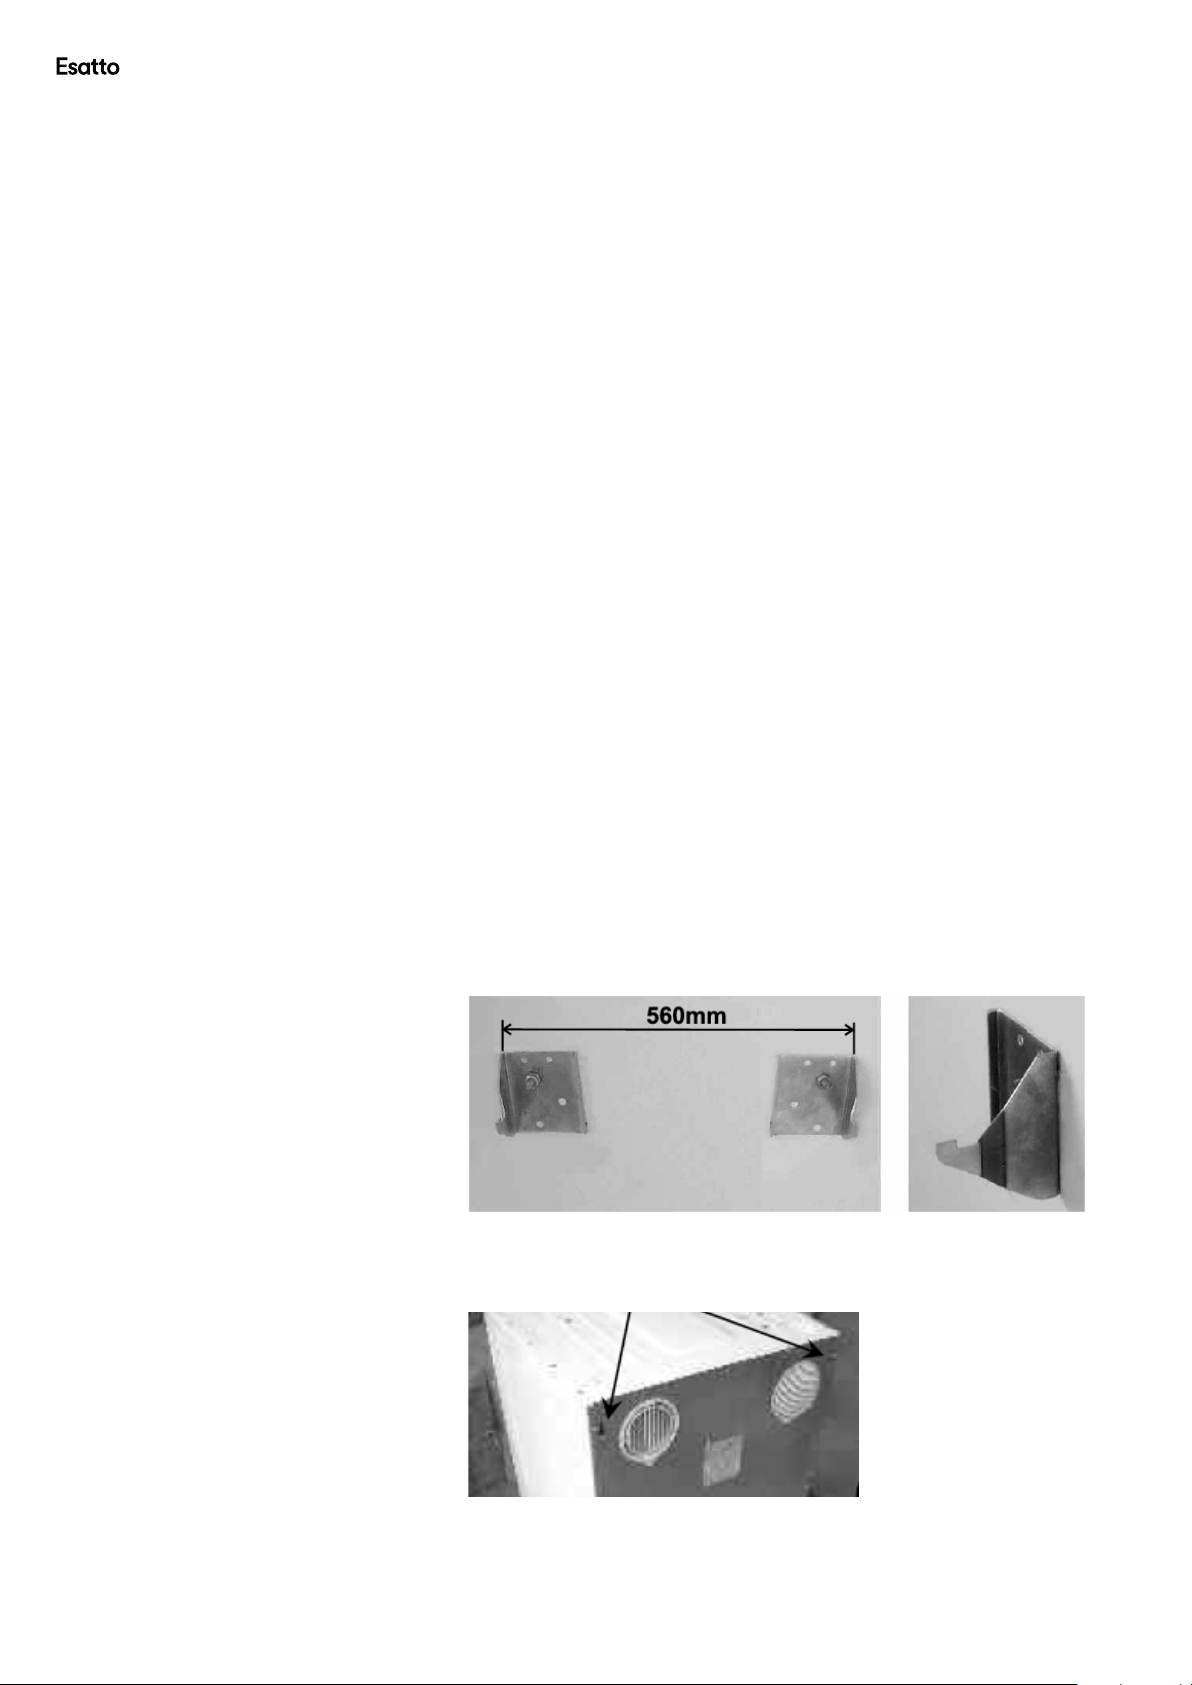
→ Step 2: Turn the dryer upside down and insert the plastic supports into their slots,
turning them 90 degrees to lock into position.
→ Step 3: Carefully raise the dryer and hang it on to the wall brackets. This is a 2–3
person job due to the dryers weight.
→ Step 4: Replace the panel sticker with the inverted option (supplied).
Loading ...
Loading ...
Loading ...