Loading ...
Loading ...
Loading ...
22
Table of Contents Menu Lists Index
GB
The following states will be indicated if data is
still being written onto the memory card after
recording has finished. During this time, do
not apply shock or vibration to this product, or
remove the battery or AC Adaptor.
A
ccess lamp (p. 18) is lit or flashing
The media icon in the upper right of the
screen is flashing
Tips
See page 75 on the recordable time of movies.
You can check the recordable time, estimated
remaining capacity, etc., by selecting
(MENU) [Setup] [
Media Settings]
[Media Info].
To switch the 2D and 3D recording
mode
You can select a recording mode of either
2D or 3D.
To switch 2D and 3D, select
(MENU)
[Image Quality/Size] [2D/3D Mode
Select].
Tips
When you change the [2D/3D Mode Select]
setting, movies played back on this product and
movies output from the HDMI OUT jack are
changed between 2D and 3D automatically.
Recommended distance from the
subject and zooming level
The distance at which you can obtain
good 3D movies varies depending on the
zooming level.
Recommended recording distance (approx.) Zoom
2 m to (9 m) [6 ft. to (30 ft.)]
6 m to (16 m) [20 ft. to (51 ft.)]
24 m to (30 m) [78 ft. to (100 ft.)]
A subject farther away than the
recommended recording distance will
lose 3D depth.
Notes
You should not record a subject closer than the
recommended recording distance in 3D because
an uncomfortable movie will be recorded.
Record the subject in 2D.
When you record 3D movies, the binocular
m
agnification can be set to up to about 6 . If
you want to view or record a subject at greater
magnification, set [2D/3D Mode Select] to
[2D].
Data code during recording
The recording date, time, condition and
coordinates (DEV-50V) are recorded
automatically on the memory card. They
are not displayed during recording.
However, you can check them as [Data
C
ode] during playback (p. 58).
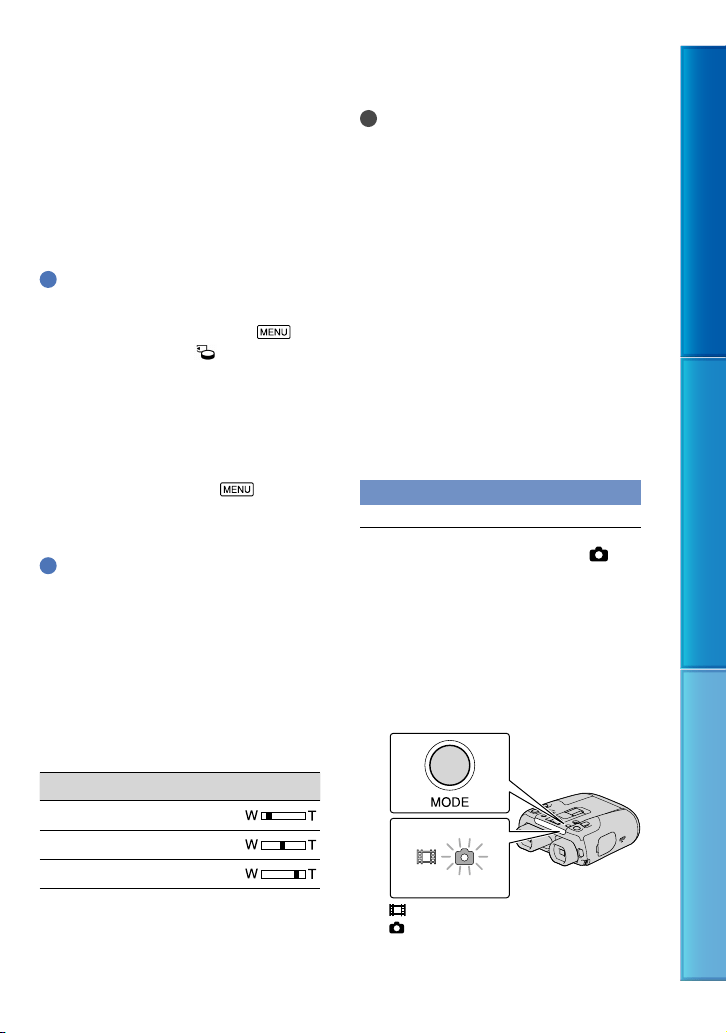
Shooting photos
Press MODE to turn on the
(Photo) lamp.
The screen display switches for photo
recording mode.
You can also switch the recording
mode by selecting [MODE] on the
viewfinder screen.
(Movie): When recording a movie
(Photo): When recording a photo
MODE button
Loading ...
Loading ...
Loading ...