Loading ...
Loading ...
3
PLACEMENT
NOTE: In all applications, the tweeter and dual midrange drivers should be
aimed toward the listening area.
STEREO
Before deciding where to place your speakers, survey your room and think
about placement, keeping the following points in mind, and using Figure 1,
on previous page, as a guide:
• For best results, place the speakers 6'–8' apart.
• Refer to “Home Theater” below if you also plan to use the speakers in
a home theater system.
HOME THEATER
For front-channel use, place one speaker on the left and another on the
right along either side of the television.
A center channel speaker should go directly above the television. For left
and right surround channels, place one speaker on the left and another
on the right, to the side of or slightly behind the listening area. In 6- or
7-channel configurations, place the rear channel(s) behind the listening
position, as shown in Figure 3.
NOTE: A JBL powered subwoofer will add impact and realism to both
music and film soundtracks. Contact your JBL dealer for recommendations
on subwoofer models for your application.
Proper placement of the speakers is an important step in obtaining the most
realistic soundstage possible. These recommendations are for the optimal
placement of the loudspeakers. Use these placement recommendations as
a guide. Slight variations will not diminish your listening pleasure.
INSTALLATION
NOTE: The LS360C in-ceiling speaker was designed to be easily installed.
However, if you are unable to clearly and fully understand and follow the
instructions in this manual, or if you are unsure of your ability to properly
install these loudspeakers, please contact your dealer or a qualified installer.
TOOLS NEEDED
Phillips #2 screwdriver
(Do not use a powered screwdriver
of any kind)
Measuring tape
Utility knife
Pencil
Carpenter’s level
Awl
CONNECTION TIPS
SPEAKER CONNECTIONS
Wire Length Recommended Size
Up to 100 ft. 16-gauge
Greater than 100 ft. 12-gauge
TURN OFF ALL POWER
Before completing the installation, you must connect your speakers to your
system. First, turn off all audio-system power. Use high-quality speaker wire
to make your connections. Use at least #16-gauge speaker wire with polarity
coding. Heavier-gauge wire is recommended for larger distances. Consult the
chart above or your dealer for recommendations. The side of the wire with a
ridge or other coding is usually considered positive (+) polarity. Also, consult
the owner’s manuals that were included with your amplifier or receiver to
confirm connection procedures.
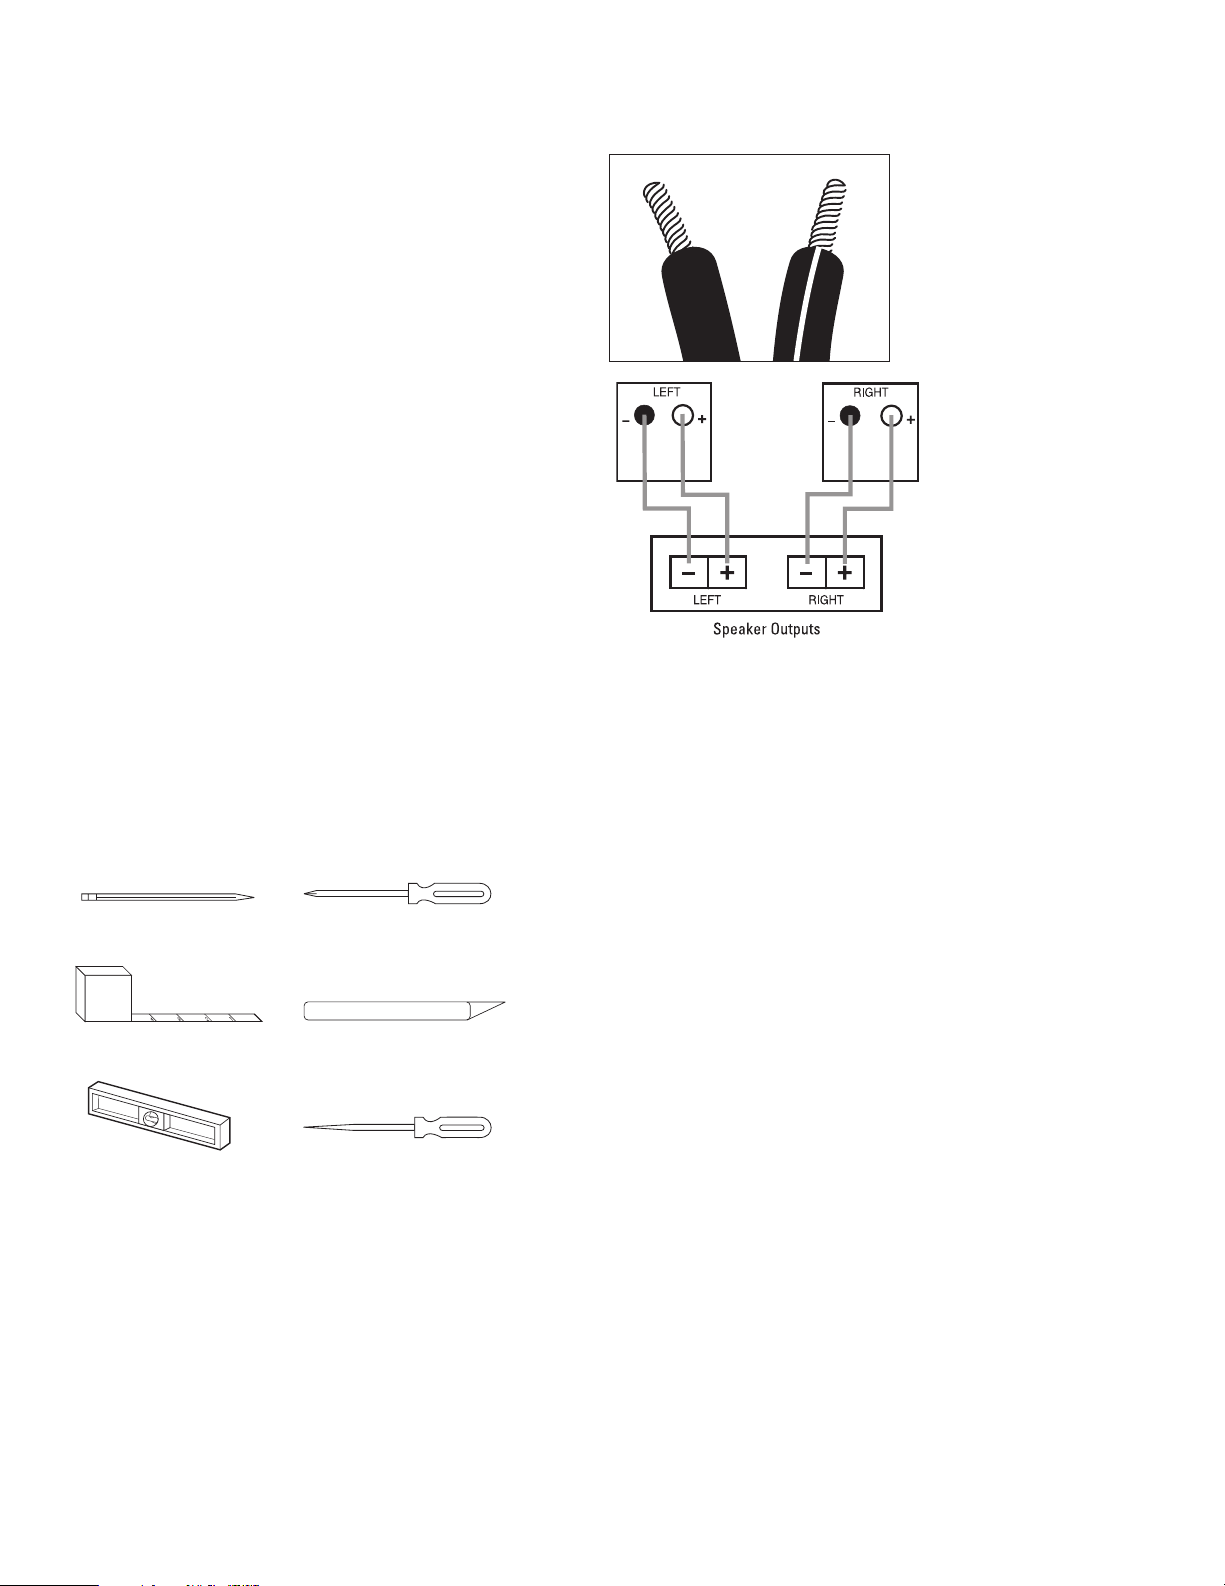
Observe polarities when making speaker connections, as shown in Figure 4.
Connect each + terminal on the back of the amplifier or receiver to the
respective + (red) terminal on each speaker. Connect the – (black) terminals
in the same way.
IMPORTANT!
Do not reverse polarities (i.e., + to – , or – to +) when making connections.
Doing so will cause poor imaging and diminished bass response. Be certain
that positive and negative wire strands are completely isolated to avoid short
circuits that may damage your equipment.
Figure 4.
StudioLS360Com.qxd 7/25/07 4:18 PM Page 3
Loading ...
Loading ...
Loading ...