Loading ...
Loading ...
Loading ...
18
Electrical connection
The mains power supply must correspond to the rating
indicated on the plate situated inside the hood. If provided with
a plug connect the hood to a socket in compliance with current
regulations and positioned in an accessible area, after
installation. If it not fitted with a plug (direct mains connection)
or if the plug is not located in an accessible area, after
installation, apply a double pole switch in accordance with
standards which assures the complete disconnection of the
mains under conditions relating to over-current category III, in
accordance with installation instructions.
WARNING!
Before re-connecting the hood circuit to the mains supply and
checking the efficient function, always check that the mains
cable is correctly assembled.
Warning! If the supply cord is damaged, it must be replaced
by the manufacturer, its service agent or similarly qualified
persons in order to avoid hazard.
Mounting
Before beginning installation:
• Check that the product purchased is of a suitable size for
the chosen installation area.
• Remove the charcoal (*) filter/s if supplied (see also
relative paragraph). This/these is/are to be mounted only
if you want lo use the hood in the filtering version.
• Check (for transport reasons) that there is no other
supplied material inside the hood (e.g. packets with
screws (*), guarantees (*), etc.), eventually removing
them and keeping them.
Expansion wall plugs are provided to secure the hood to most
types of walls/ceilings. However, a qualified technician must
verify suitability of the materials in accordance with the type of
wall/ceiling. The wall/ceiling must be strong enough to take
the weight of the hood.
Do not tile, grout or silicone this appliance to the wall.
Surface mounting only.
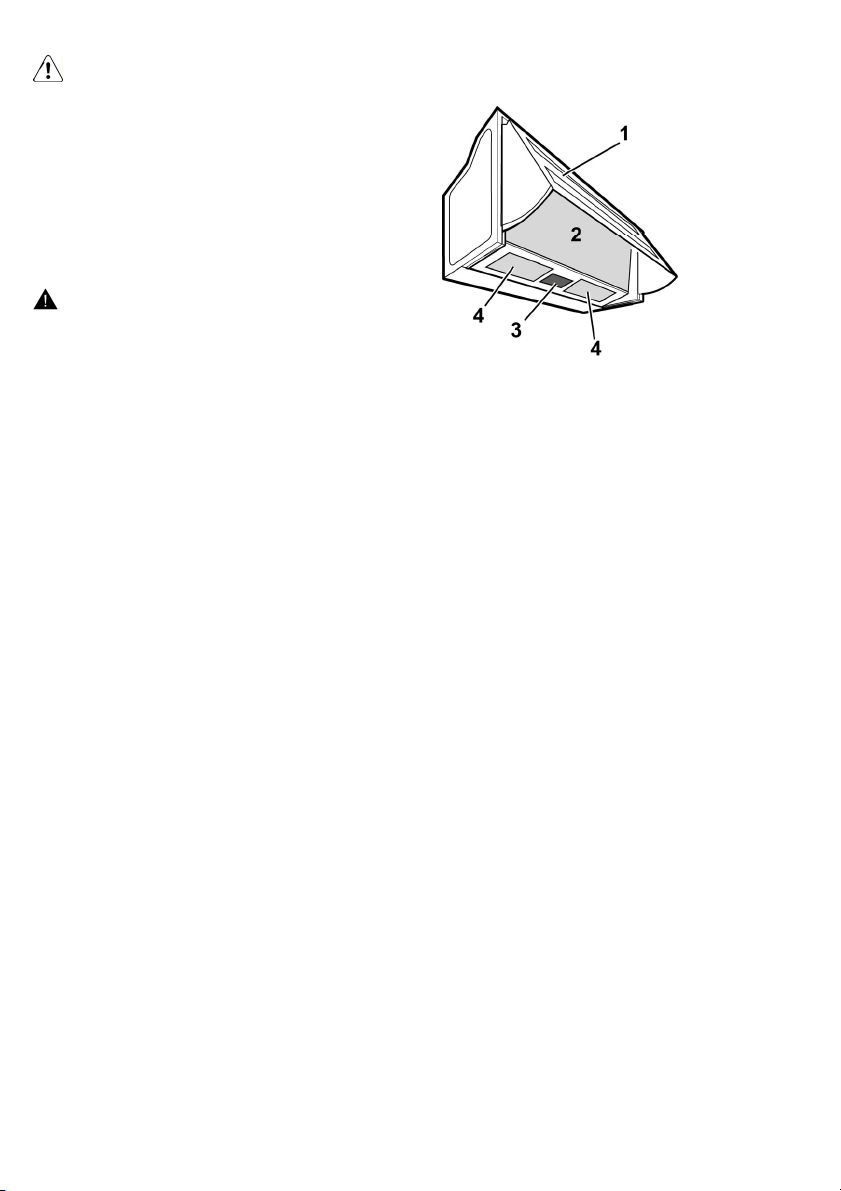
Description of the hood
1. Vapour collector
2. Suction grill
3. Controls
4. Light point
Operation
Use the keys or buttons envisaged for the control of the lights
and the power of the available suction.
Only in some models: switching on and off the fan that
adjusts the suction power and, in some cases, switching the
lights on and off, is controlled by opening and closing the
steam collector.
Maintenance
Cleaning
Clean using ONLY the cloth dampened with neutral liquid
detergent. DO NOT CLEAN WITH TOOLS OR
INSTRUMENTS. Do not use abrasive products. DO NOT USE
ALCOHOL!
Grease filter
Fig. 2-18
Traps cooking grease particles.
Paper filter must be replaced once a month or if colouring
appears on upper side, in such cases the colouring is evident
through the grill openings.
Charcoal filter (filter version only)
Fig. 17
It absorbs unpleasant odors caused by cooking.
The saturation of the charcoal filter occurs after more or less
prolonged use, depending on the type of cooking and the
regularity of cleaning of the grease filter.
In any case it is necessary to replace the cartridge at least
every four months.
The charcoal filter may NOT be washed or regenerated.
Loading ...
Loading ...
Loading ...