
Loading ...
Loading ...
Loading ...
23
Connections and Preparations
Tips
• You can select the desired language for the menu screen. For details, refer to “Step 4: Selecting
the Menu Language”. (1 page 26)
• When “Auto Input Search” is set to “On” in the Function menu, the input terminal with
effective signals is automatically displayed by pressing INPUT. (1 page 49)
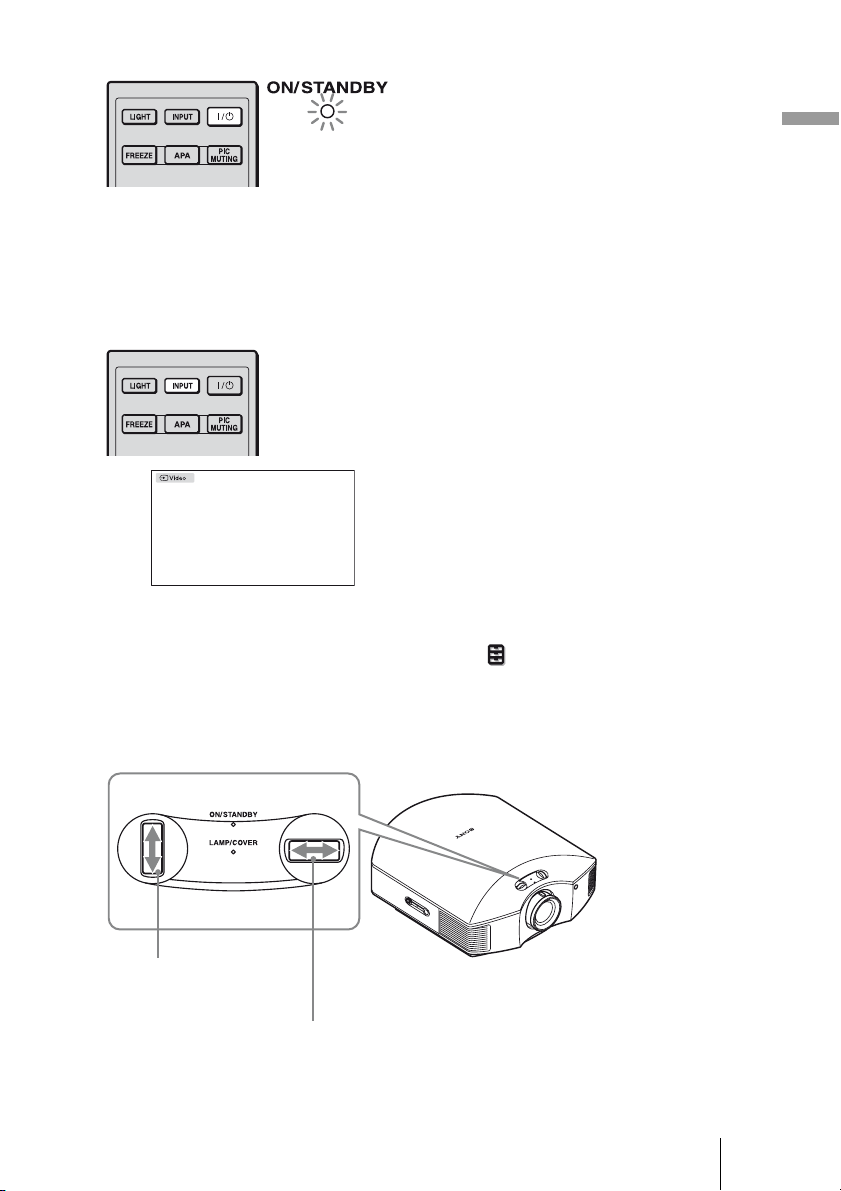
2 Press the ?/1 (ON/STANDBY)
switch to turn on the projector.
The ON/STANDBY indicator flashes
in green, and then lights in green.
When the ON/STANDBY indicator
flashes, “Starting...” appears on the
screen.
3 Turn on the equipment
connected to the projector.
Refer to the operating instructions of
the connected equipment.
4 Press INPUT to project the
picture on the screen.
Each time you press the button, the
input indication and equipment to be
projected change. (1 page 28)
5 Move both lens shift dials to
adjust the picture position.
Flashes in green fo
r
a while (tens of
seconds) and then
lights in green.
To adjust the vertical
position
To adjust the horizontal position
Loading ...
Loading ...
Loading ...